No need to throw away your lamp that no longer works or spend more money on a new one. You can fix it yourself.
First, check the bulb. Is it burned out? Do you have the right wattage? If you have checked both of these things, it’s probably the plug that connects to the wall.
General strain can wear plugs out, especially tugging on the cord instead of the plug when unhooking an electrical device. Here’s how to replace a plug by yourself.
 Meghan Wilcox has been a master electrician and scene-shop adviser at Drury University. She has worked at the collegiate level at Drury University and has interned in the professional world.
To get started, she notes: “Make sure it’s not plugged in, and watch for frayed wires. They can jab you.”
Then, get all of the tools and parts you will need:
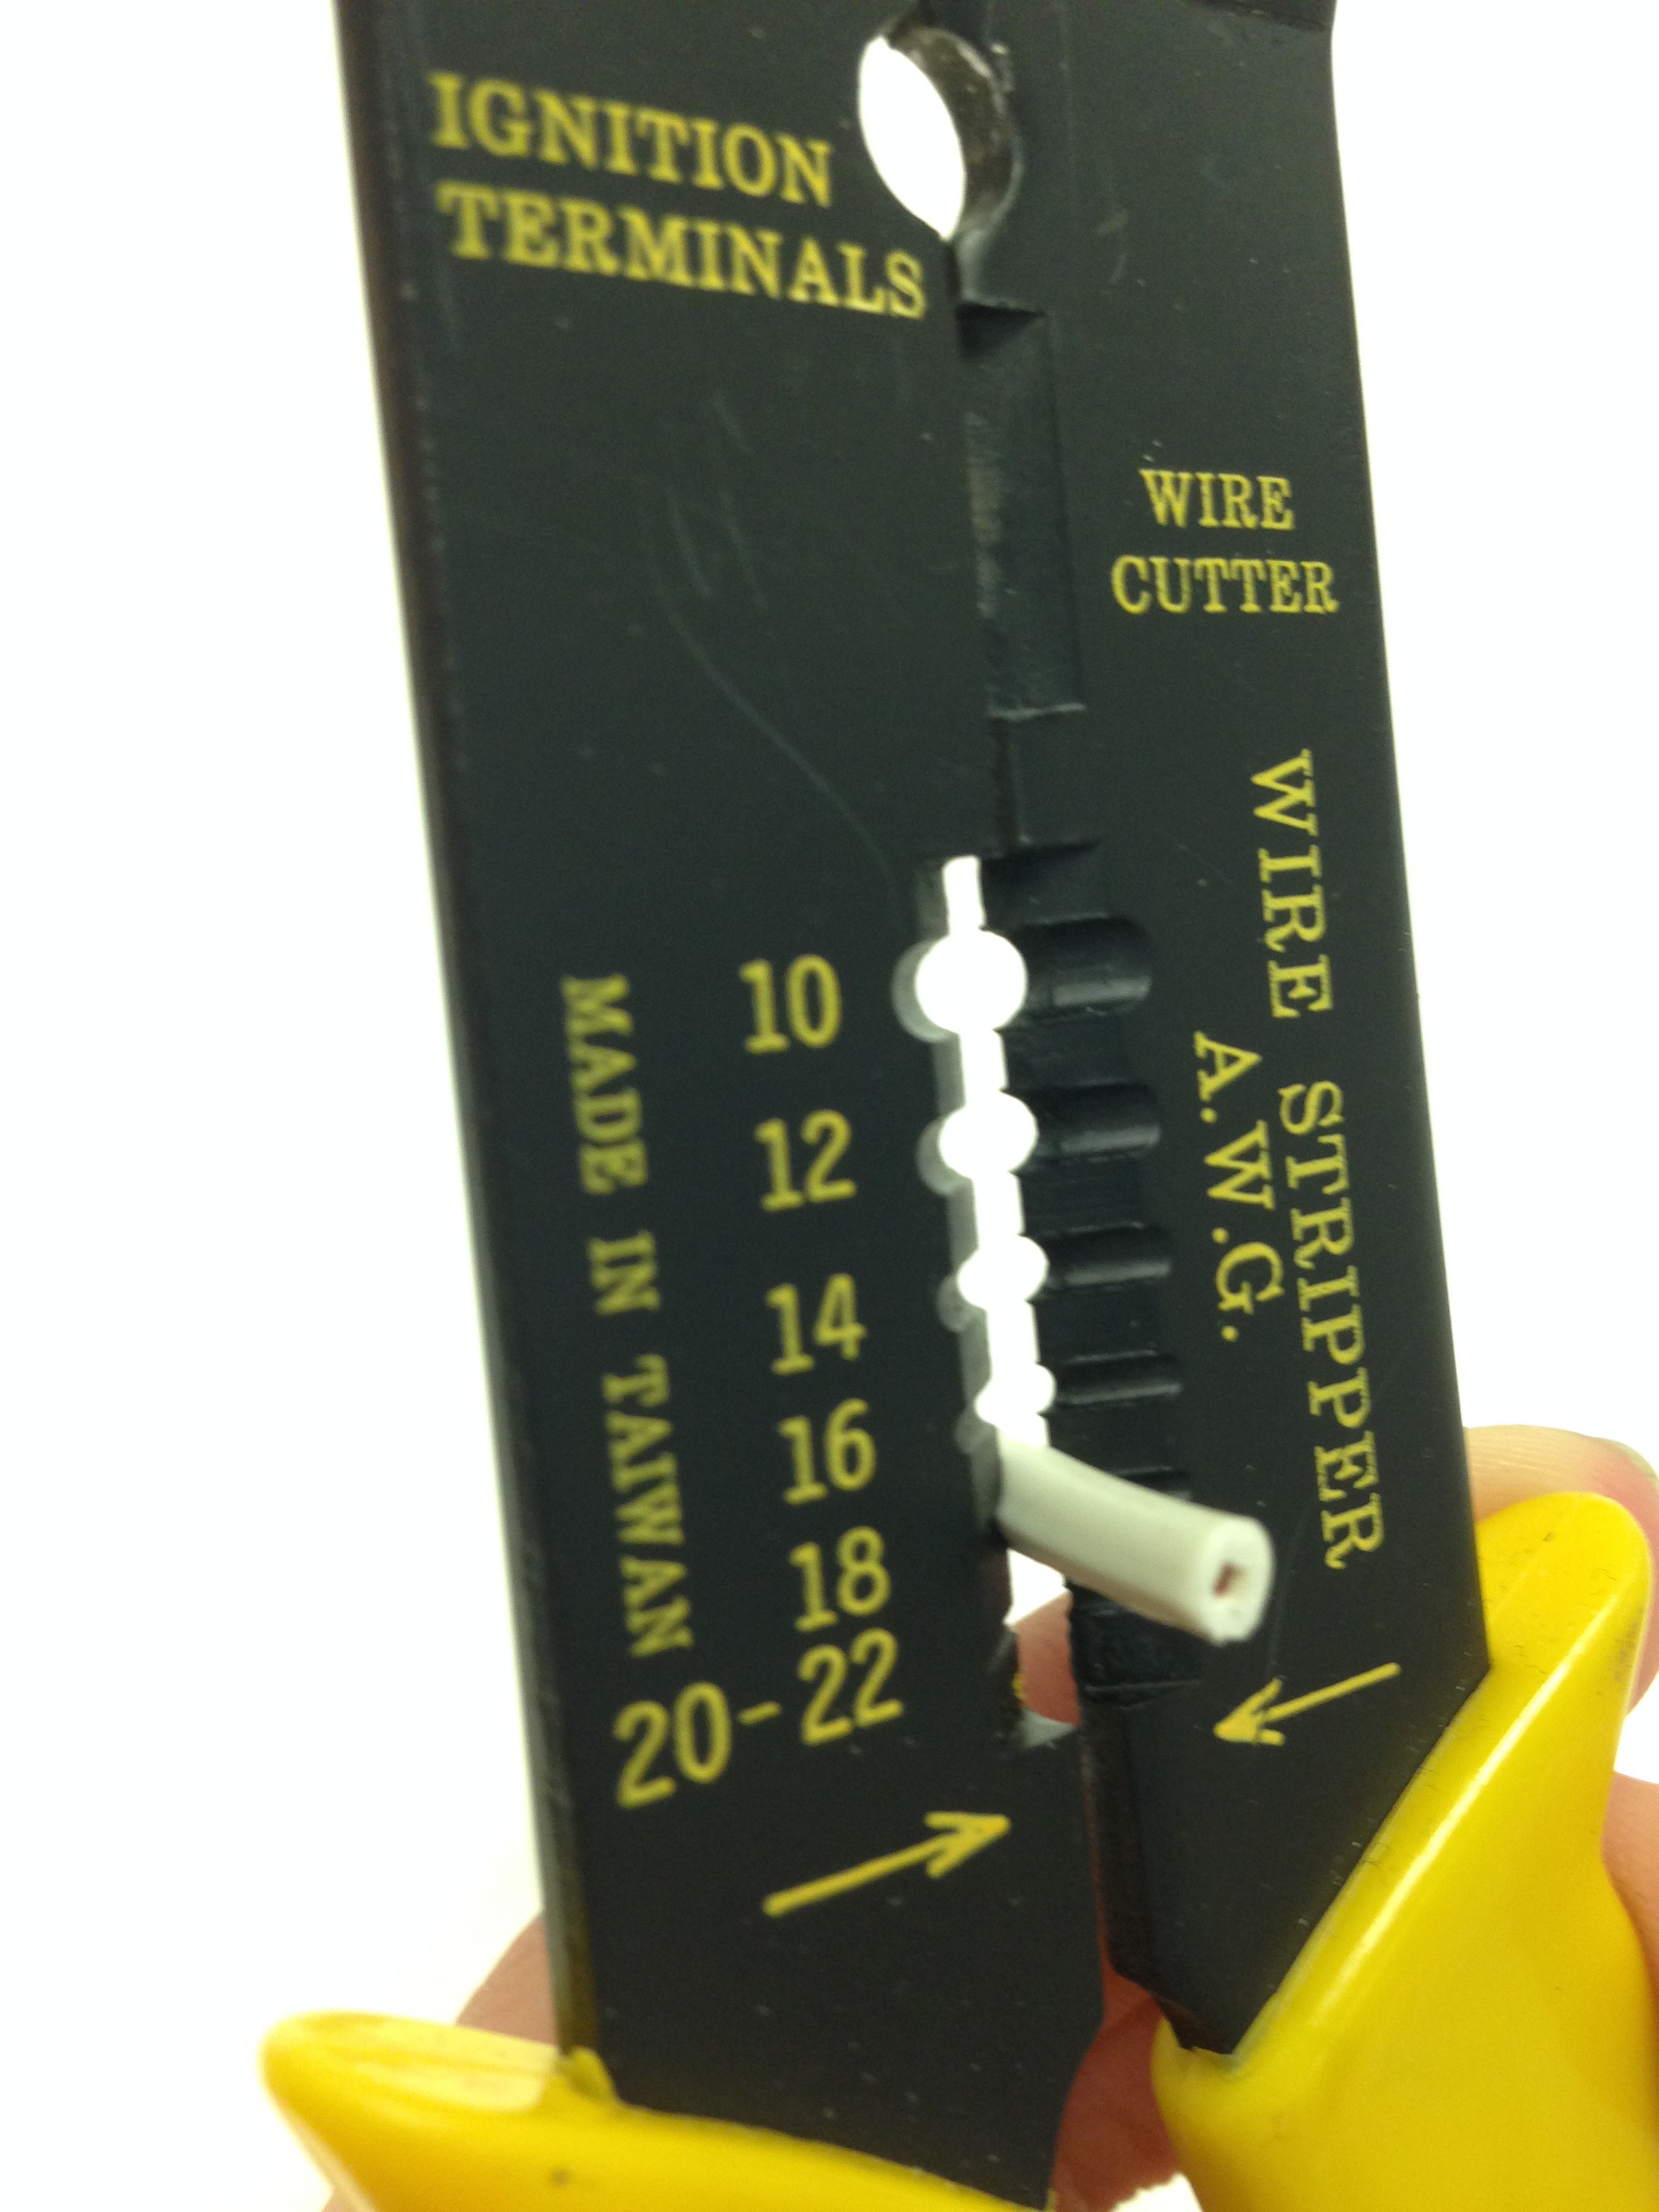
- Wire strippers
- Screw driver — a Phillips and a flathead
- Wire cutters
- New standard (Edison) plug
Step one: Buy a new plug
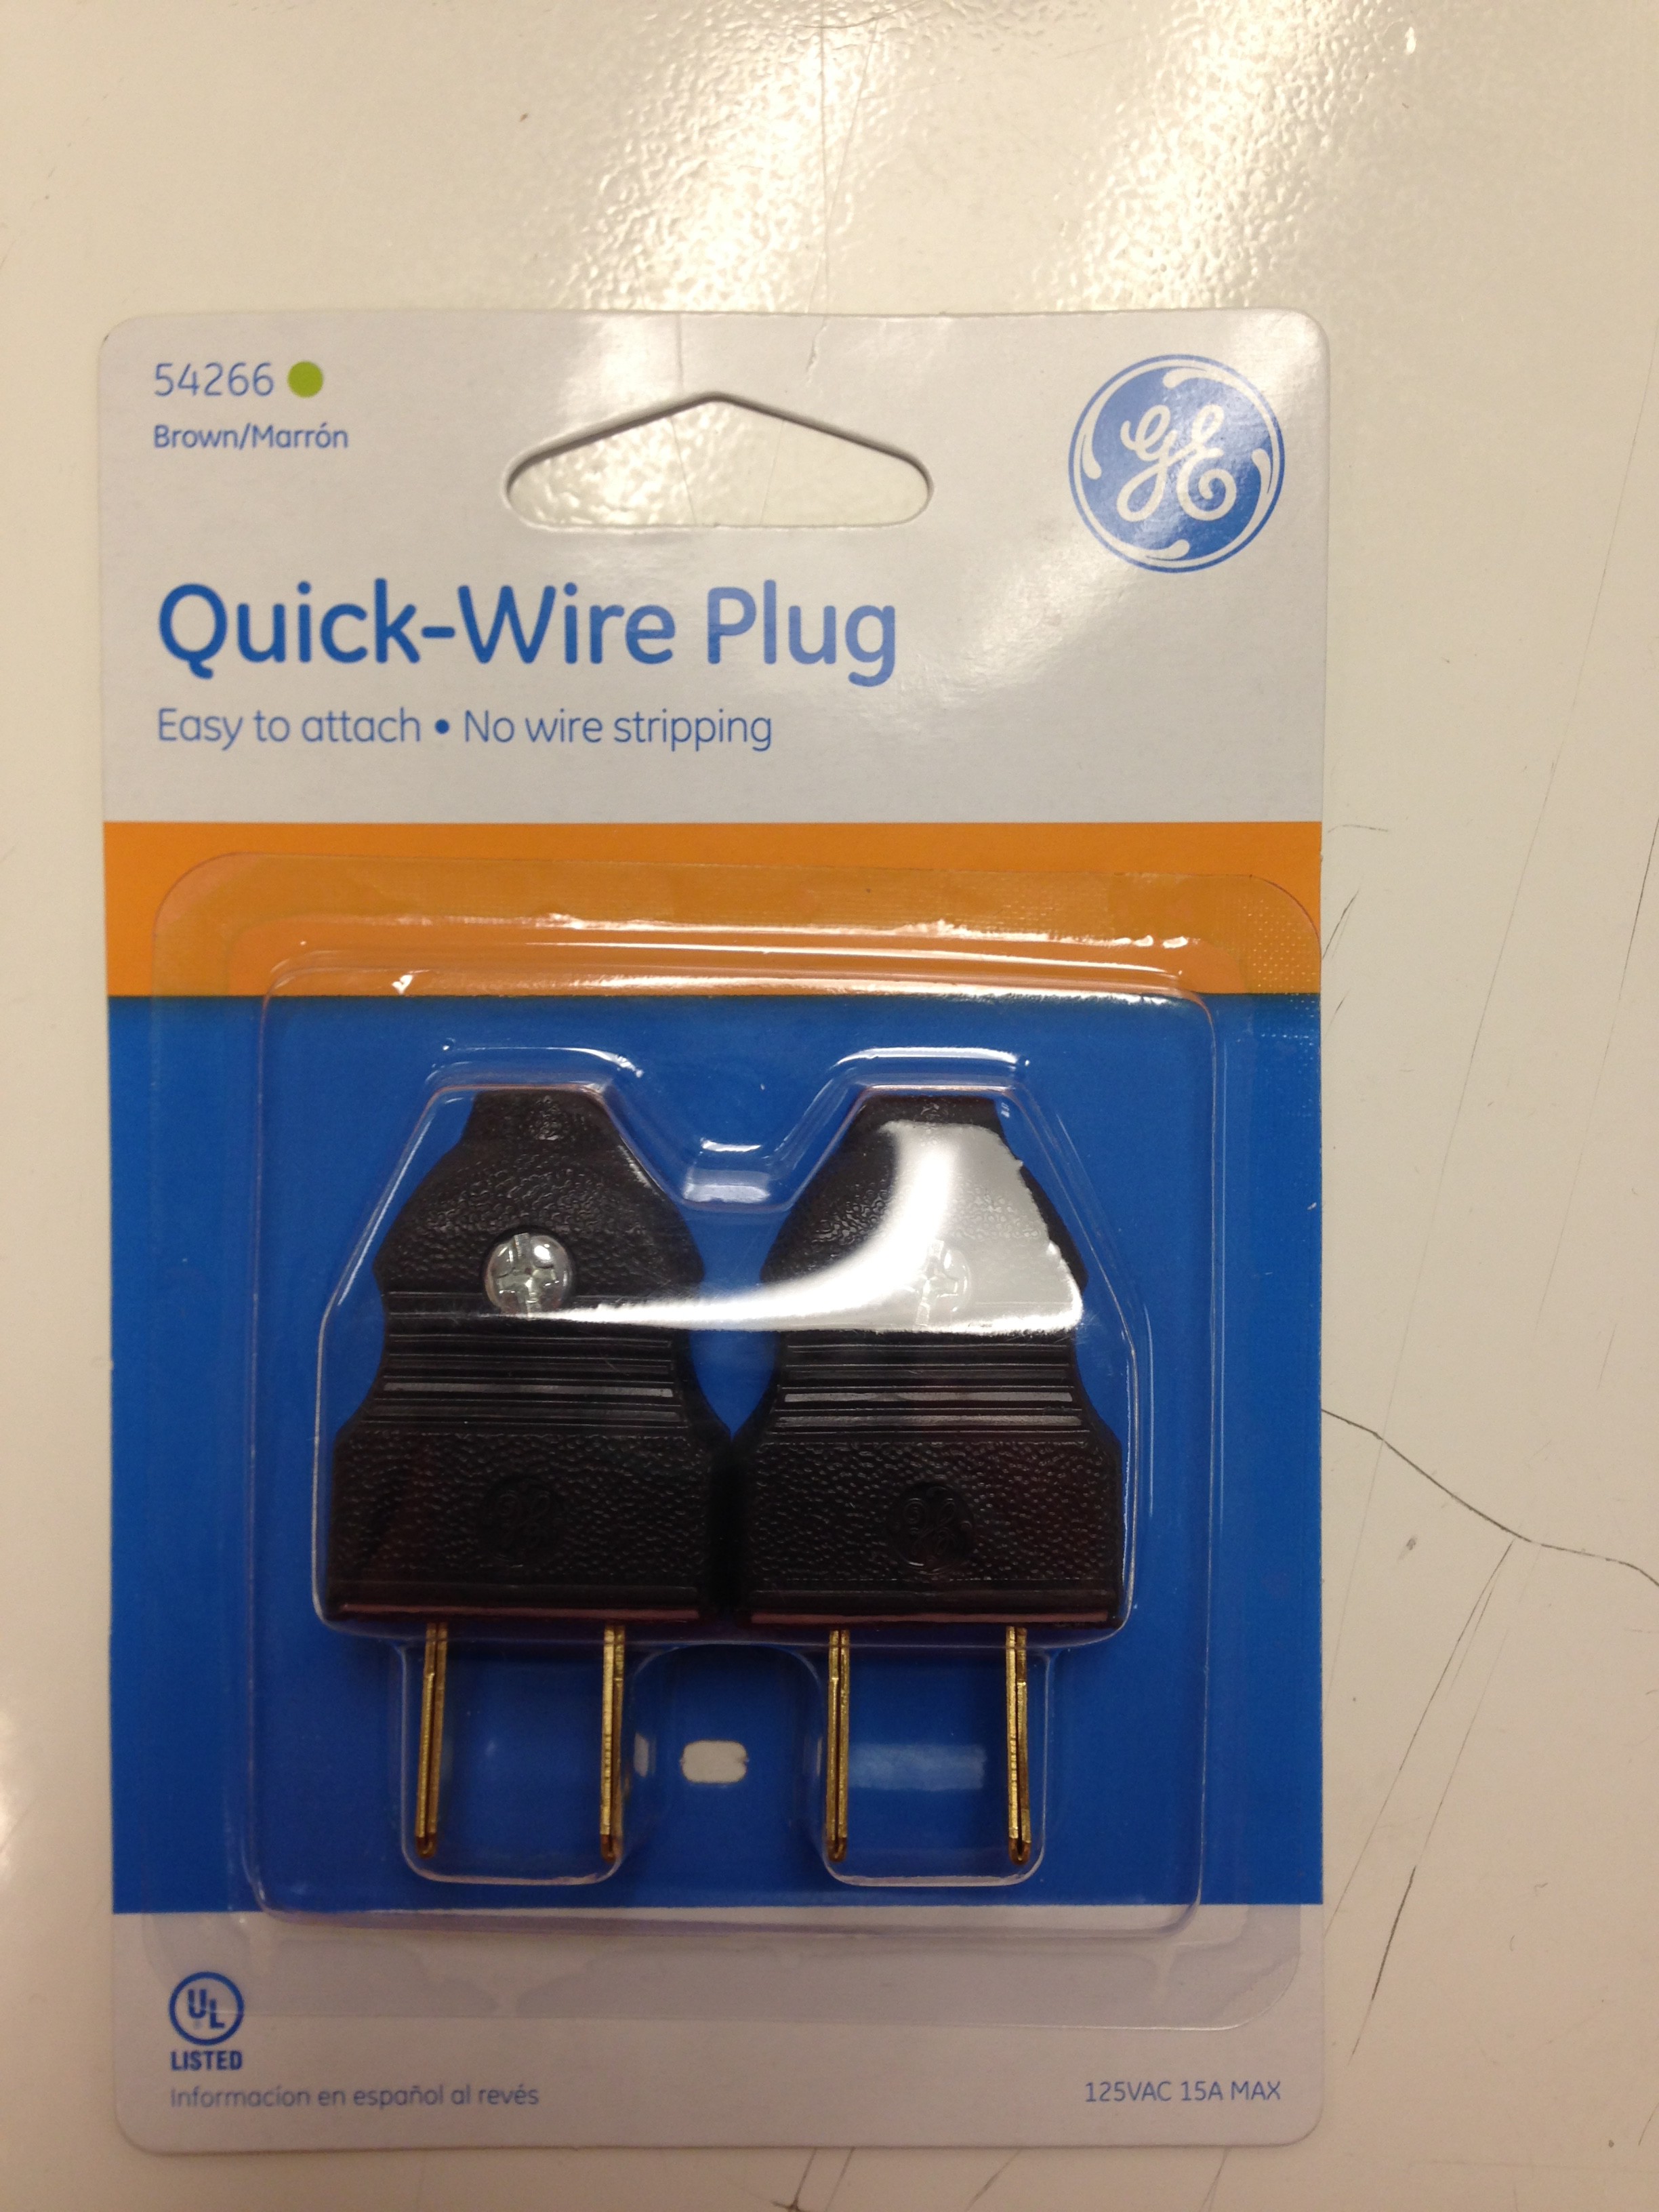
Take the old one with you to the store to match the right one you need. These are inexpensive. This plug pack costs $1.98.
Step two: If three-pronged, identify the wires
You need to identify what wires will be placed in different areas of the plug. They will be color coded. Do not match the wires with any other color.
If it has two prongs, it will not matter.
Step three: Cut off old plug

Use your wire cutters. This seems a bit morbid, but trust me.
Step four: Split the wires
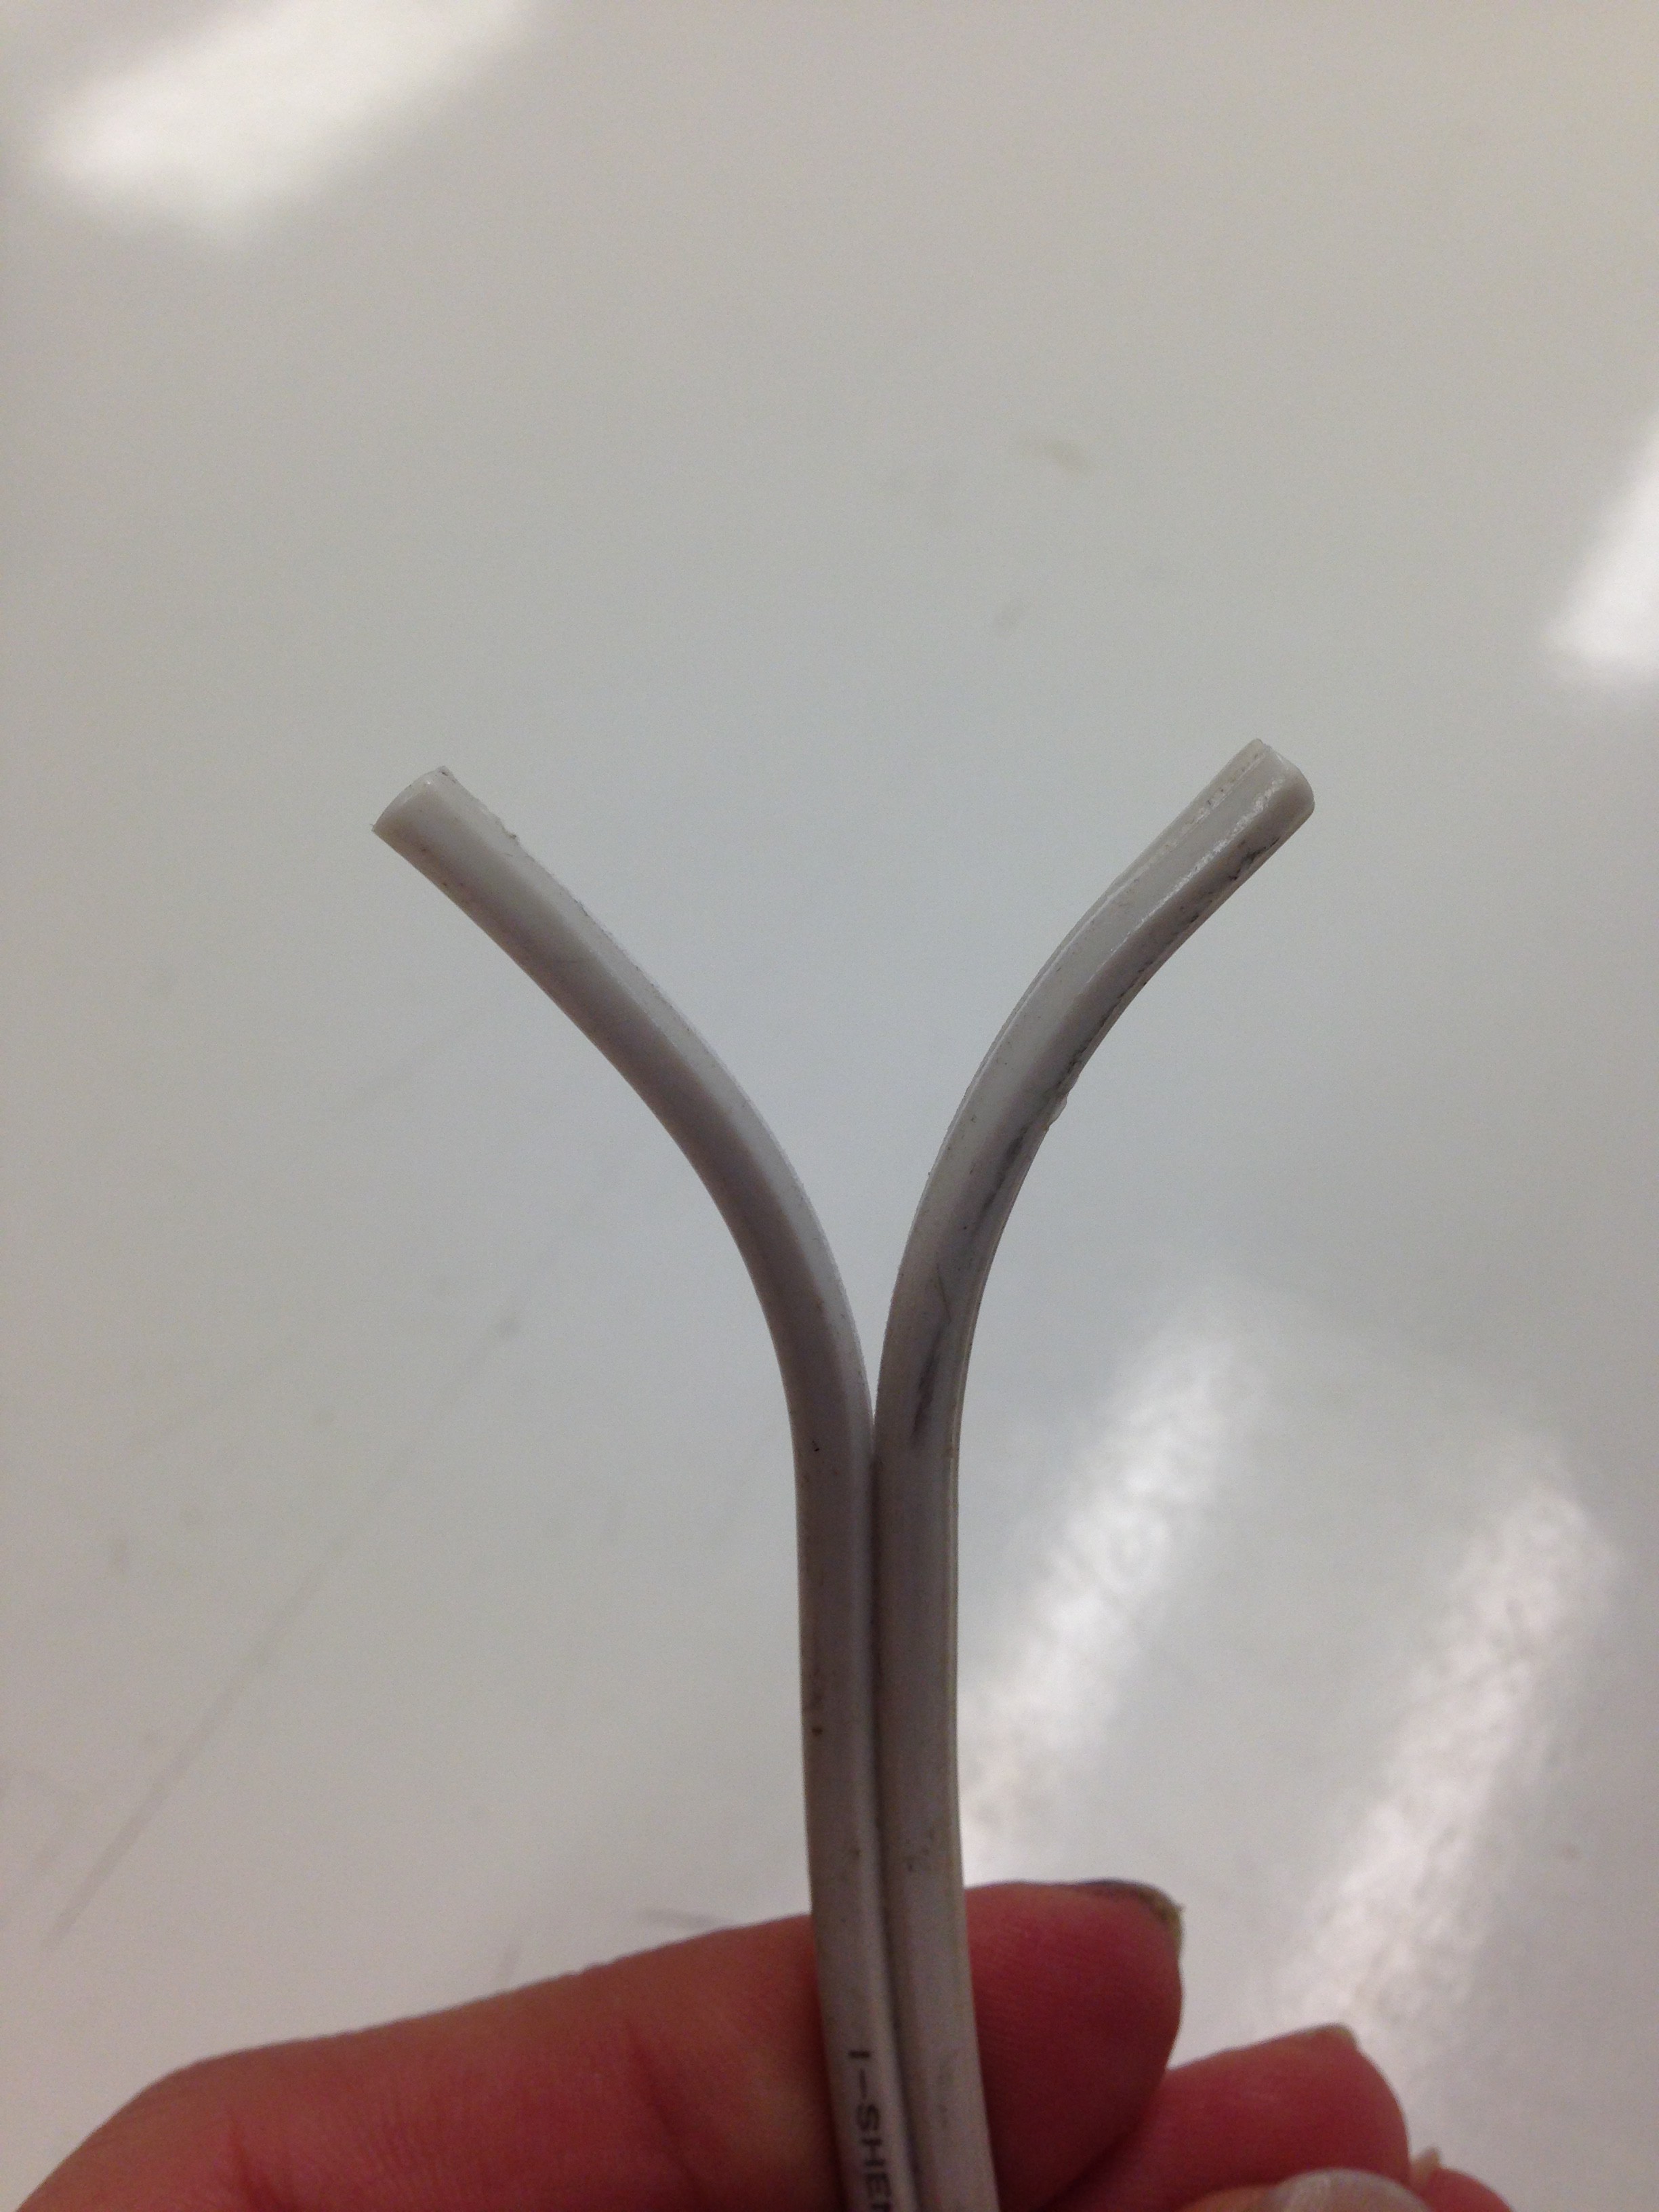

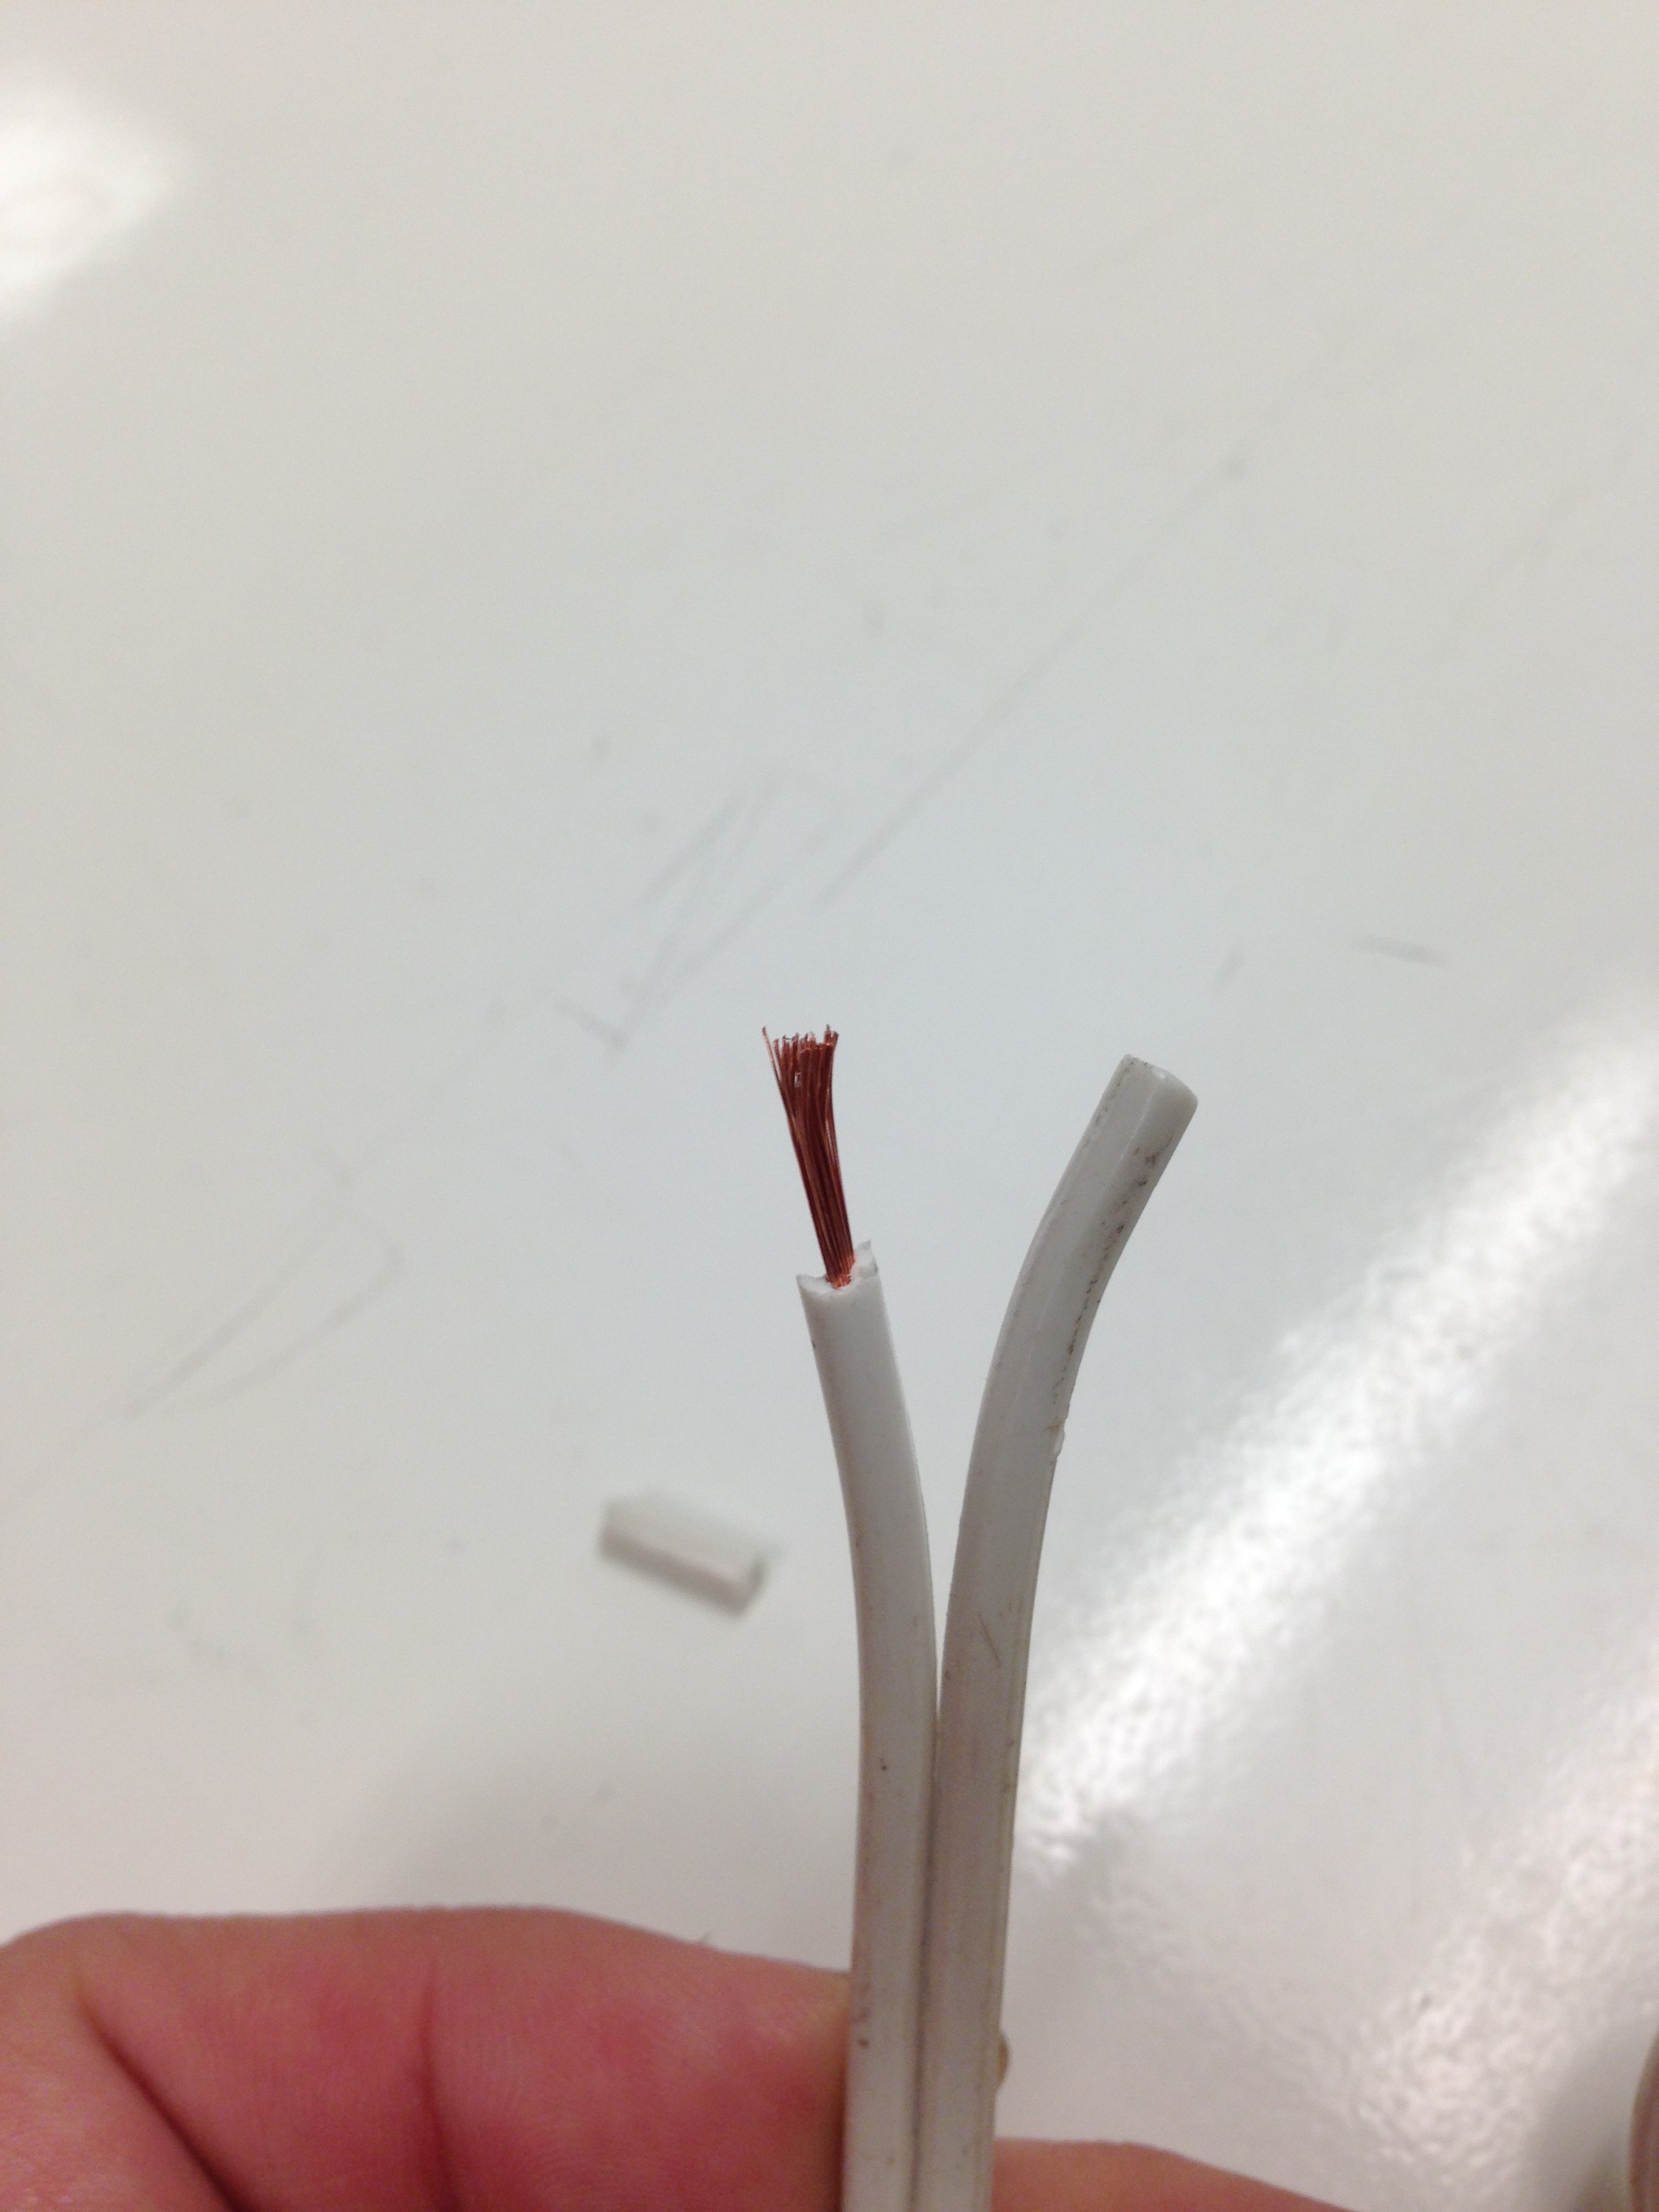
Most standard house wires have an 18-gauge wire. The gauge is the standard thickness of insulation. To check, you might want to try stripping it in the 14-16 gauge slot first. Strip it to only expose an inch off the wire.
Clamp and pull to strip the wire. Finding the right size will help you remove the insulation. This is a process of guess-and-check using your wire strippers.
Step five: Connect the plug to the wires
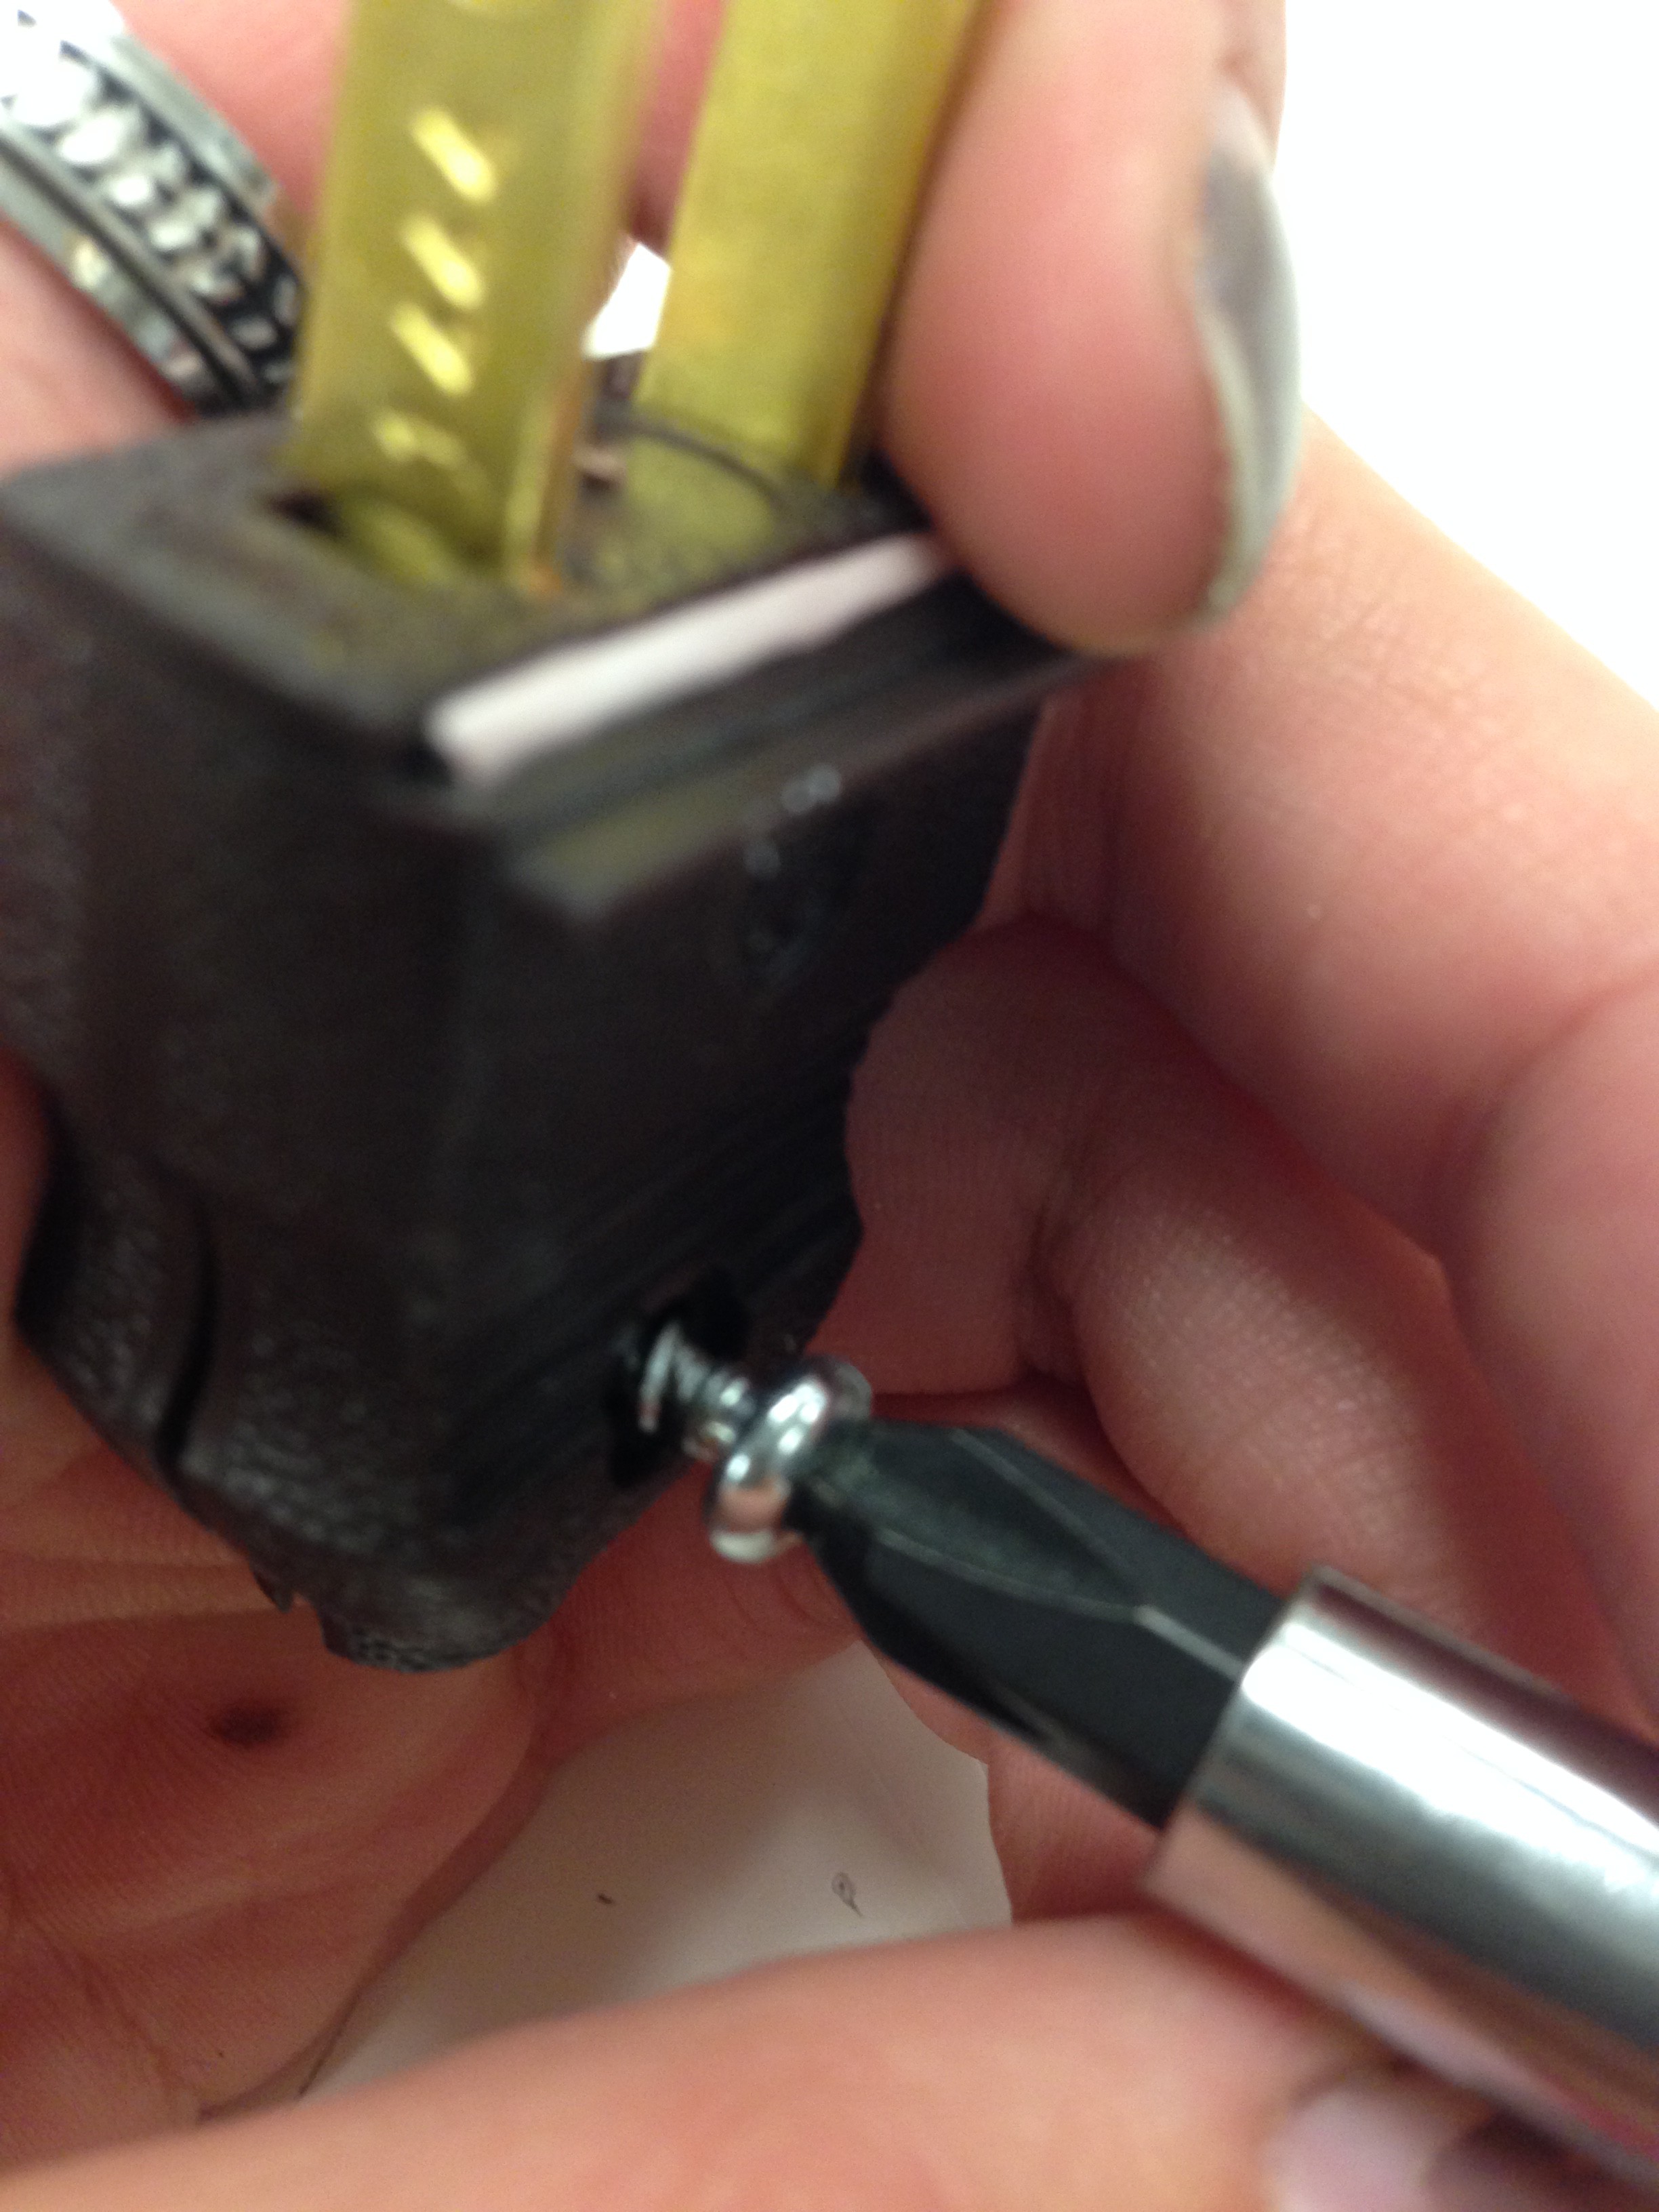
You will need to open your new plug. This one requires a Phillips head.
Connecting the wires might be tricky depending on the plug. Some might require screws inside the plug. This plug allows you to simply lay the wire.
- Three-prong: Open the plug, and identify what colored wires go where for three-prong. Loosen the screws inside the plug. Wrap the wire around the screw, and then tighten.
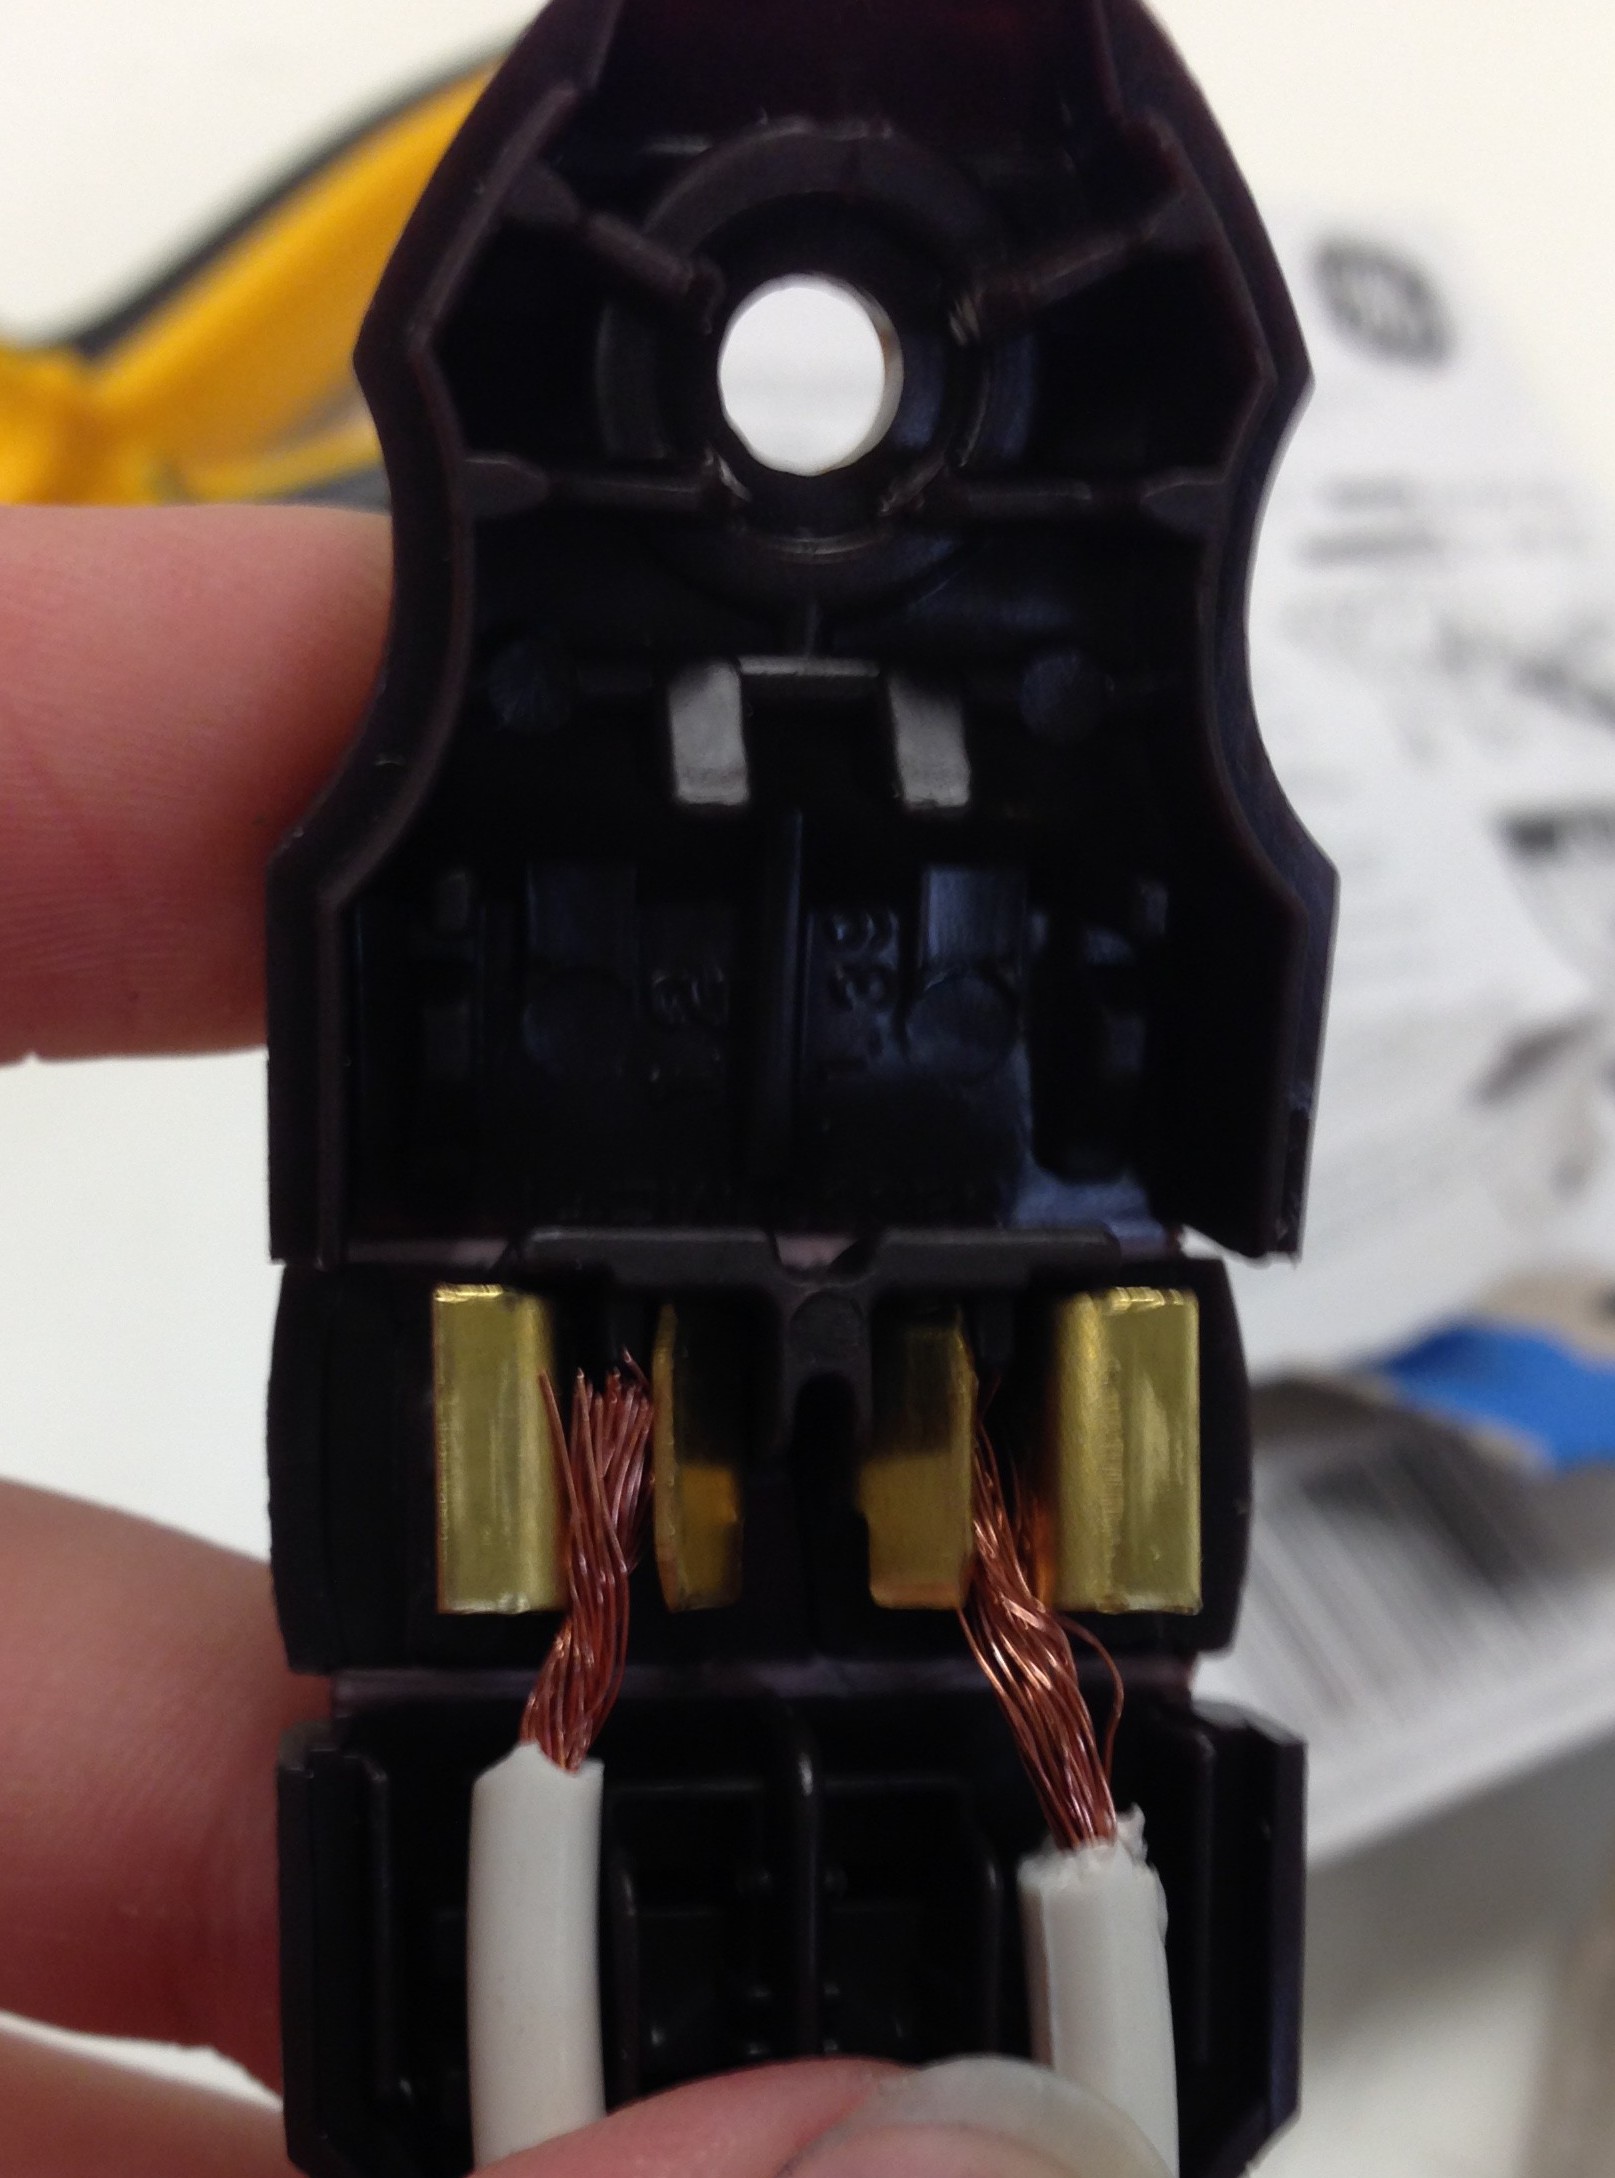
- Two-prong: In this case, we have two-prong, and the specific location of each wire does not matter. Just make sure the copper is touching the conductive surface inside; it is the connection needed to complete the circuit.
Step six: Close the plug
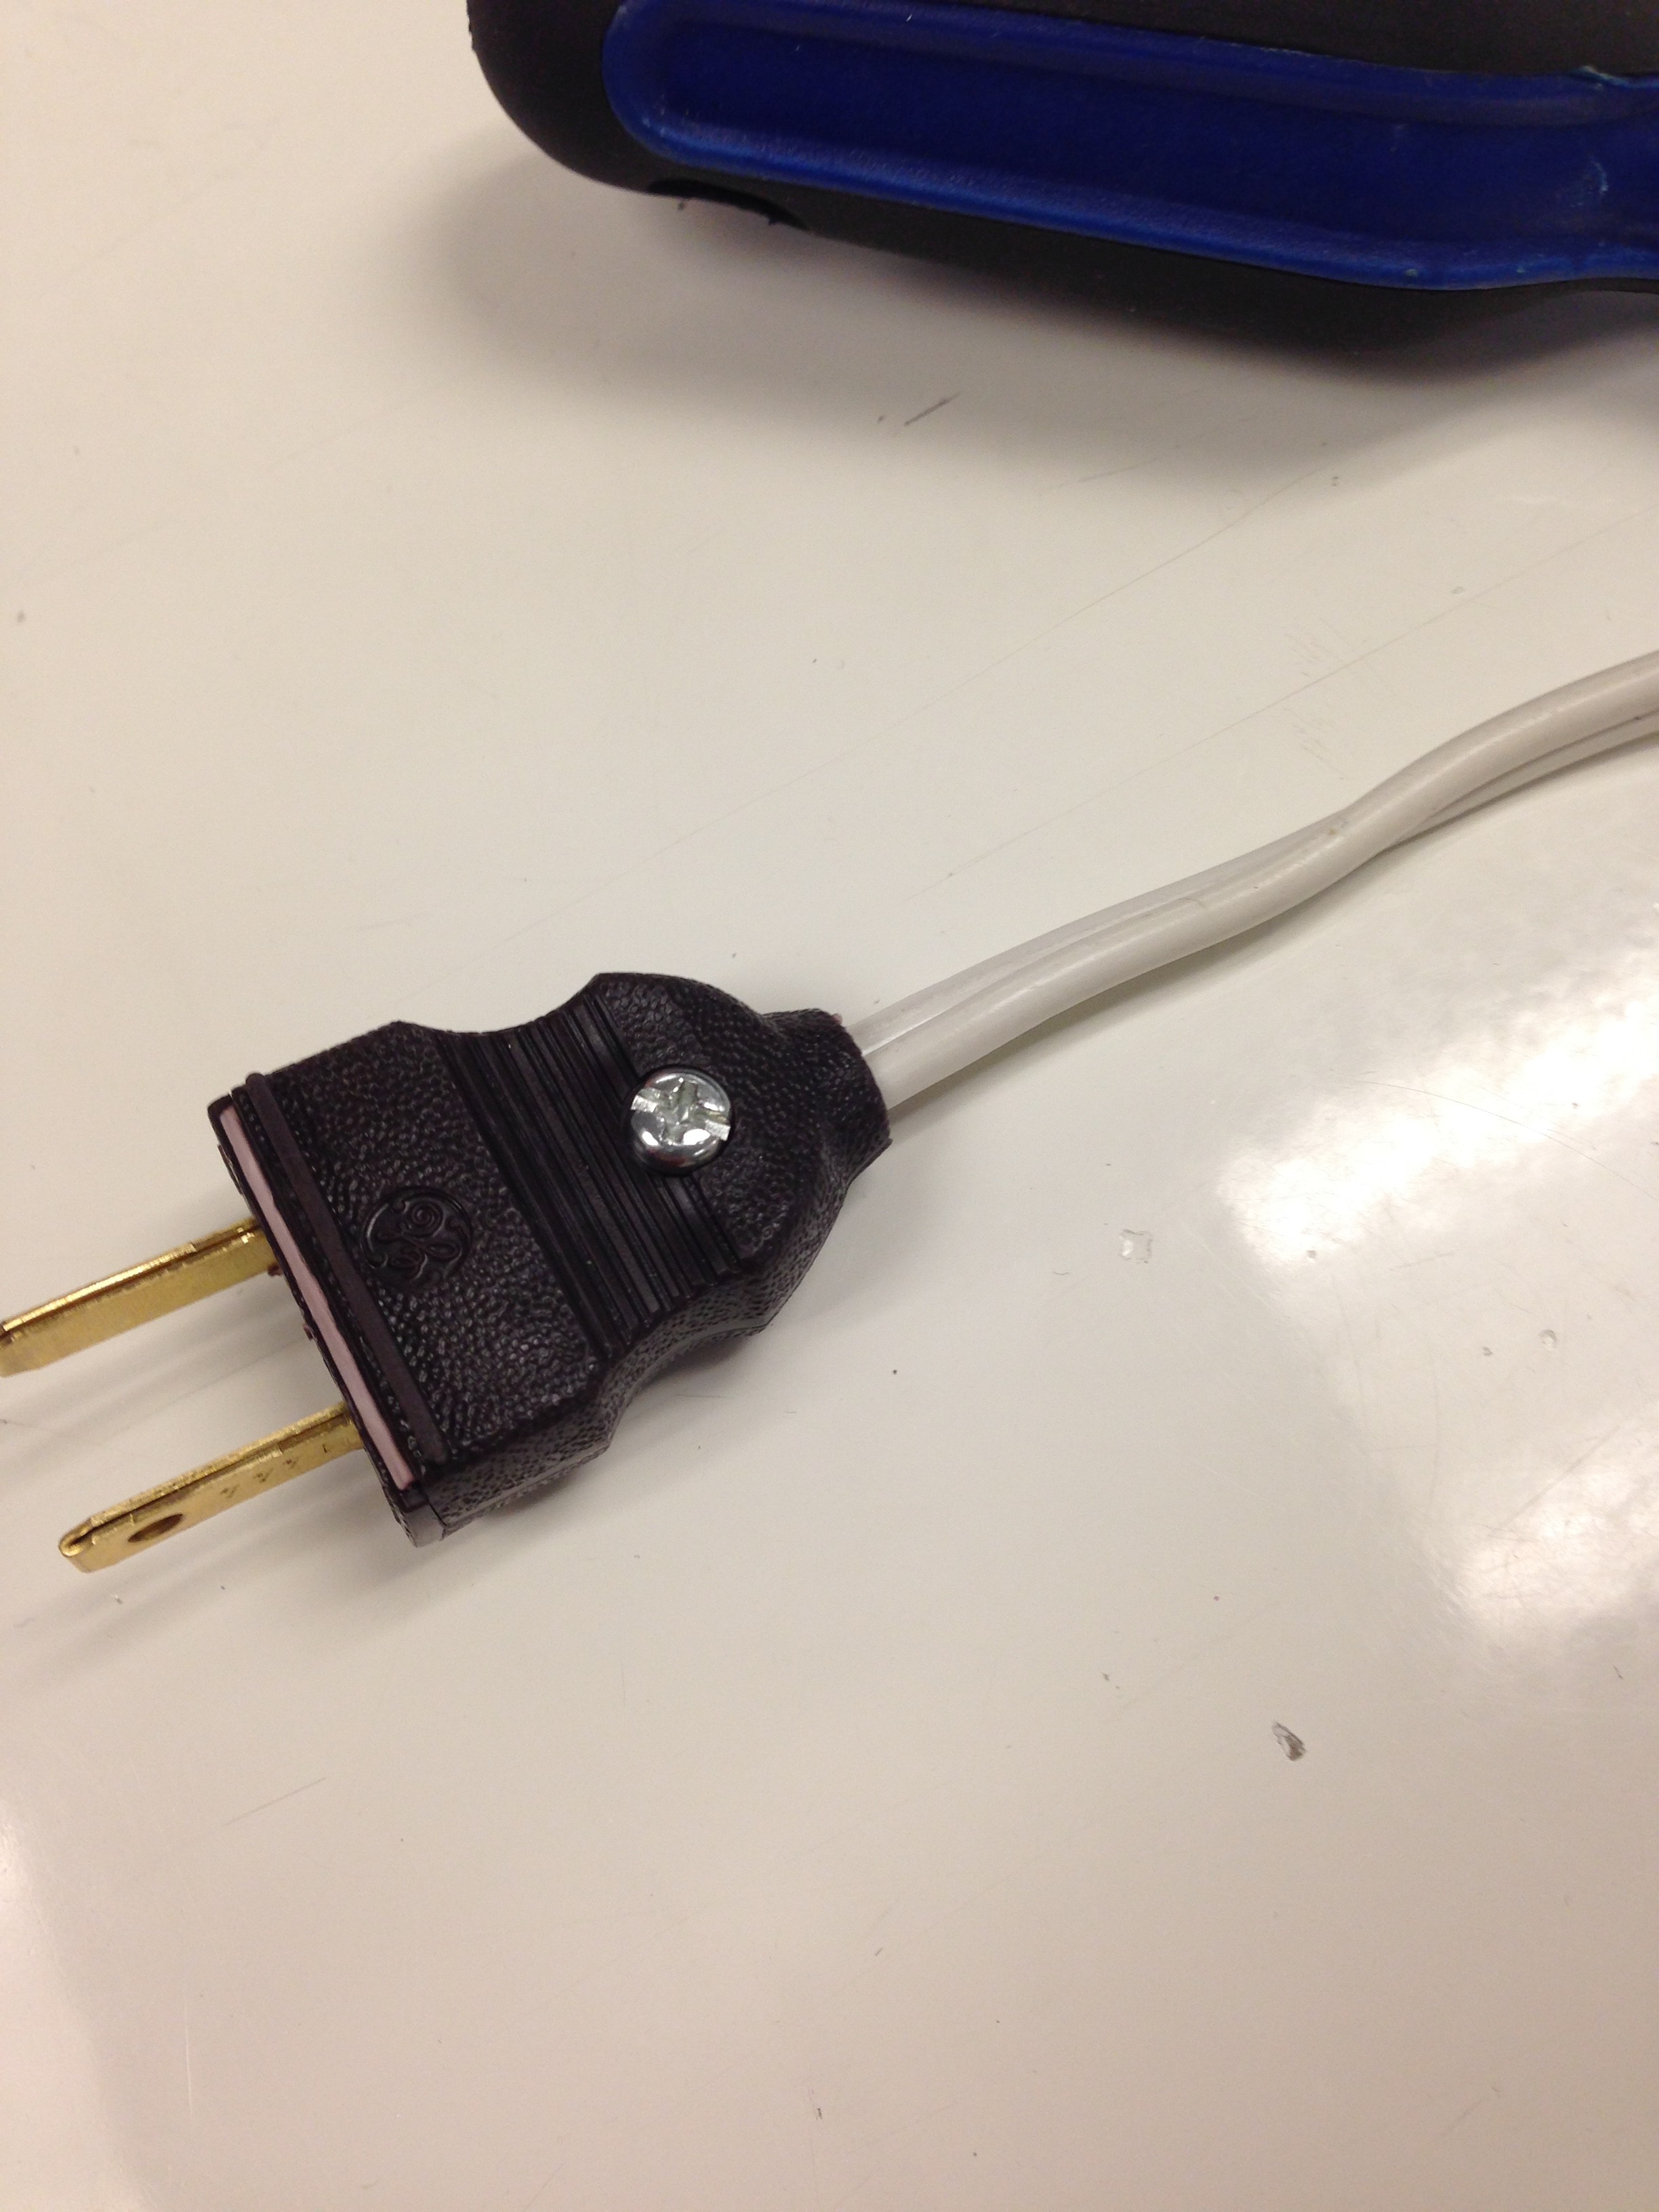
It really is that simple. Now, you have a lamp you fixed on your own. You also saved some money.
Just don’t forget to plug it in.