
Want to throw a bowl?
The Scoop recently sat down with Missouri State University ceramics professor Kevin Hughes to get a quick demonstration and his 10-step approach to making a basic bowl.
Check out this simple structure. If you think this is something that you might be interested in, you may want to check out some of Hughes’ classes for the fall semester.
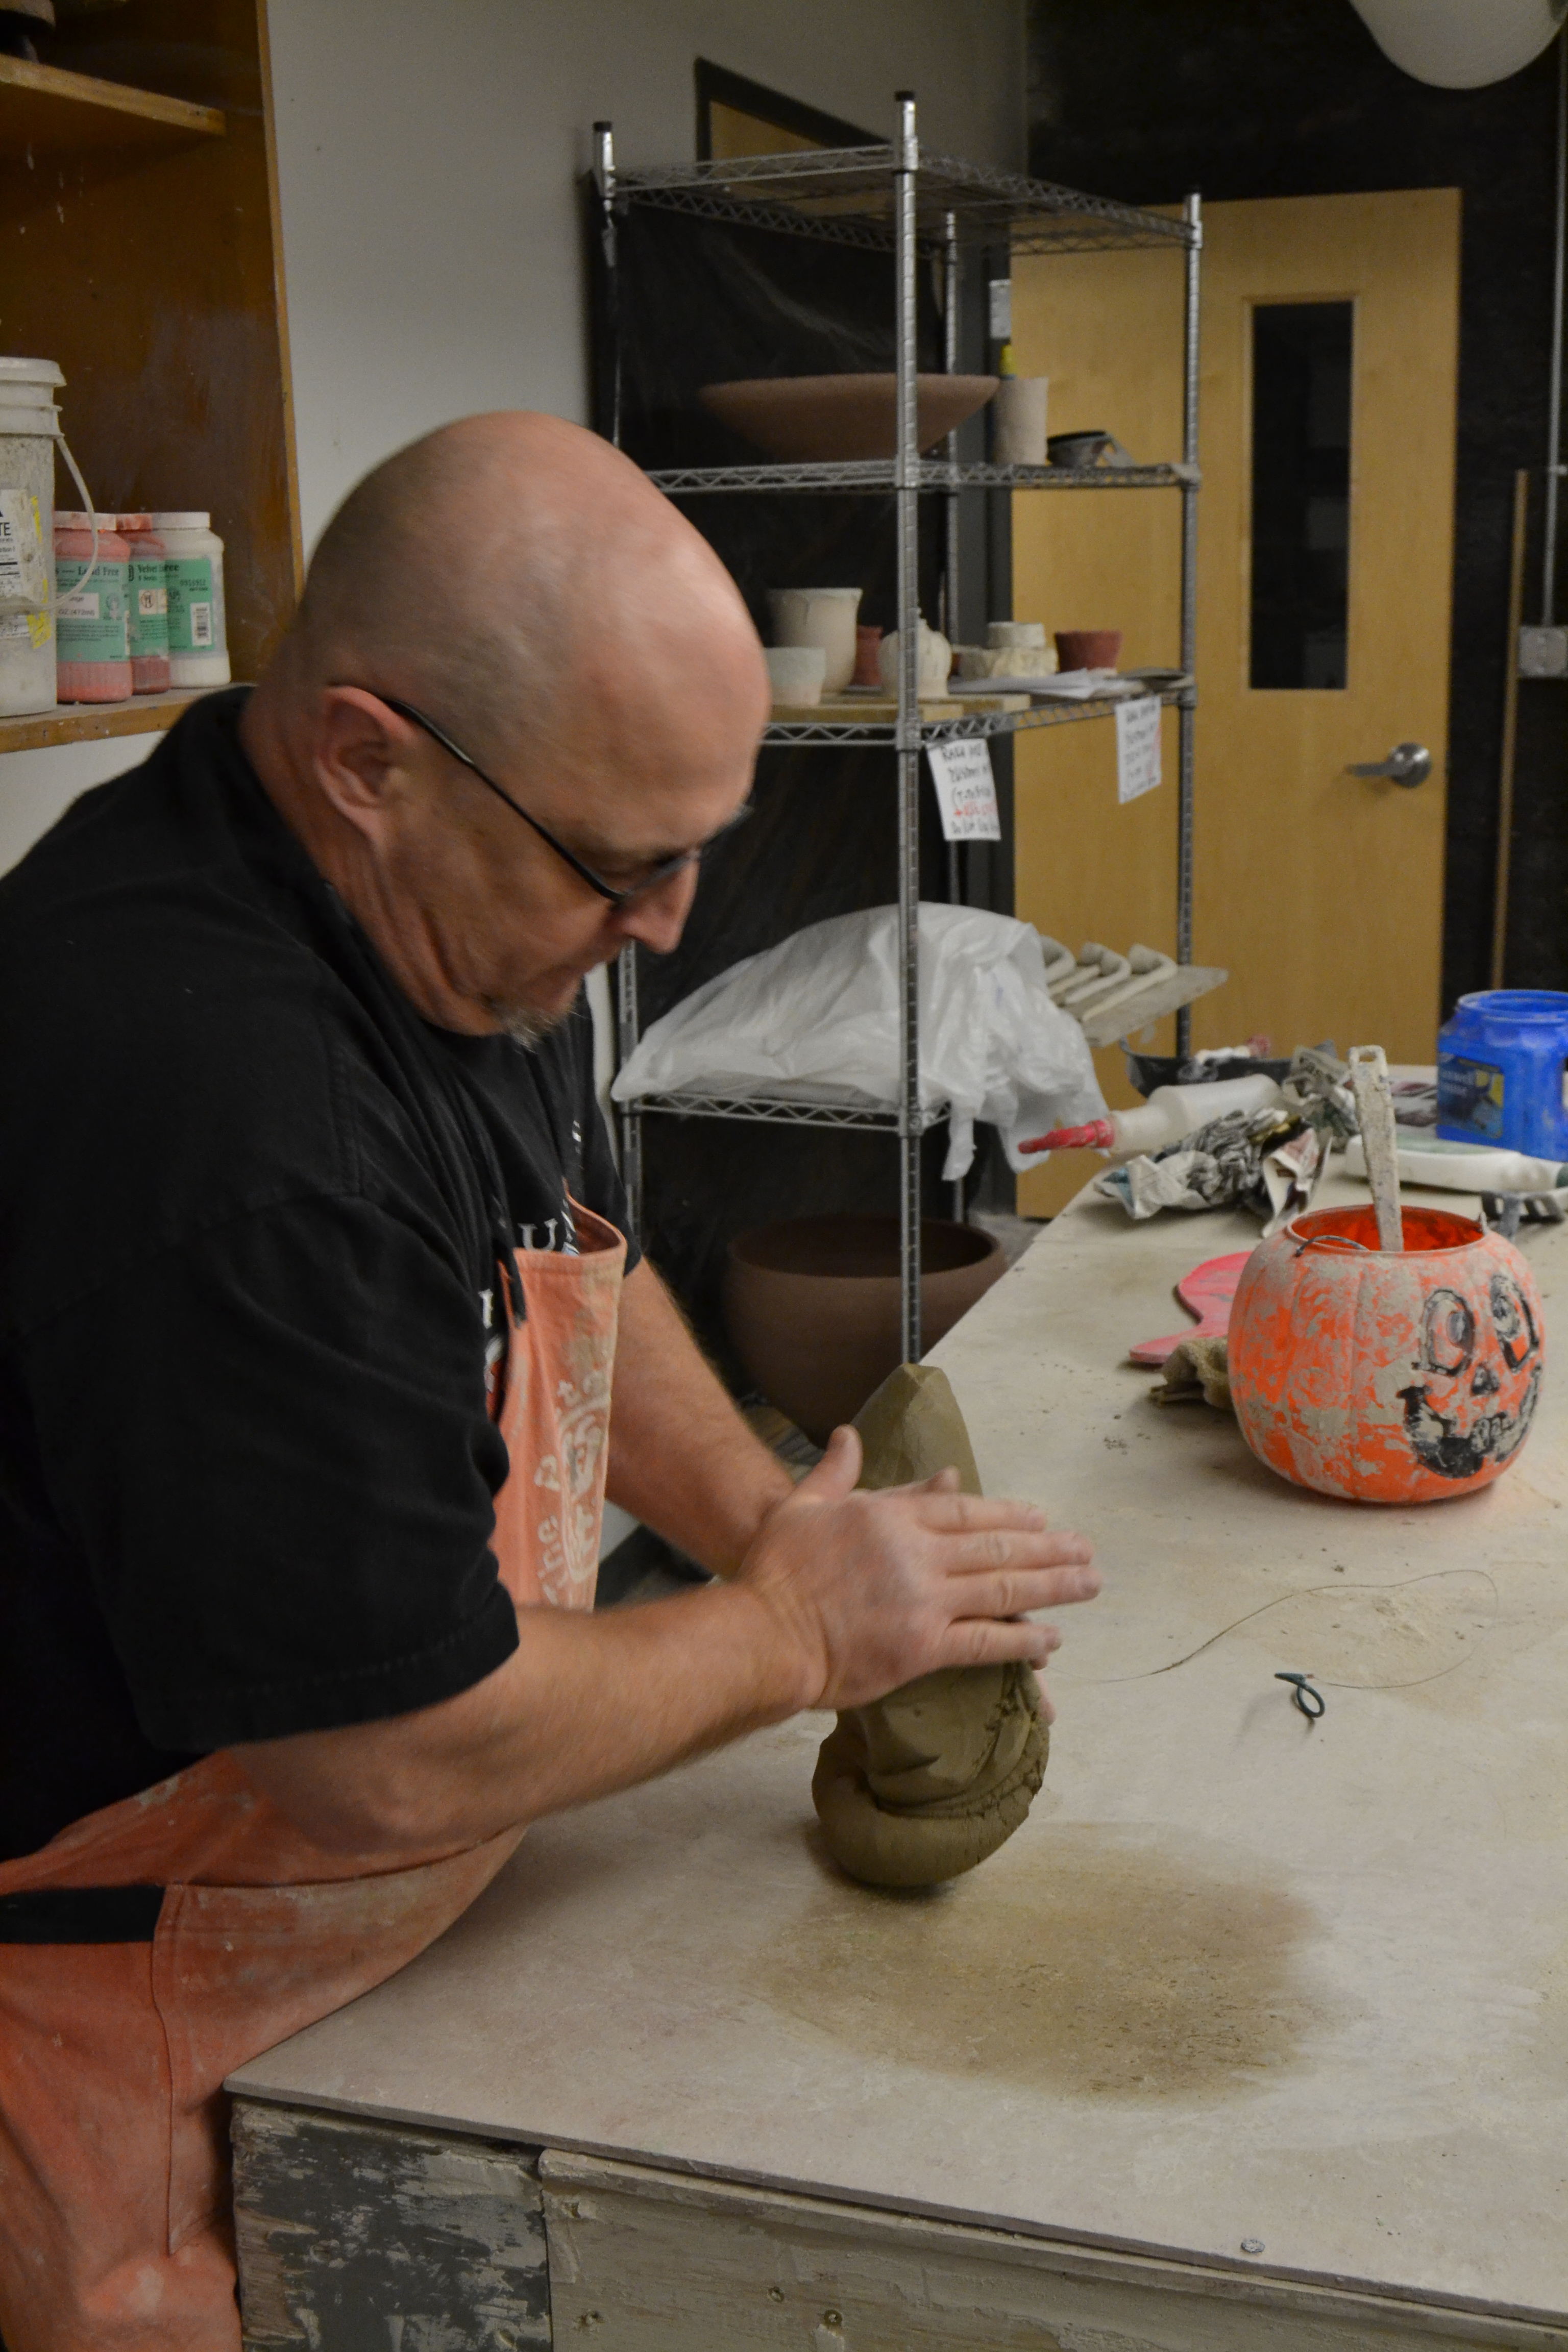
Step one: Wedge your clay
Wedge your clay by kneading it with both palms away from your body. The type of wedging that Hughes is demonstrating is called “spiral” wedging, which will force out any air pockets in the clay, making it more homogeneous.
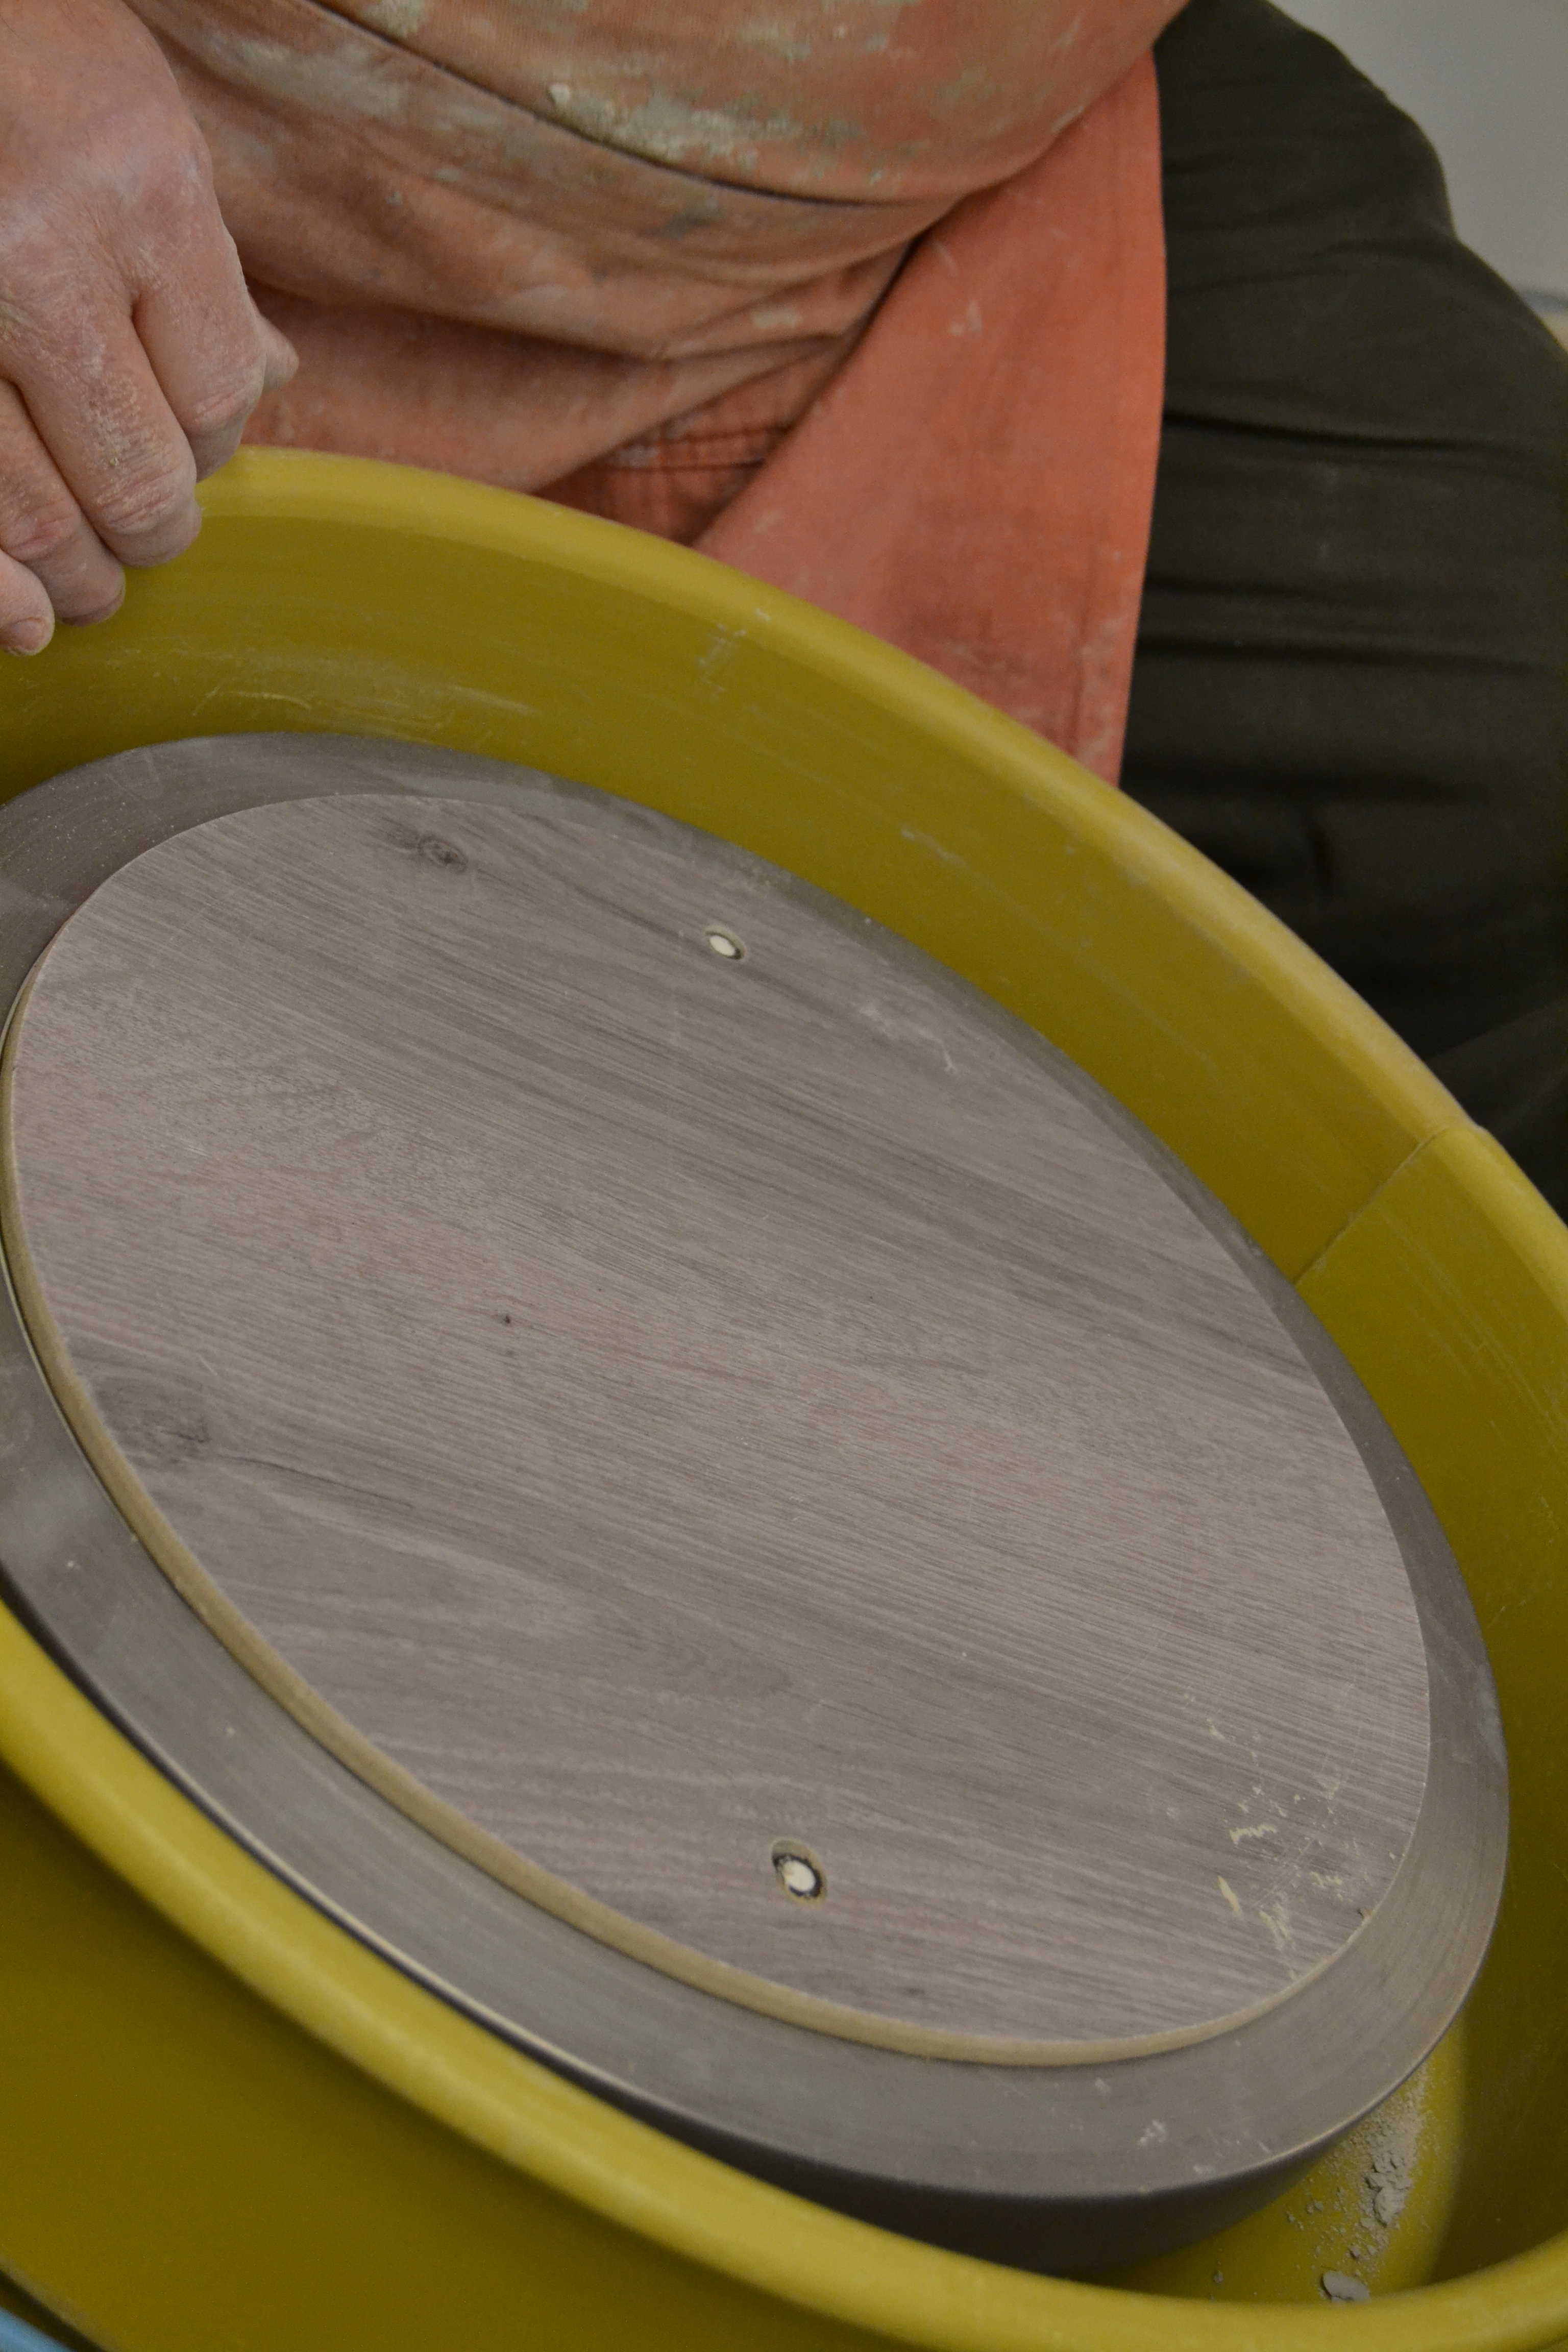
Step two: Attach a bat
Attach a bat — a removable board that makes it easier to remove the clay work — to the head of your wheel. Once the bat is attached, make sure that the wheel area is prepared with the needed utensils, a bucket of water, and a sponge.
Step three: Attach the clay
Attach your ball of clay to the center of the wheel. It may require a bit of force.
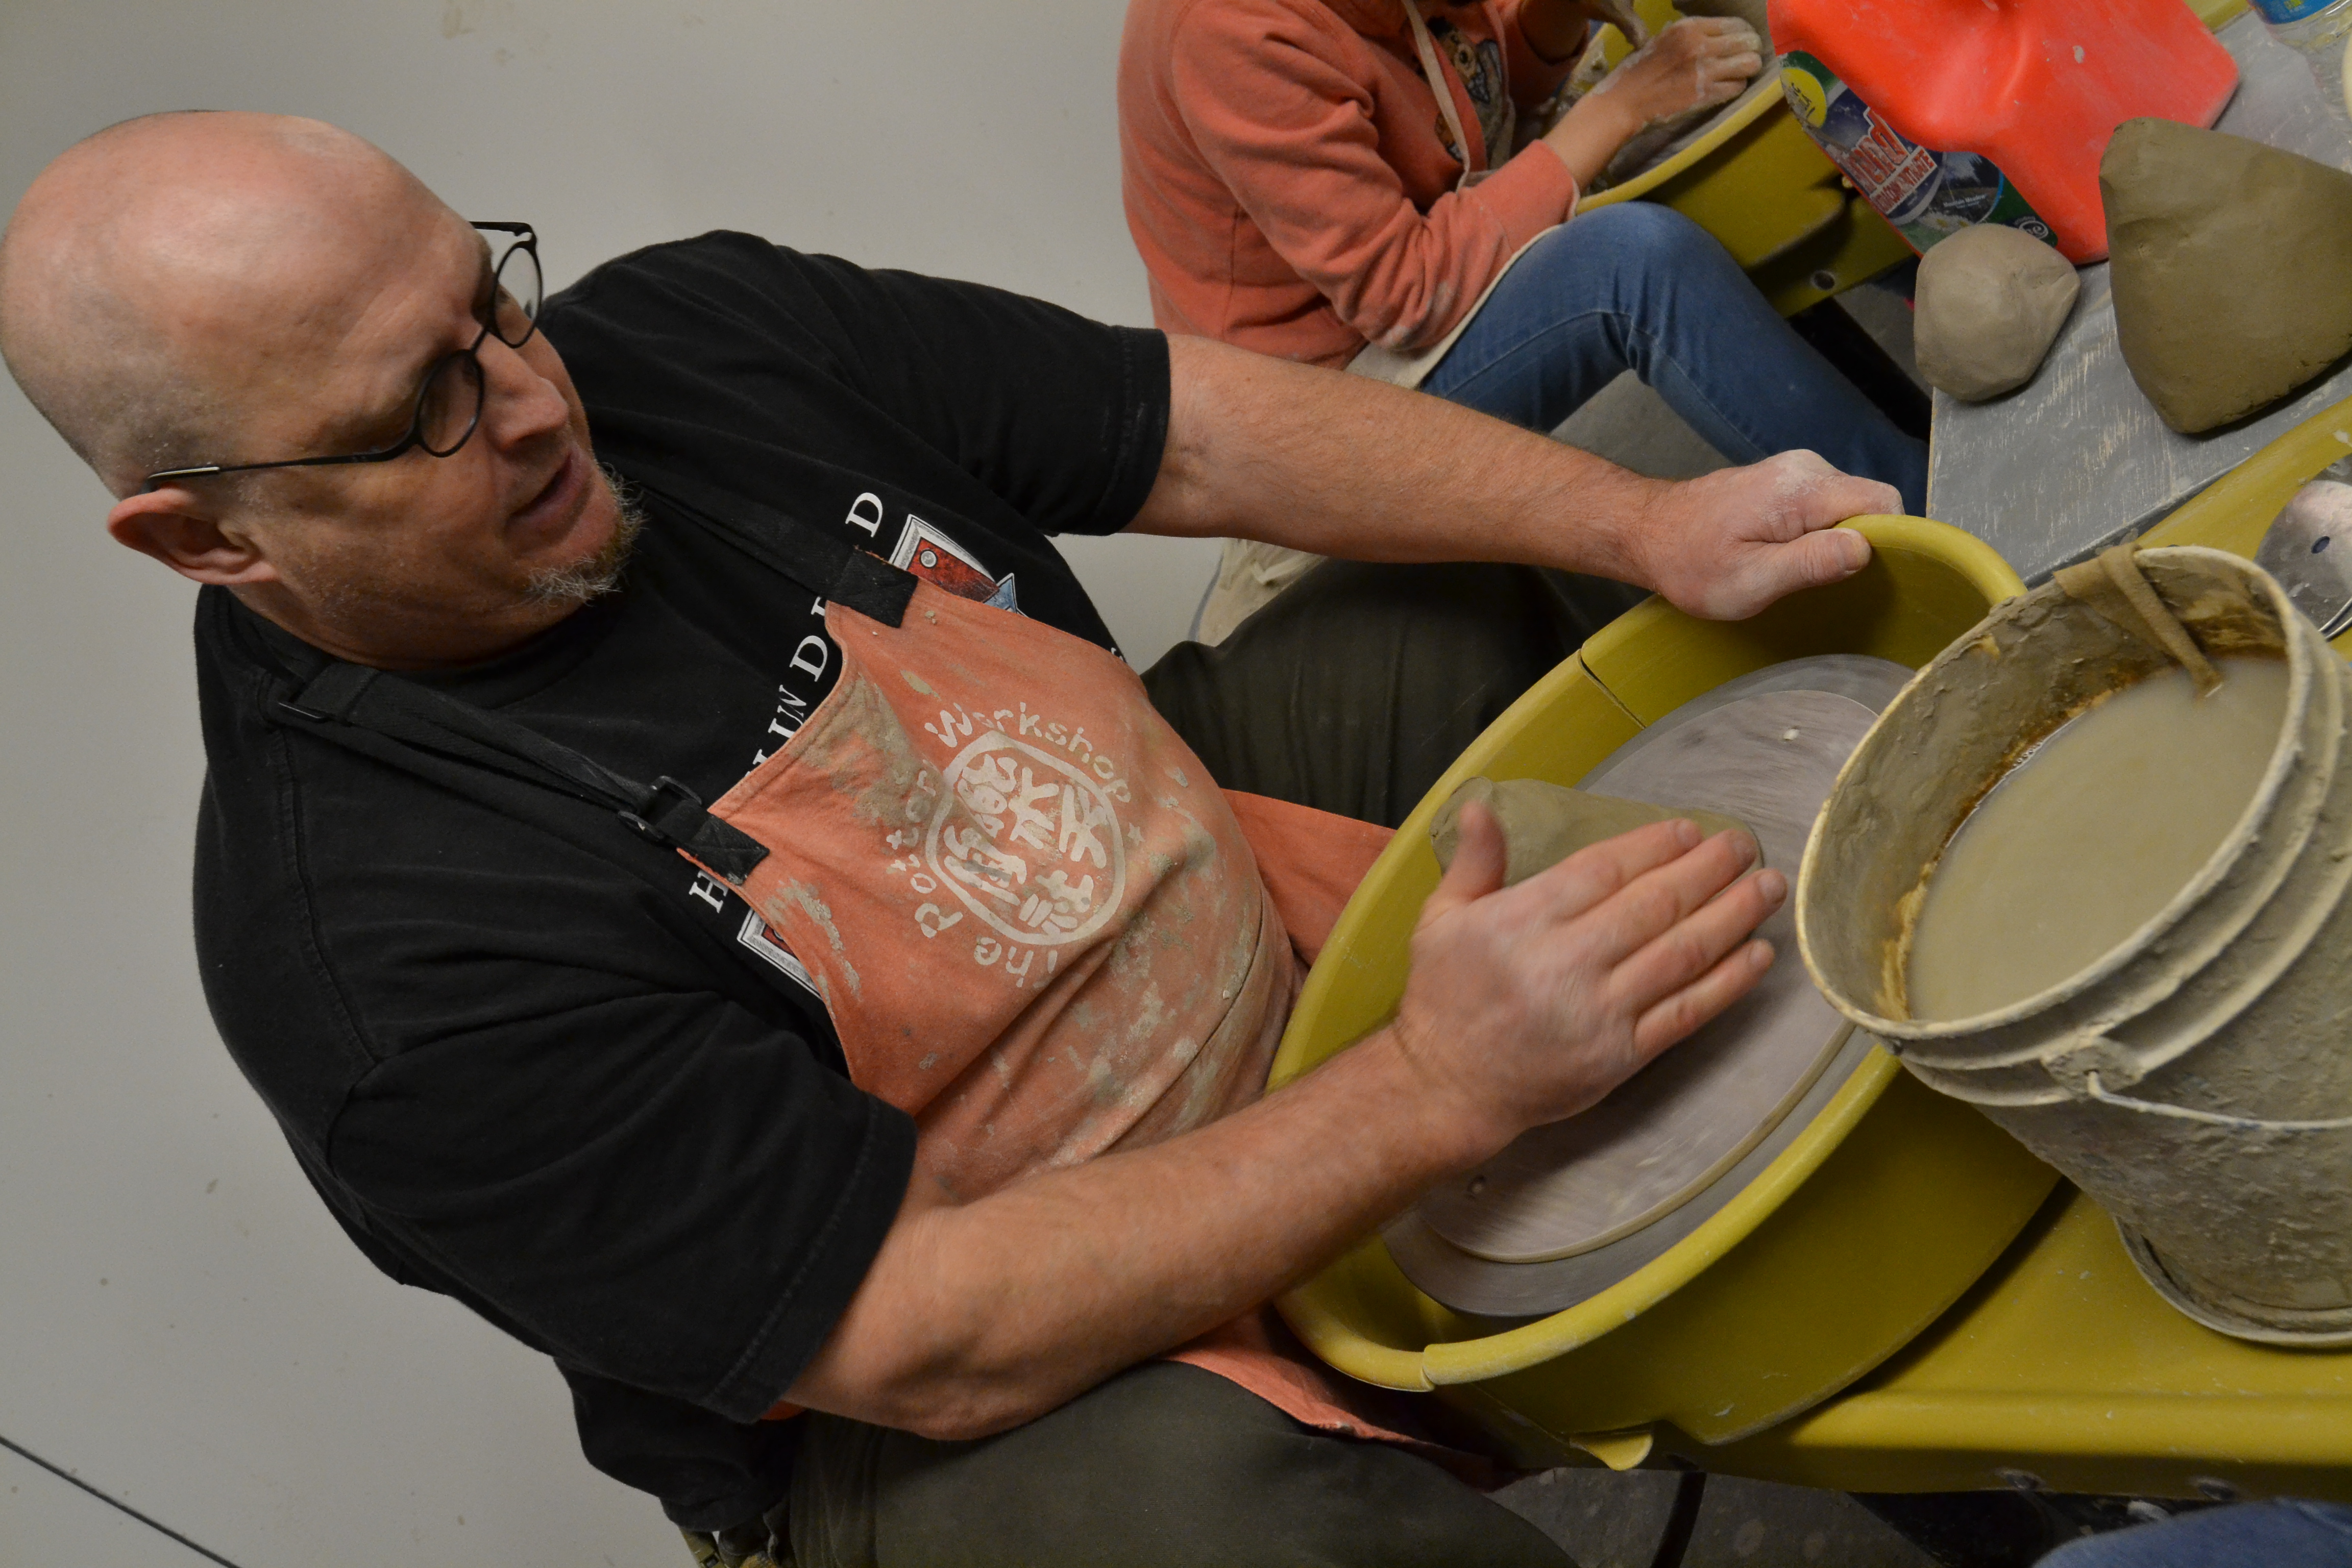
Step four: Make a cone
Make a cone as symmetrical as possible with the clay. From this point forward, the wheel must be spinning at all times when touching the clay. The clay also needs to be kept wet by the sponge that you should have by your bucket of water.
Step five: Push the cone down
Push the cone down by using one hand to stabilize the outside and the other to push downward with the outer palm.

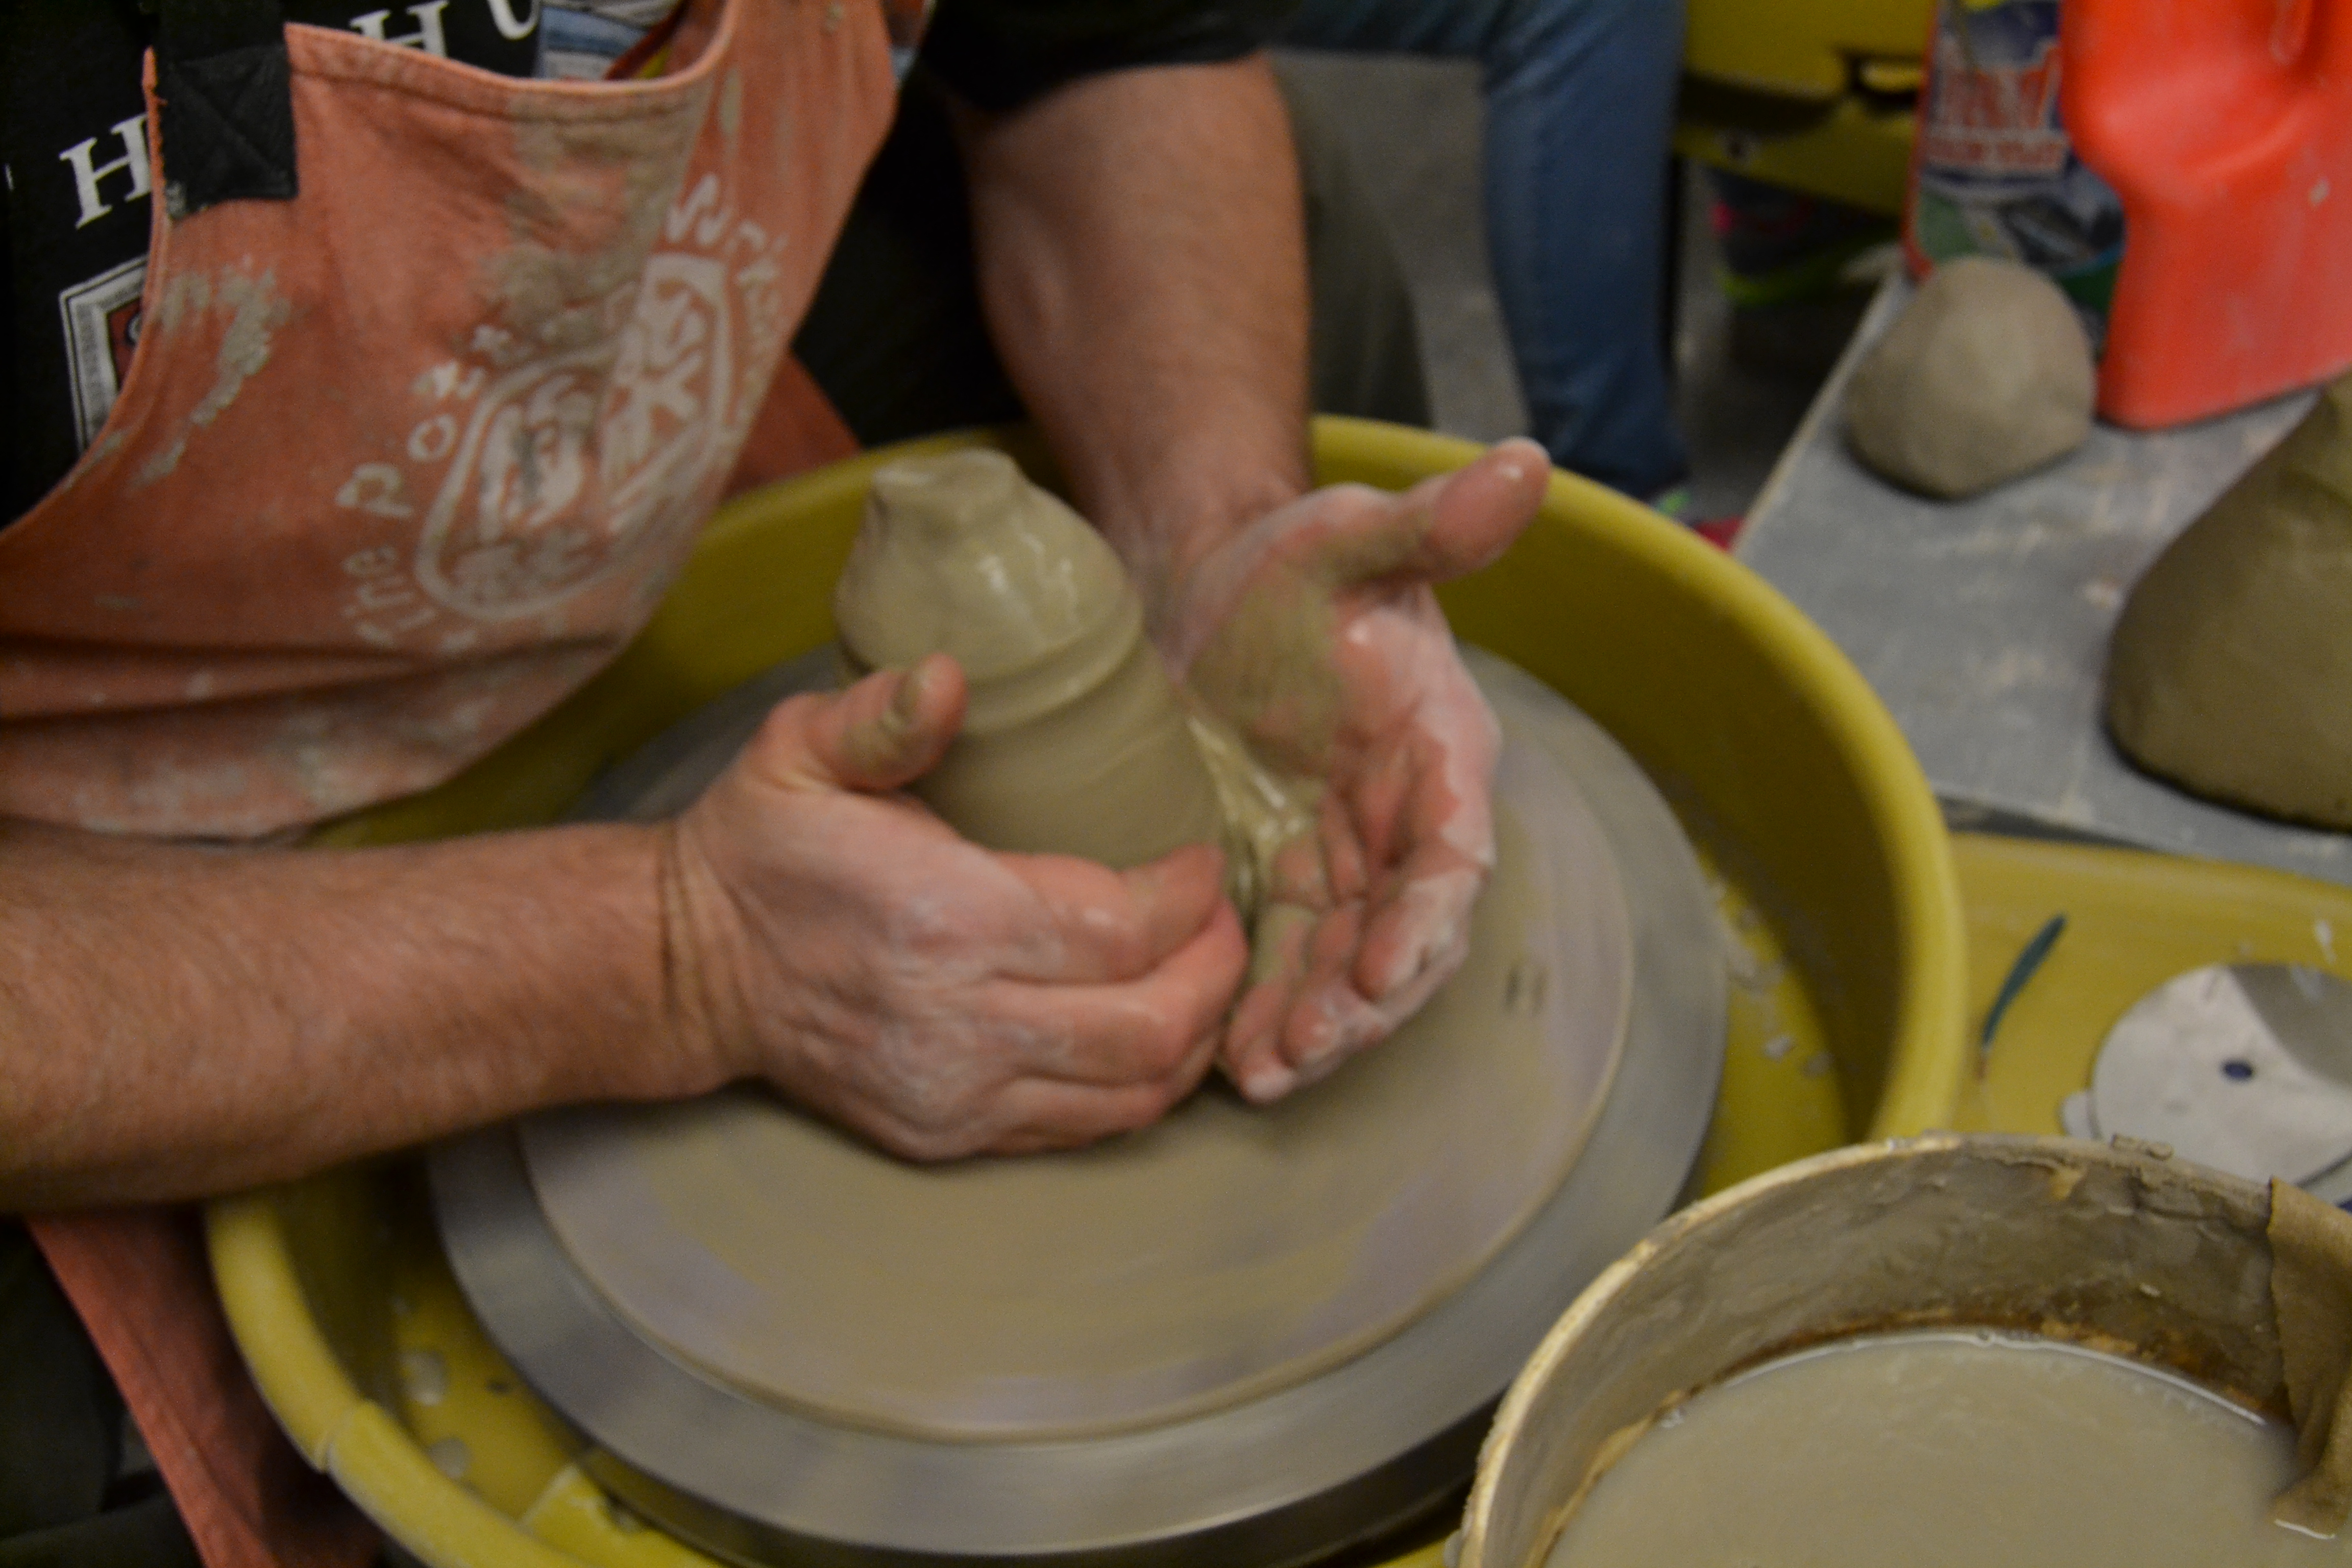
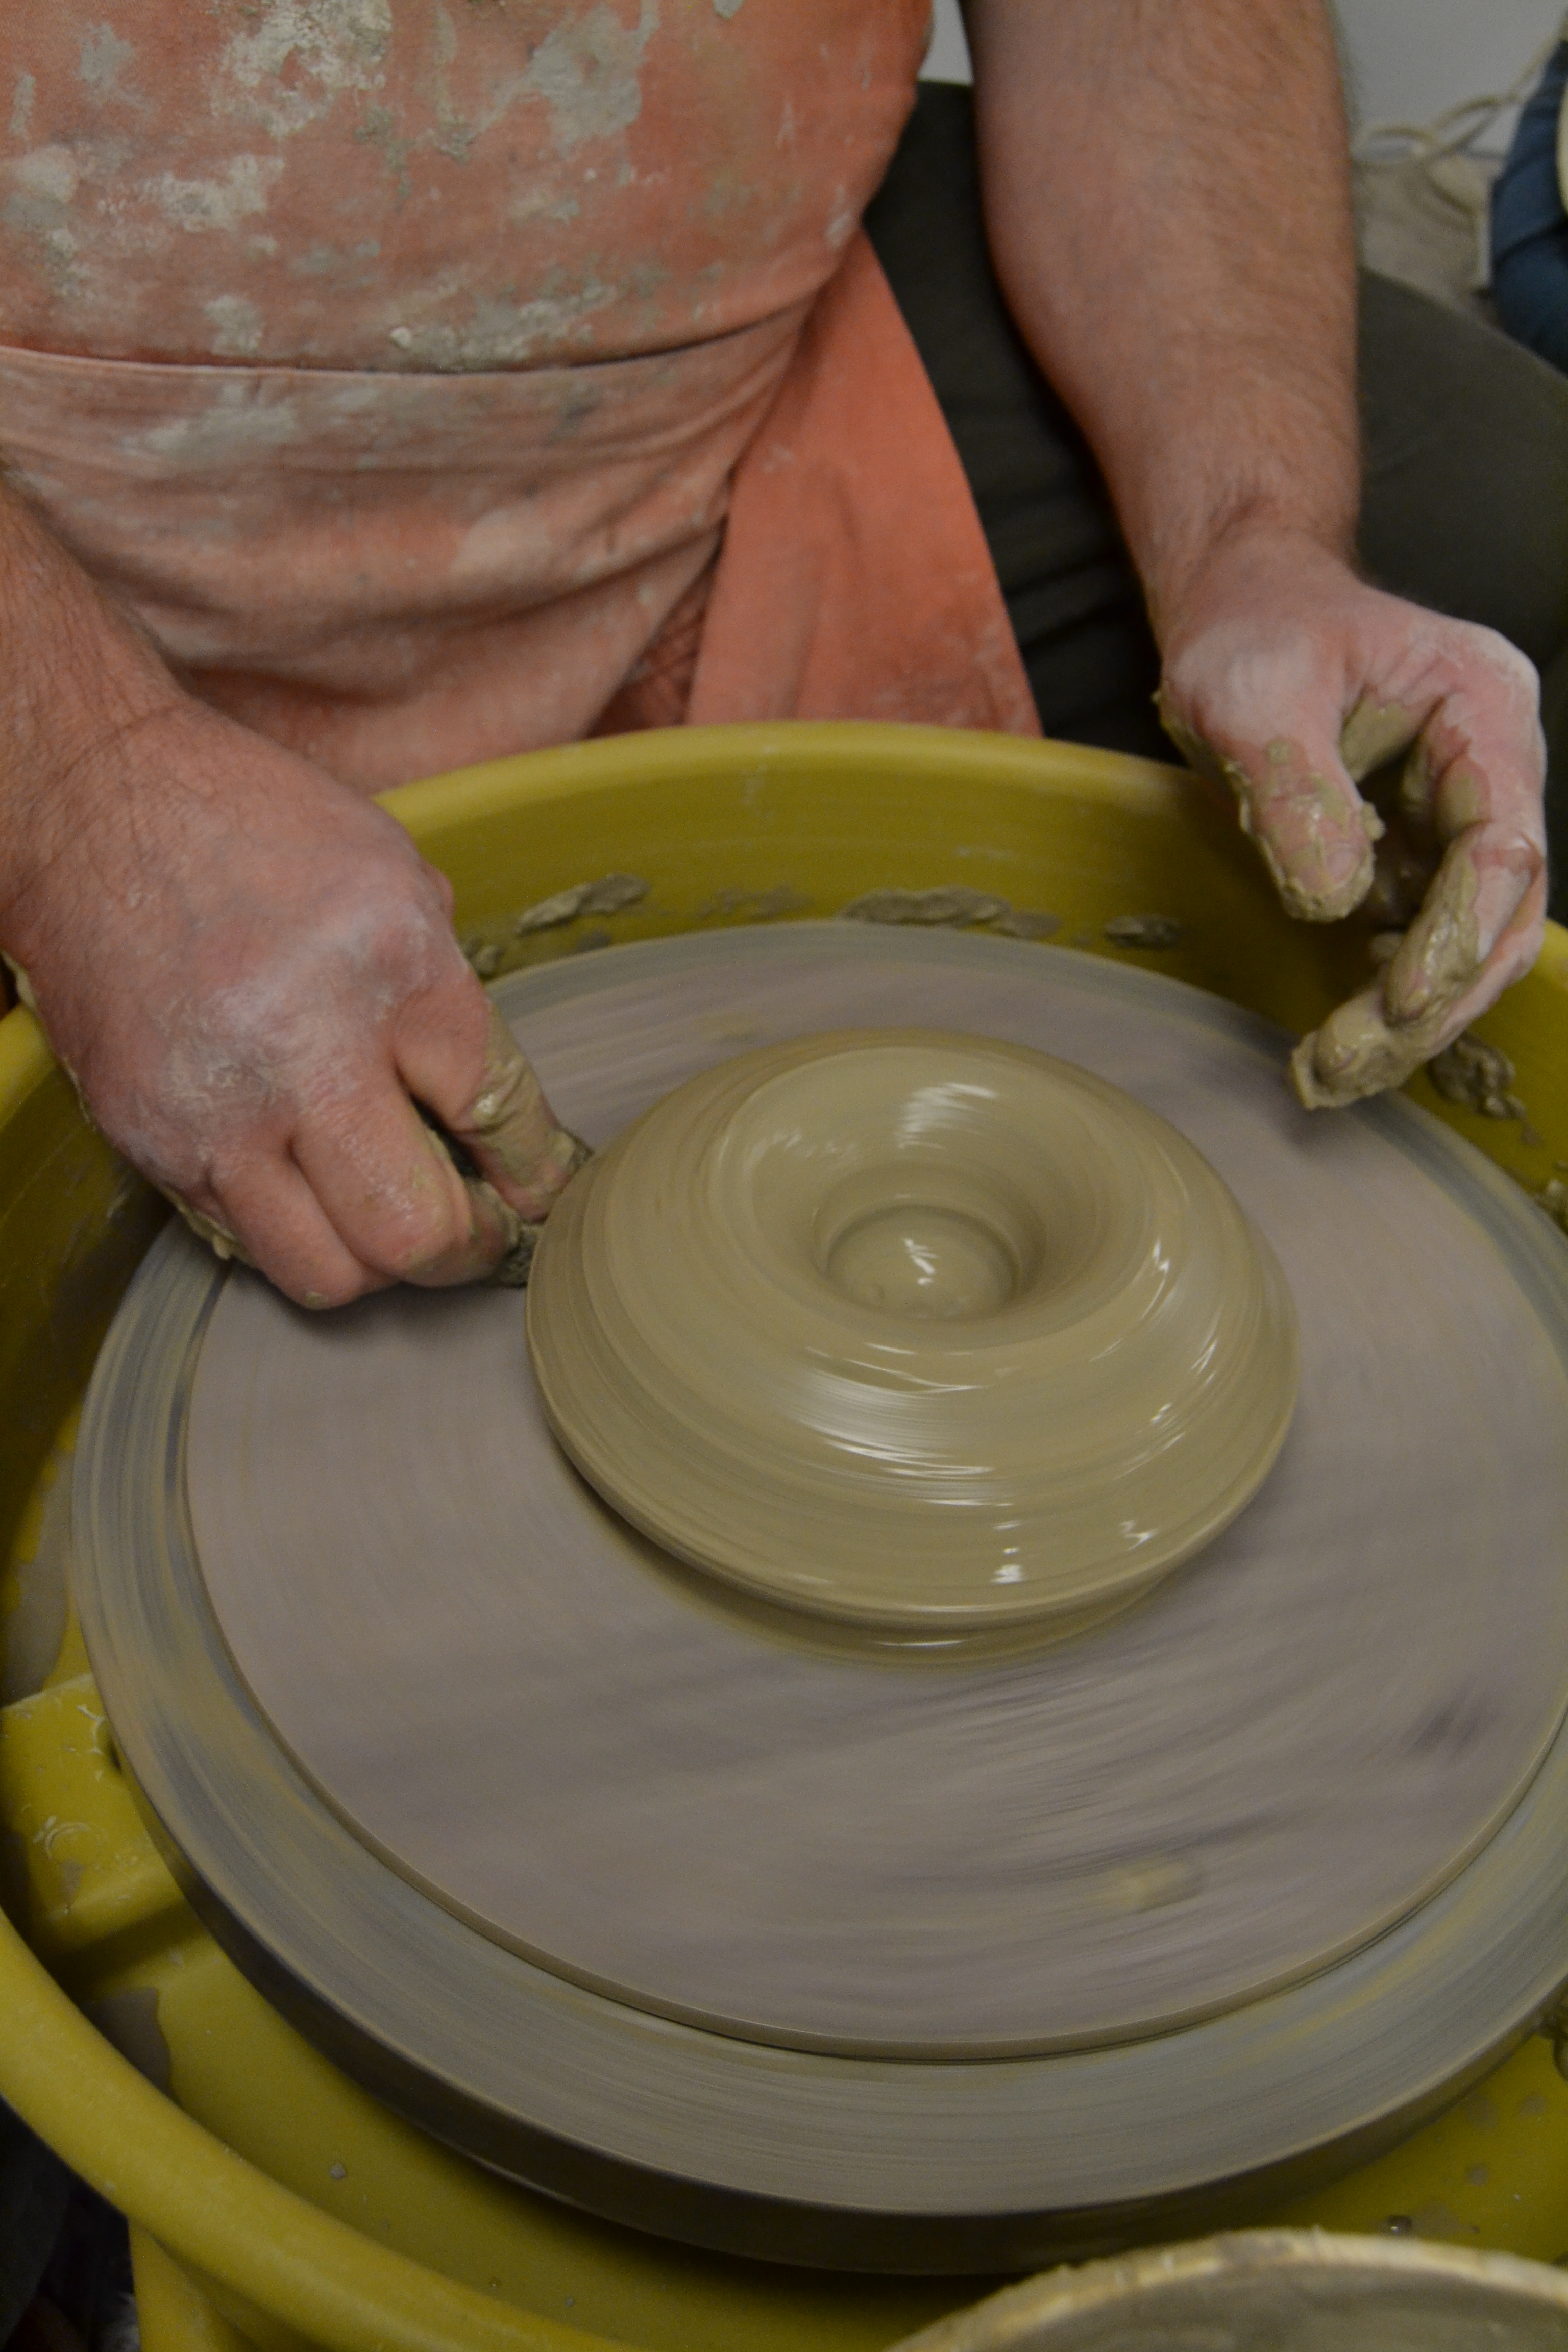
Step six: Open up the clay
Open up the clay by first, gently pushing both thumbs downward in the middle. Once you have created a small opening, pull outward with your thumbs. When finished, the clay should resemble a doughnut.
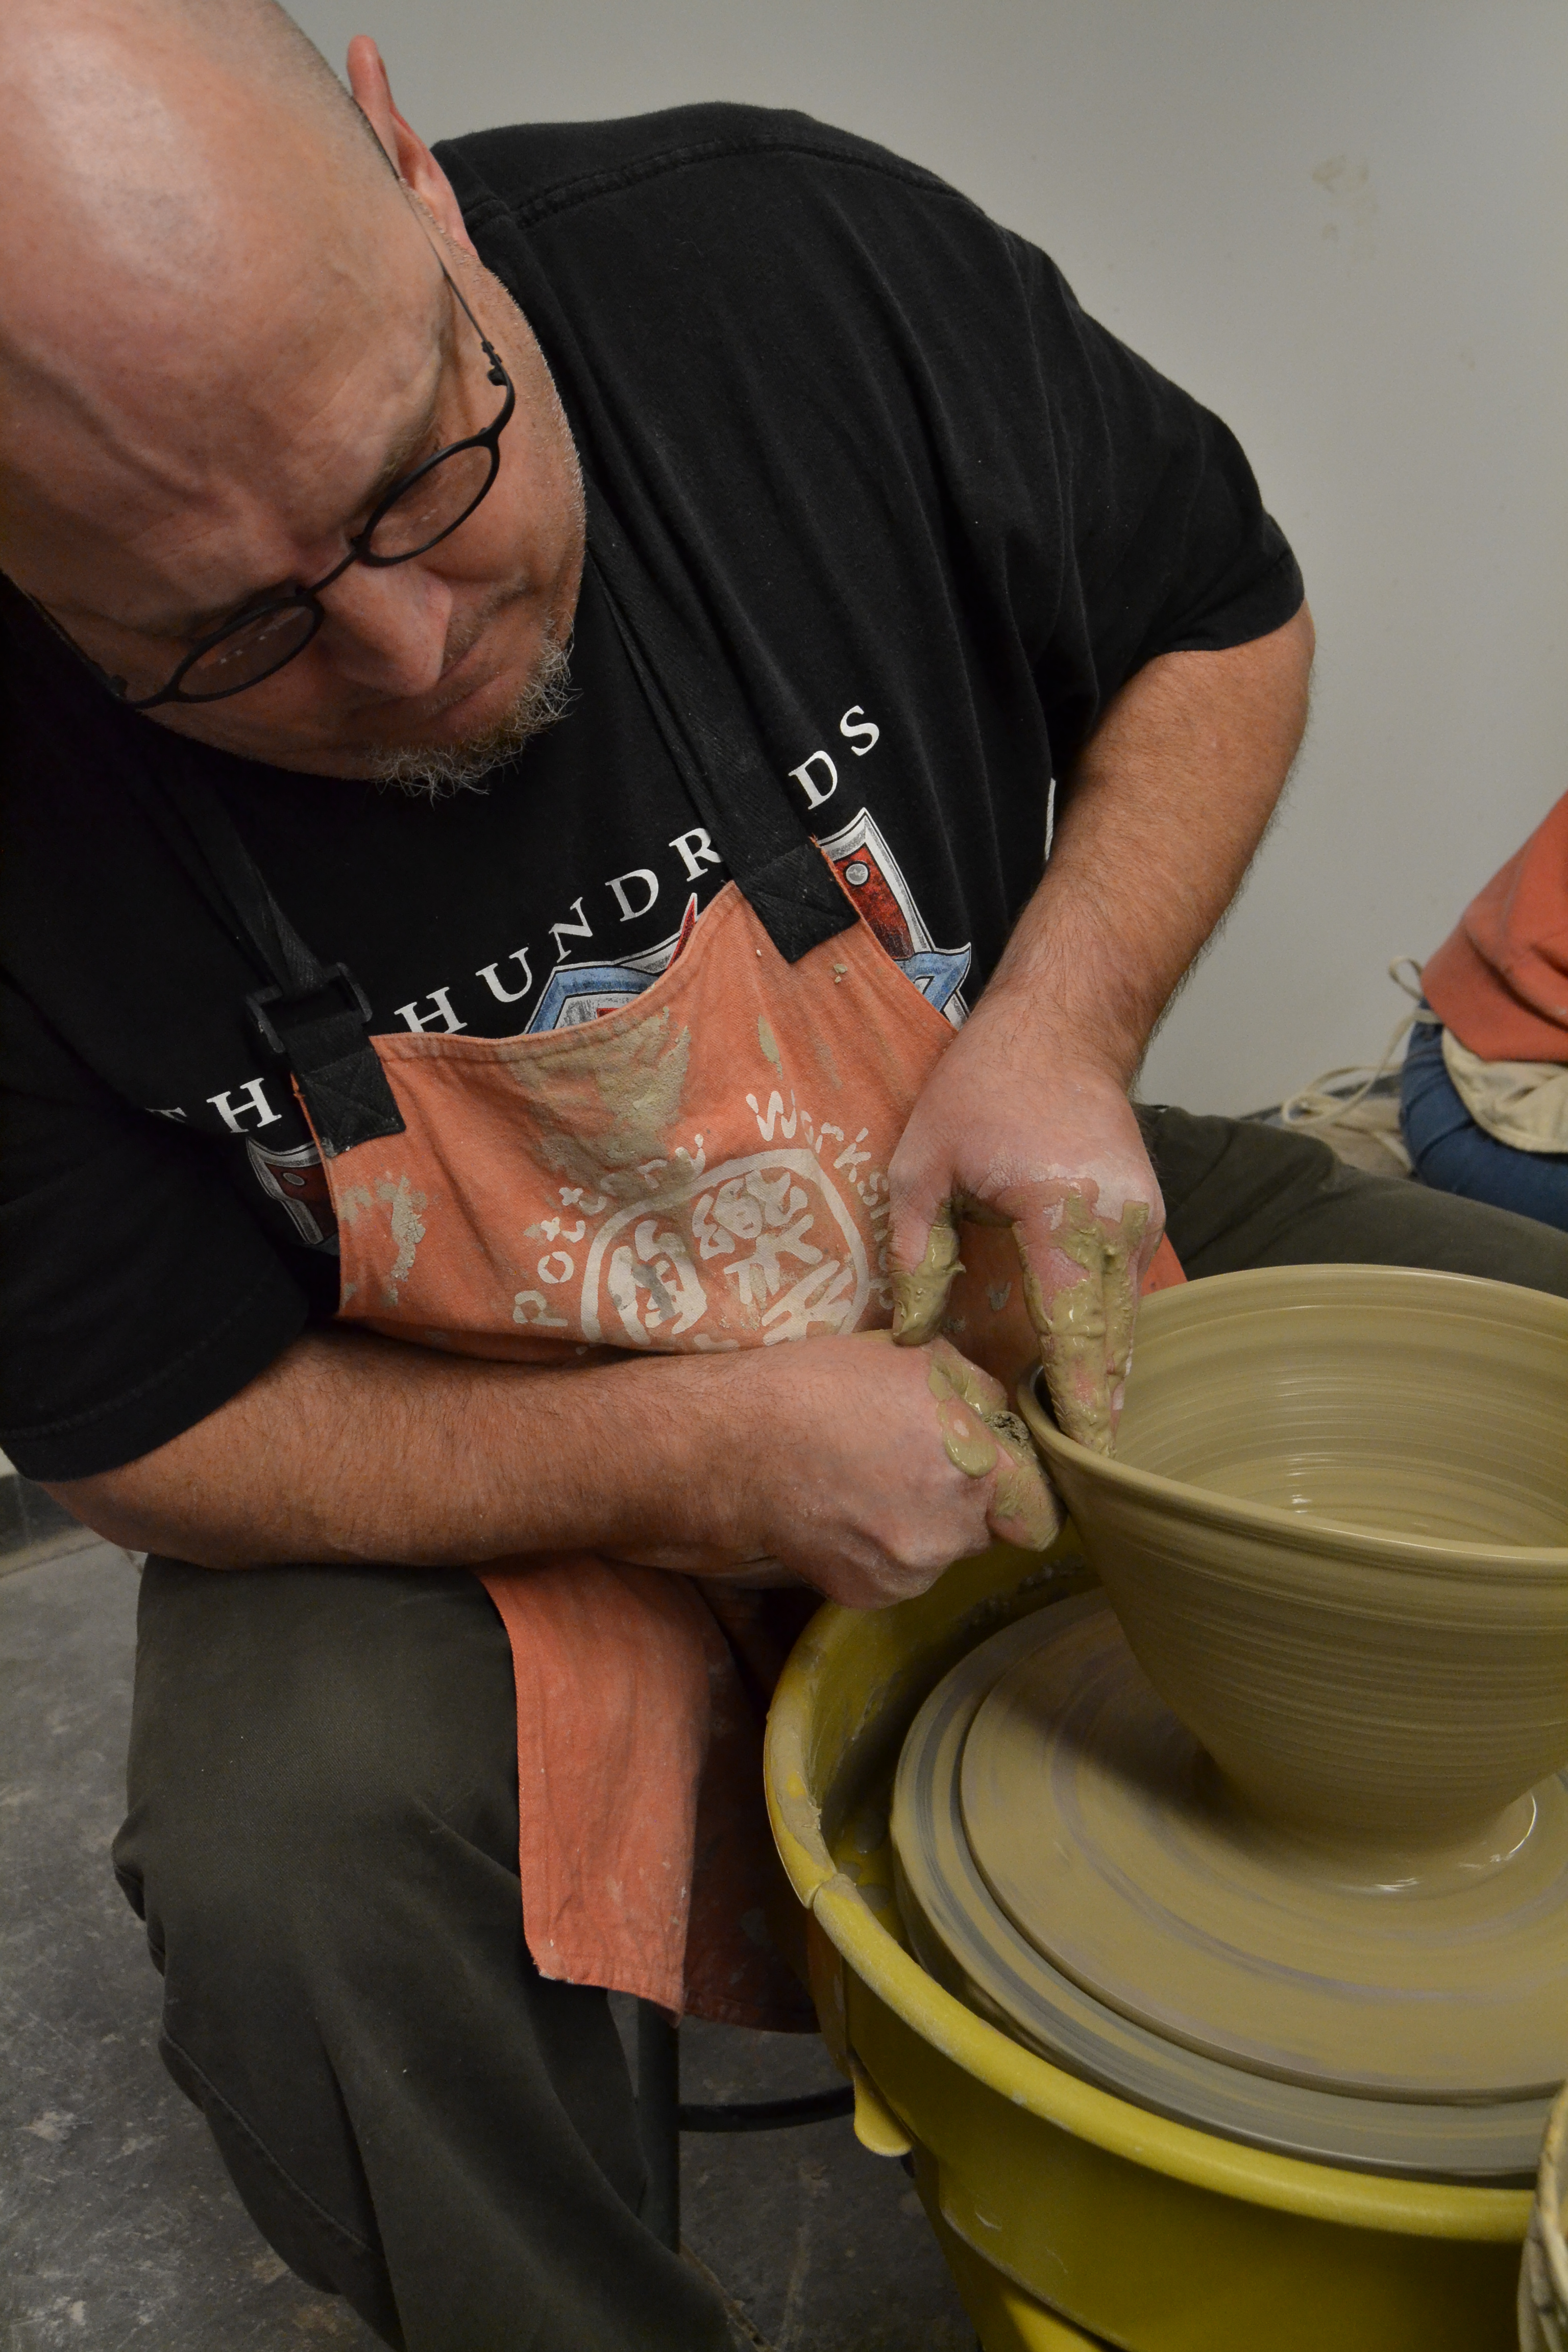
Step seven: Create the walls
Pull the walls up and outward, a process that can get a bit tricky. Use one hand to stabilize the outside of the structure. With the other hand, gently push outward and up from the inner hole while holding the small sponge. Do this until the thickness of the wall measures to roughly a quarter of an inch.

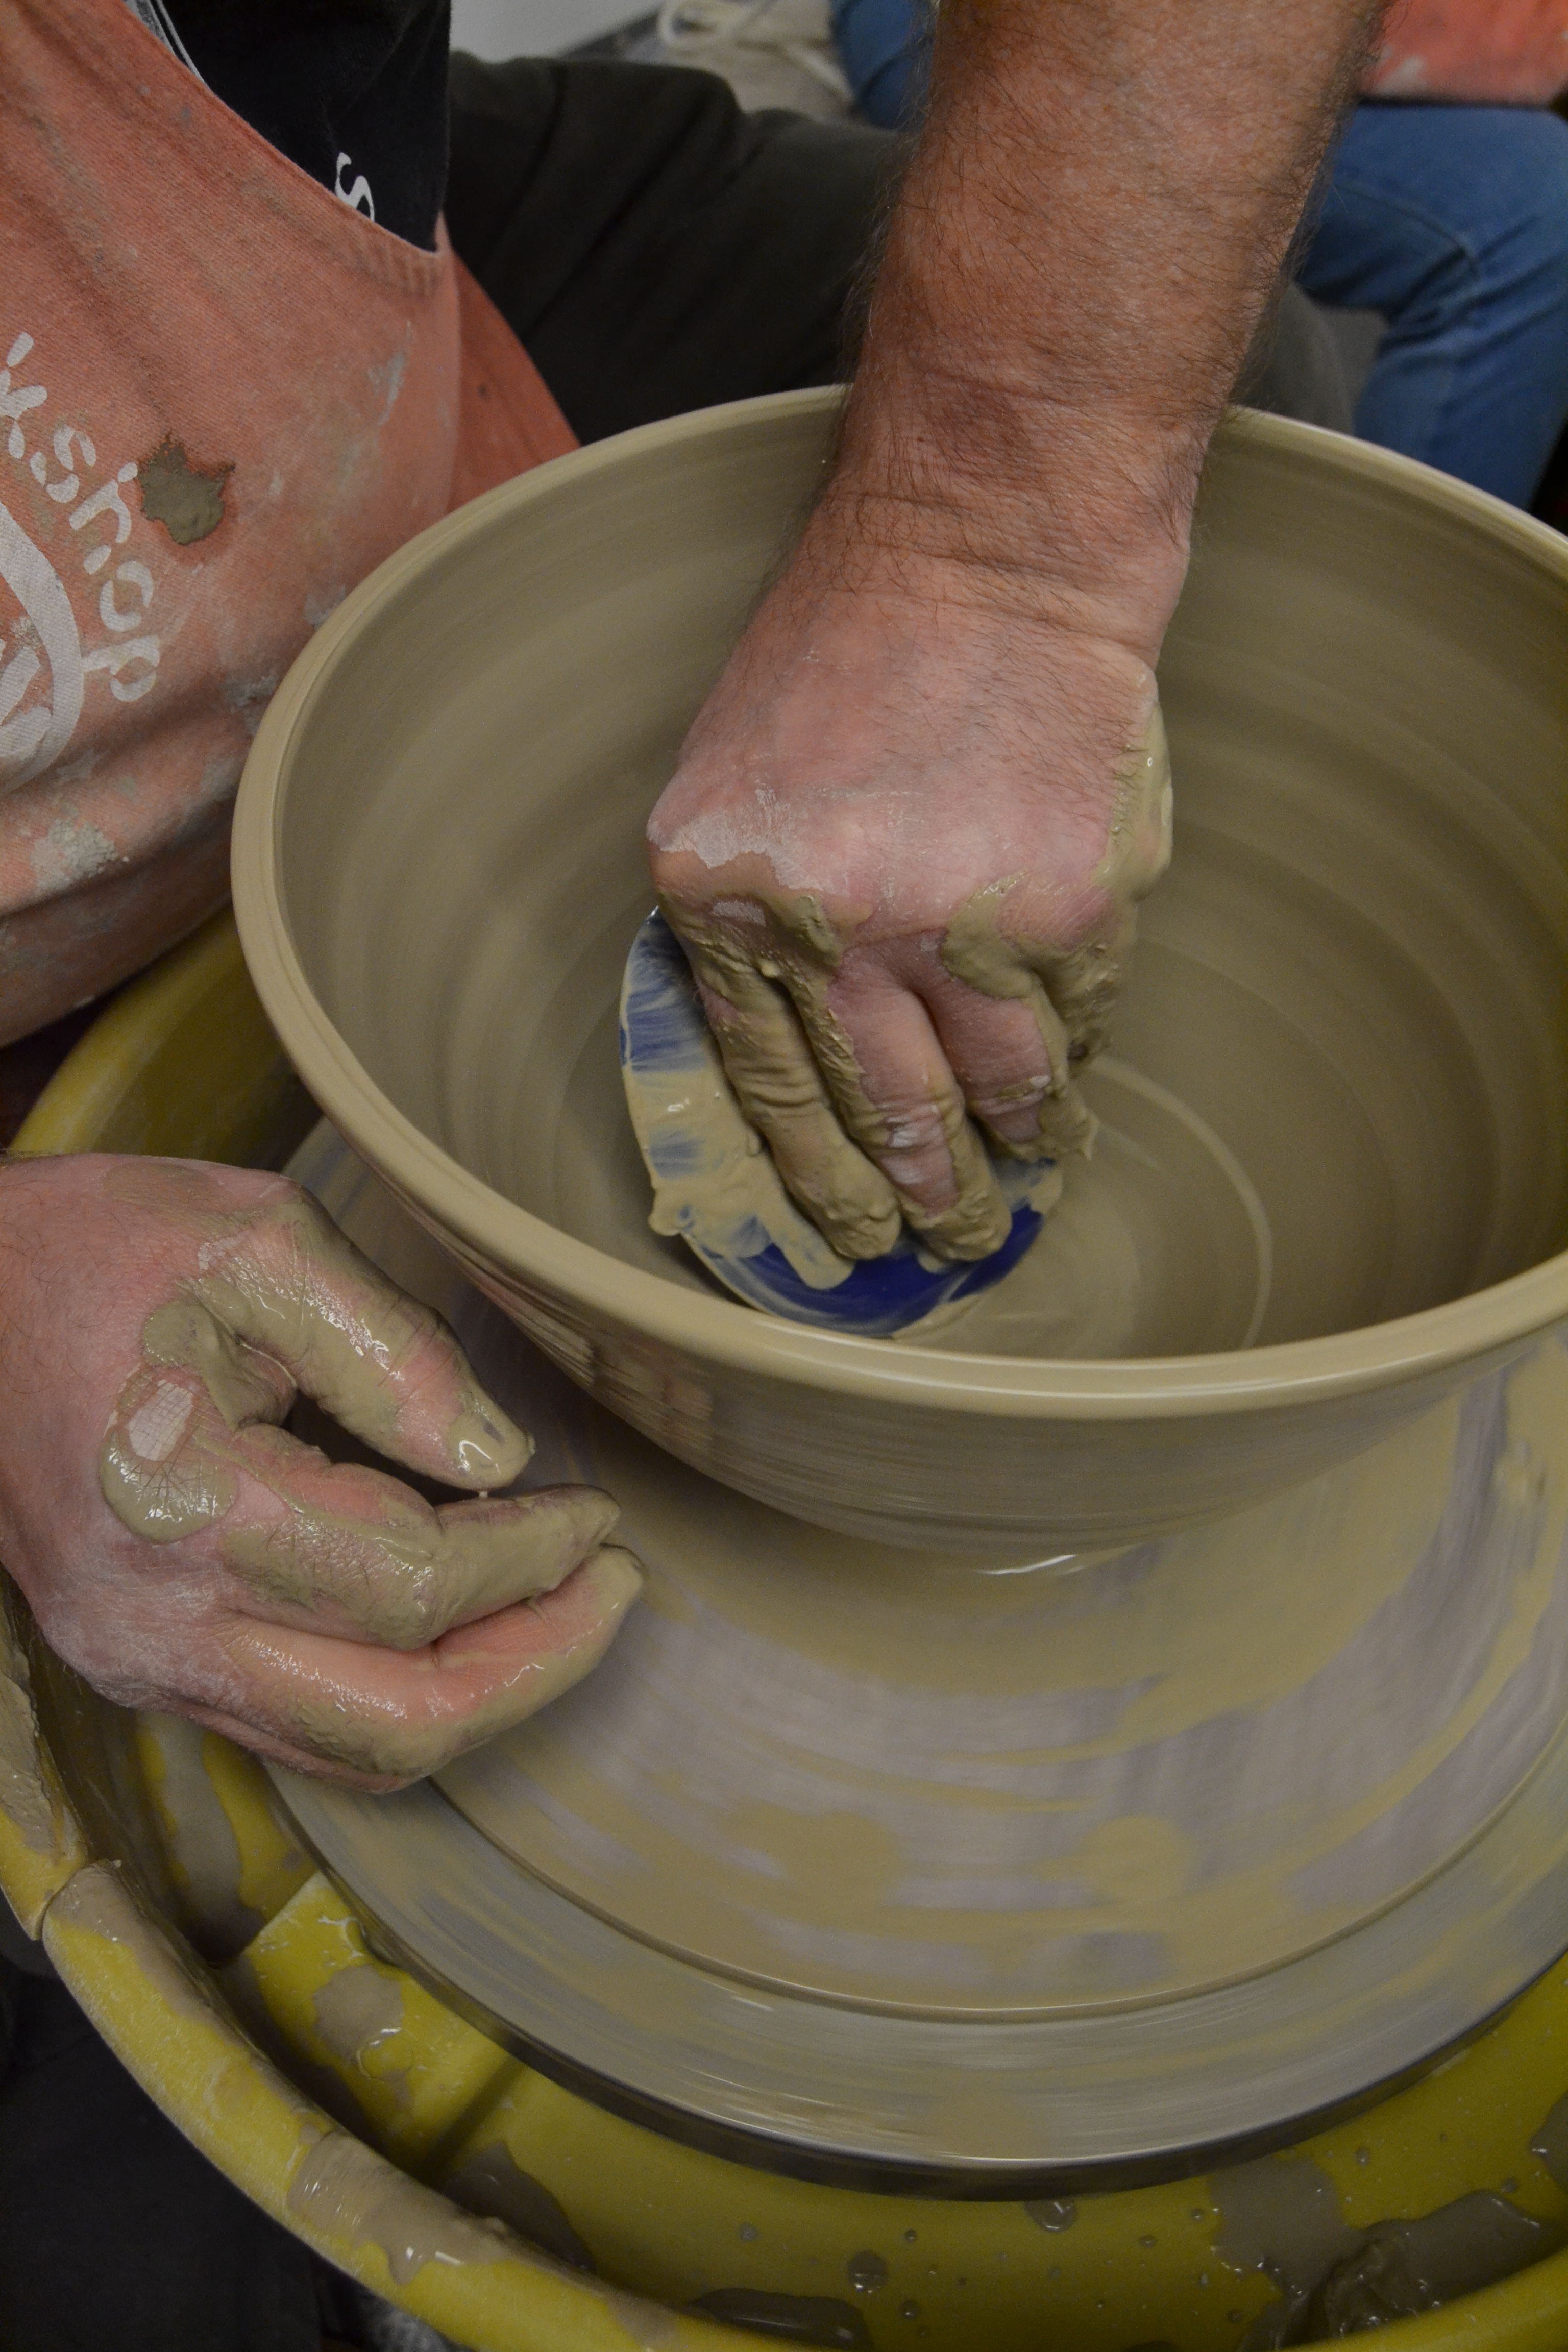
Step eight: Create the bowl
Use a metal or plastic rib to gently scrape and push outward from the inside of the structure. The movement will turn the cylinder into a bowl by drawing the walls wider as they reach the top.
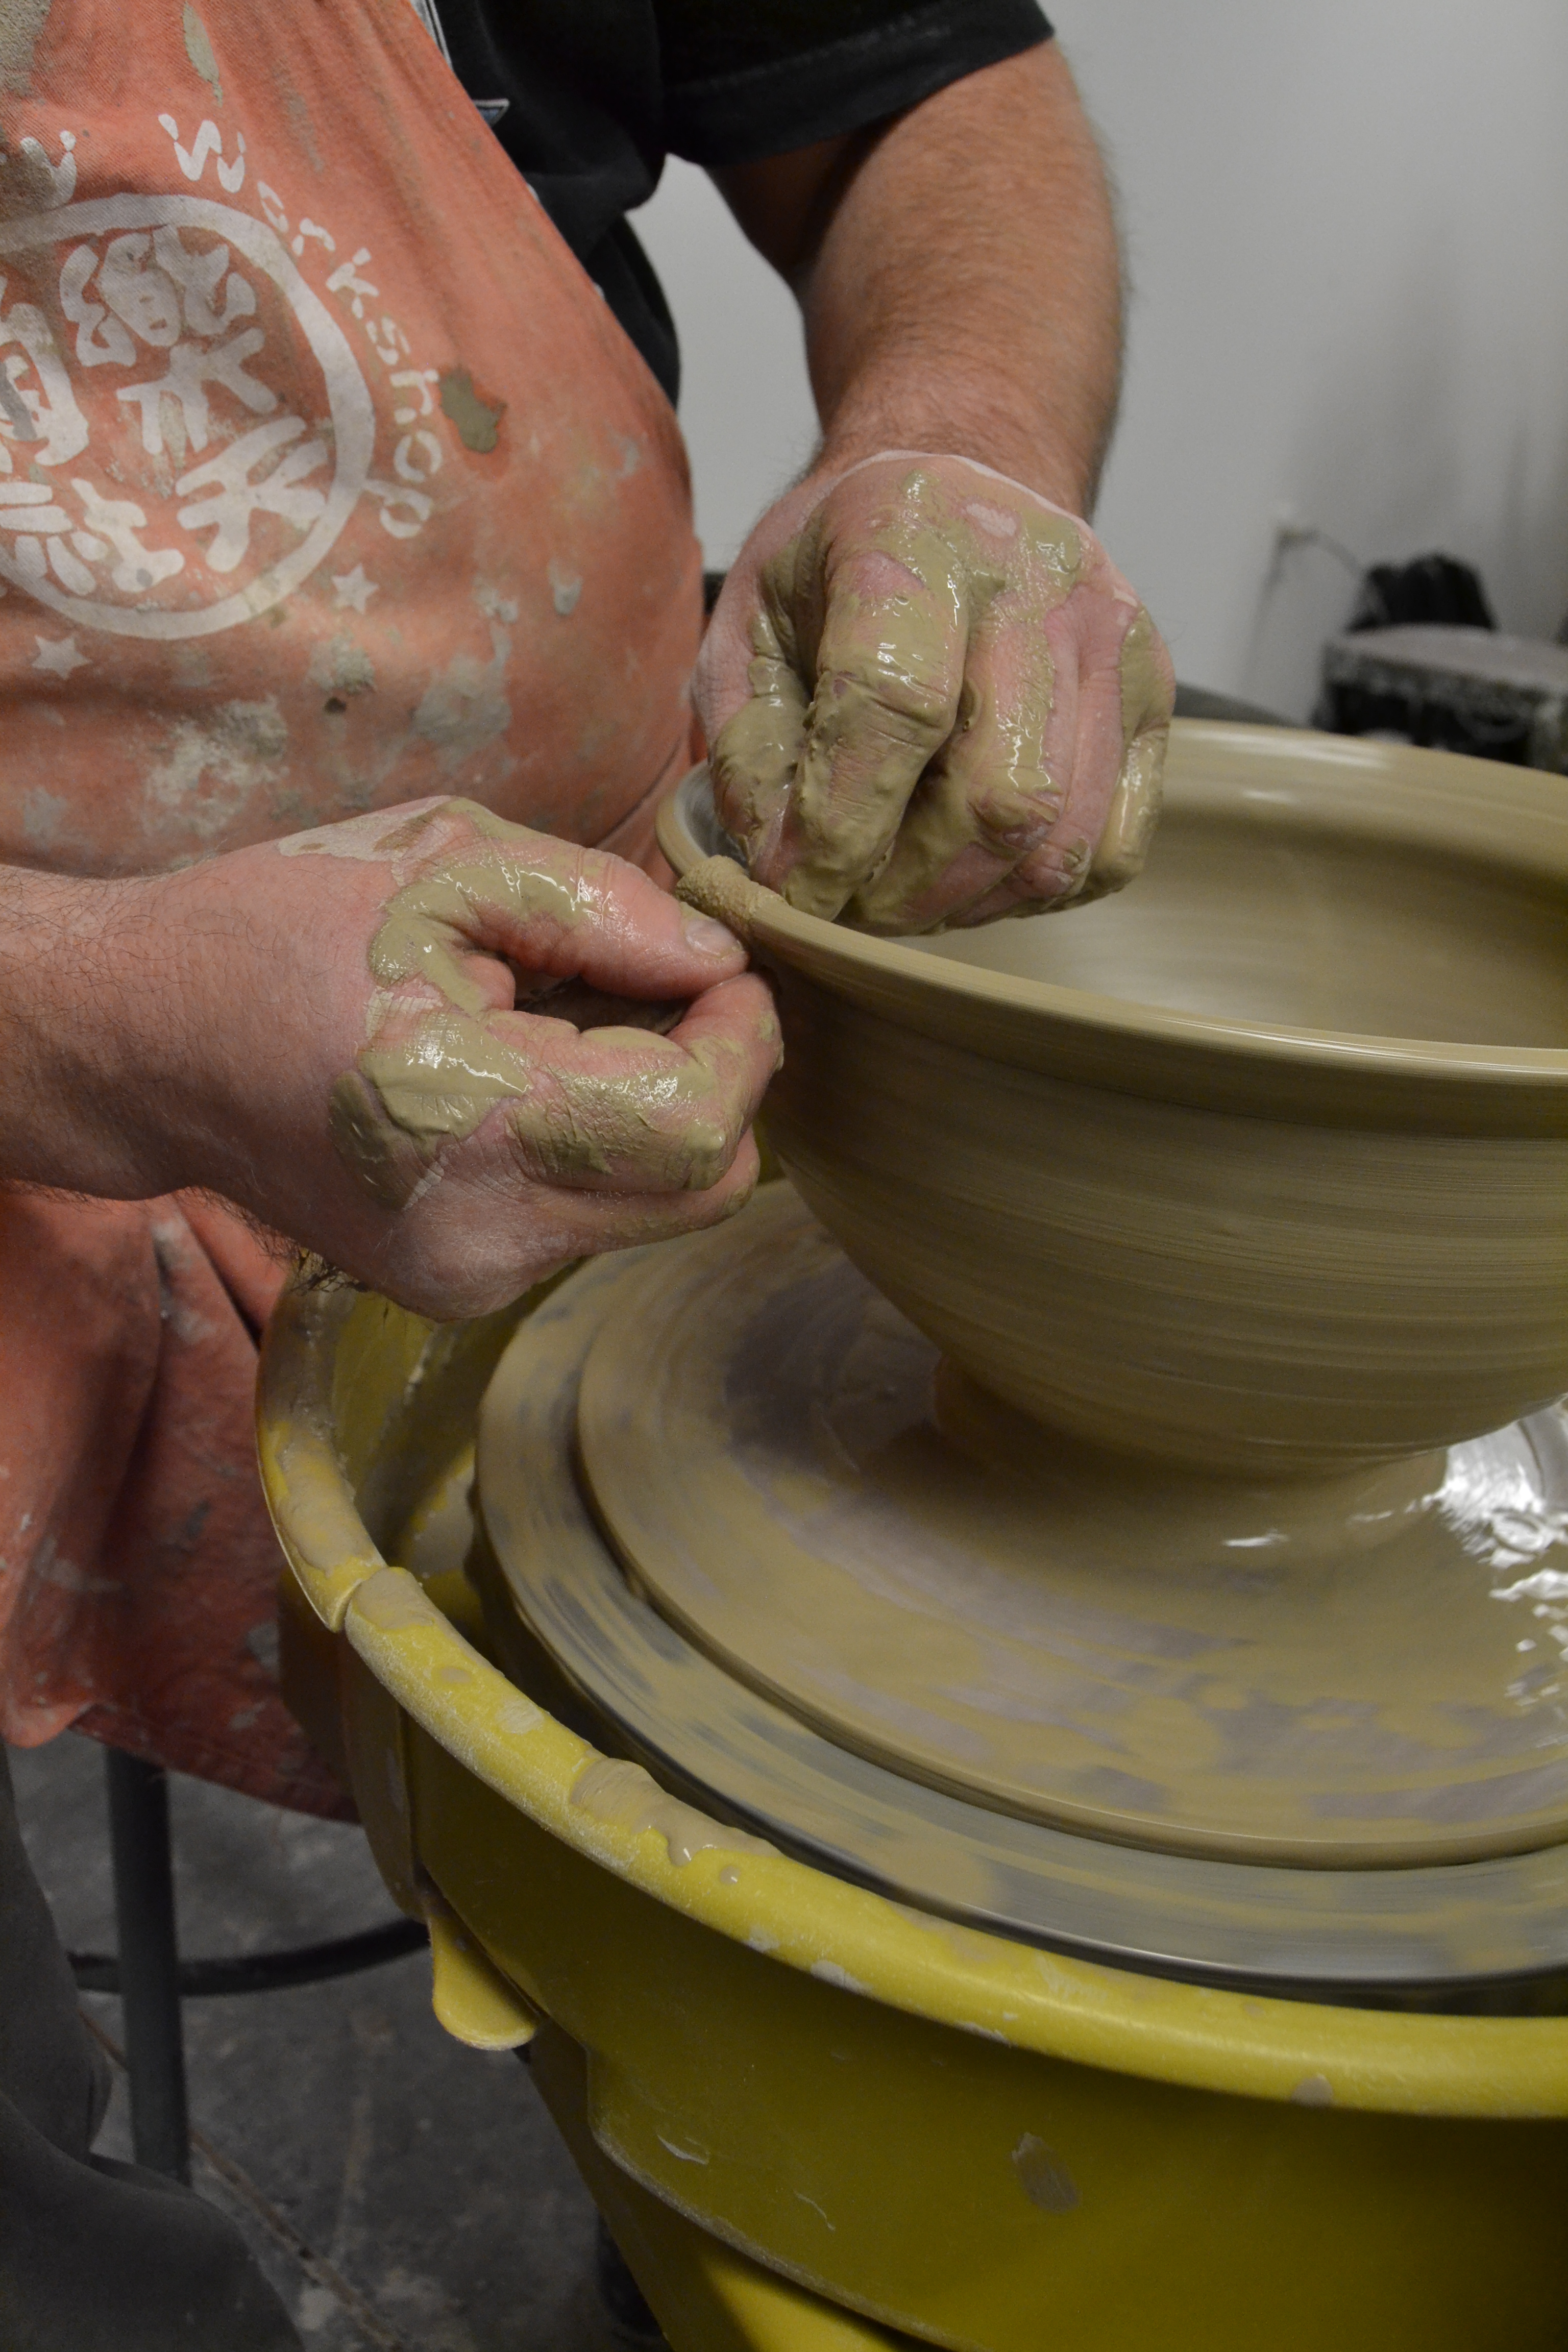
Step nine: Smooth the top edge
Make sure the top edge of your piece is smooth and even. Use a chamois — either synthetic or authentic sheepskin will work — to glide over the edge while the wheel spins.
Step 10: Detach your work
Now it is time to detach your work from the bat without tearing it up or dropping it.
Begin by using a wooden rib to slice the excess clay off of the bat to clear a space, this must be done while the wheel is spinning. Using your wire tool, slice it through the bottom of the bowl to free it.
Then, using your hands, gently lift it off the bat from the very bottom. From this stage, you will want to cover the piece with a thin layer of plastic such as a trash bag to let it dry to a leather-hard stage before it is ready to be trimmed.
