Because of the large number of architecture and design software available today, free-hand drawing is becoming a dying practice.
But Drury University’s Hammons School of Architecture encourages their students to develop their free-hand drawing skills.
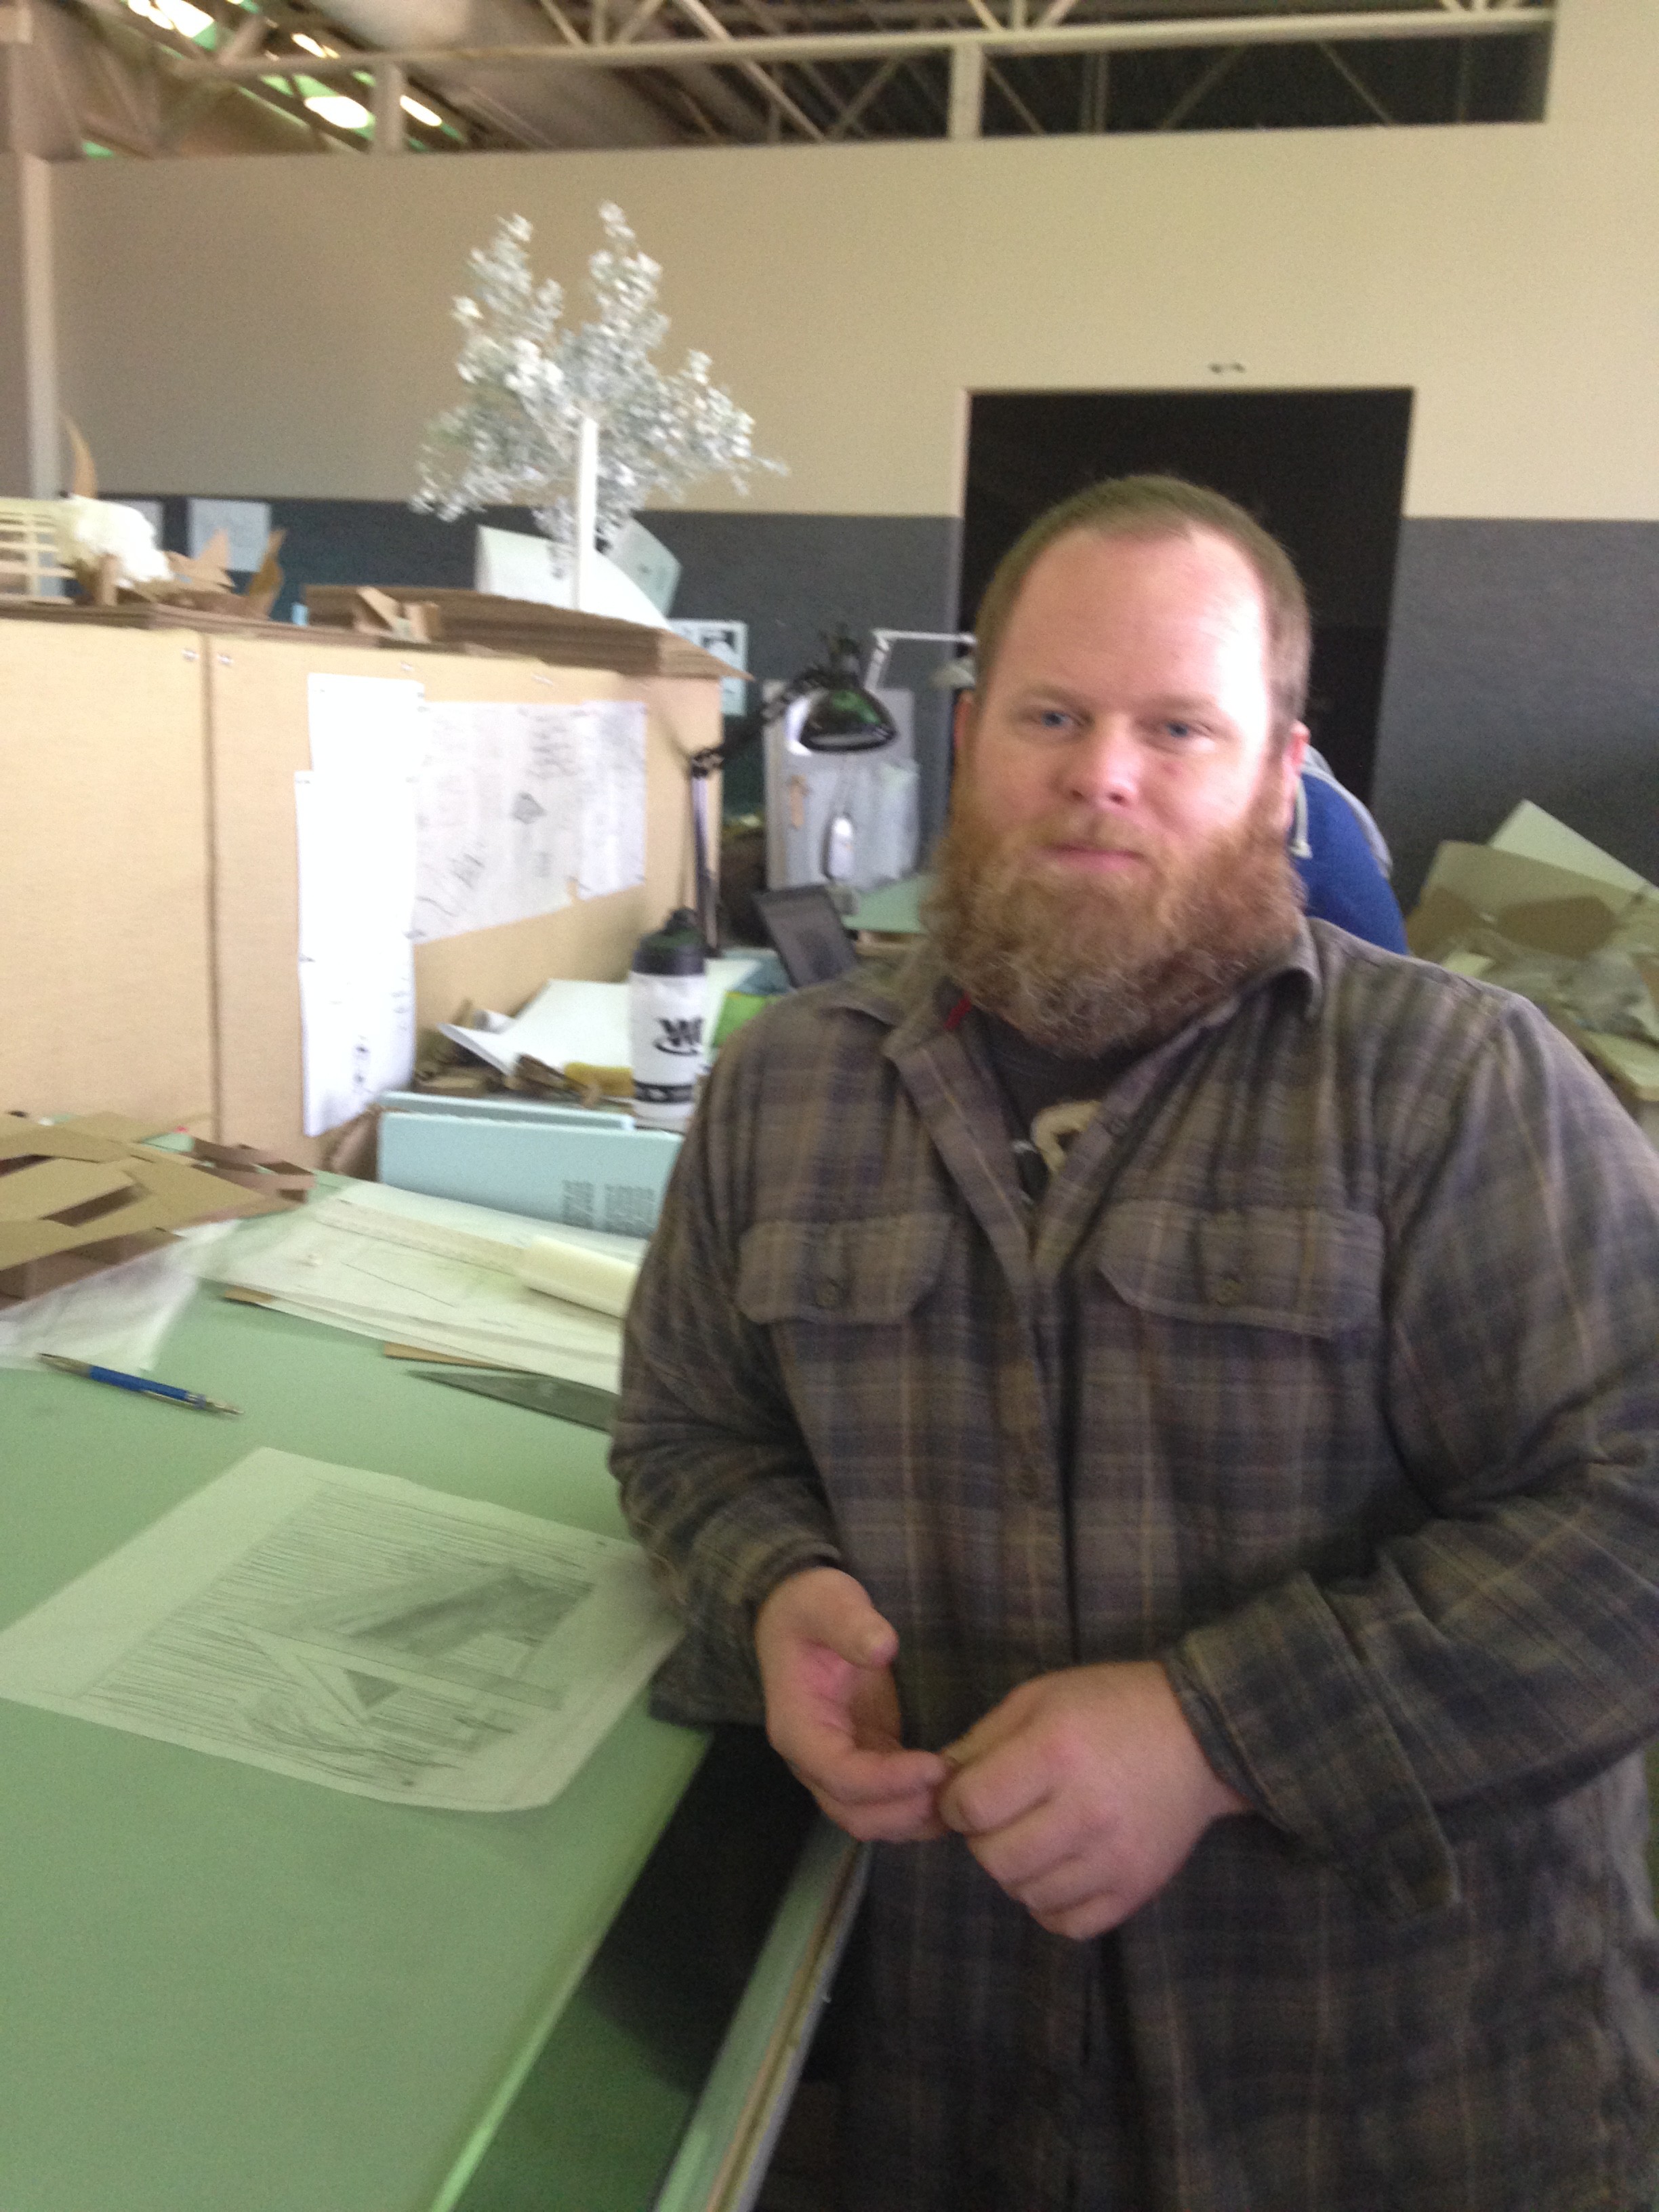
The Scoop met up with Kevin Romine, an architecture student and former assistant engineer, who explained how to draw a two-point perspective free-hand.
1. Get a piece of paper and a pencil.
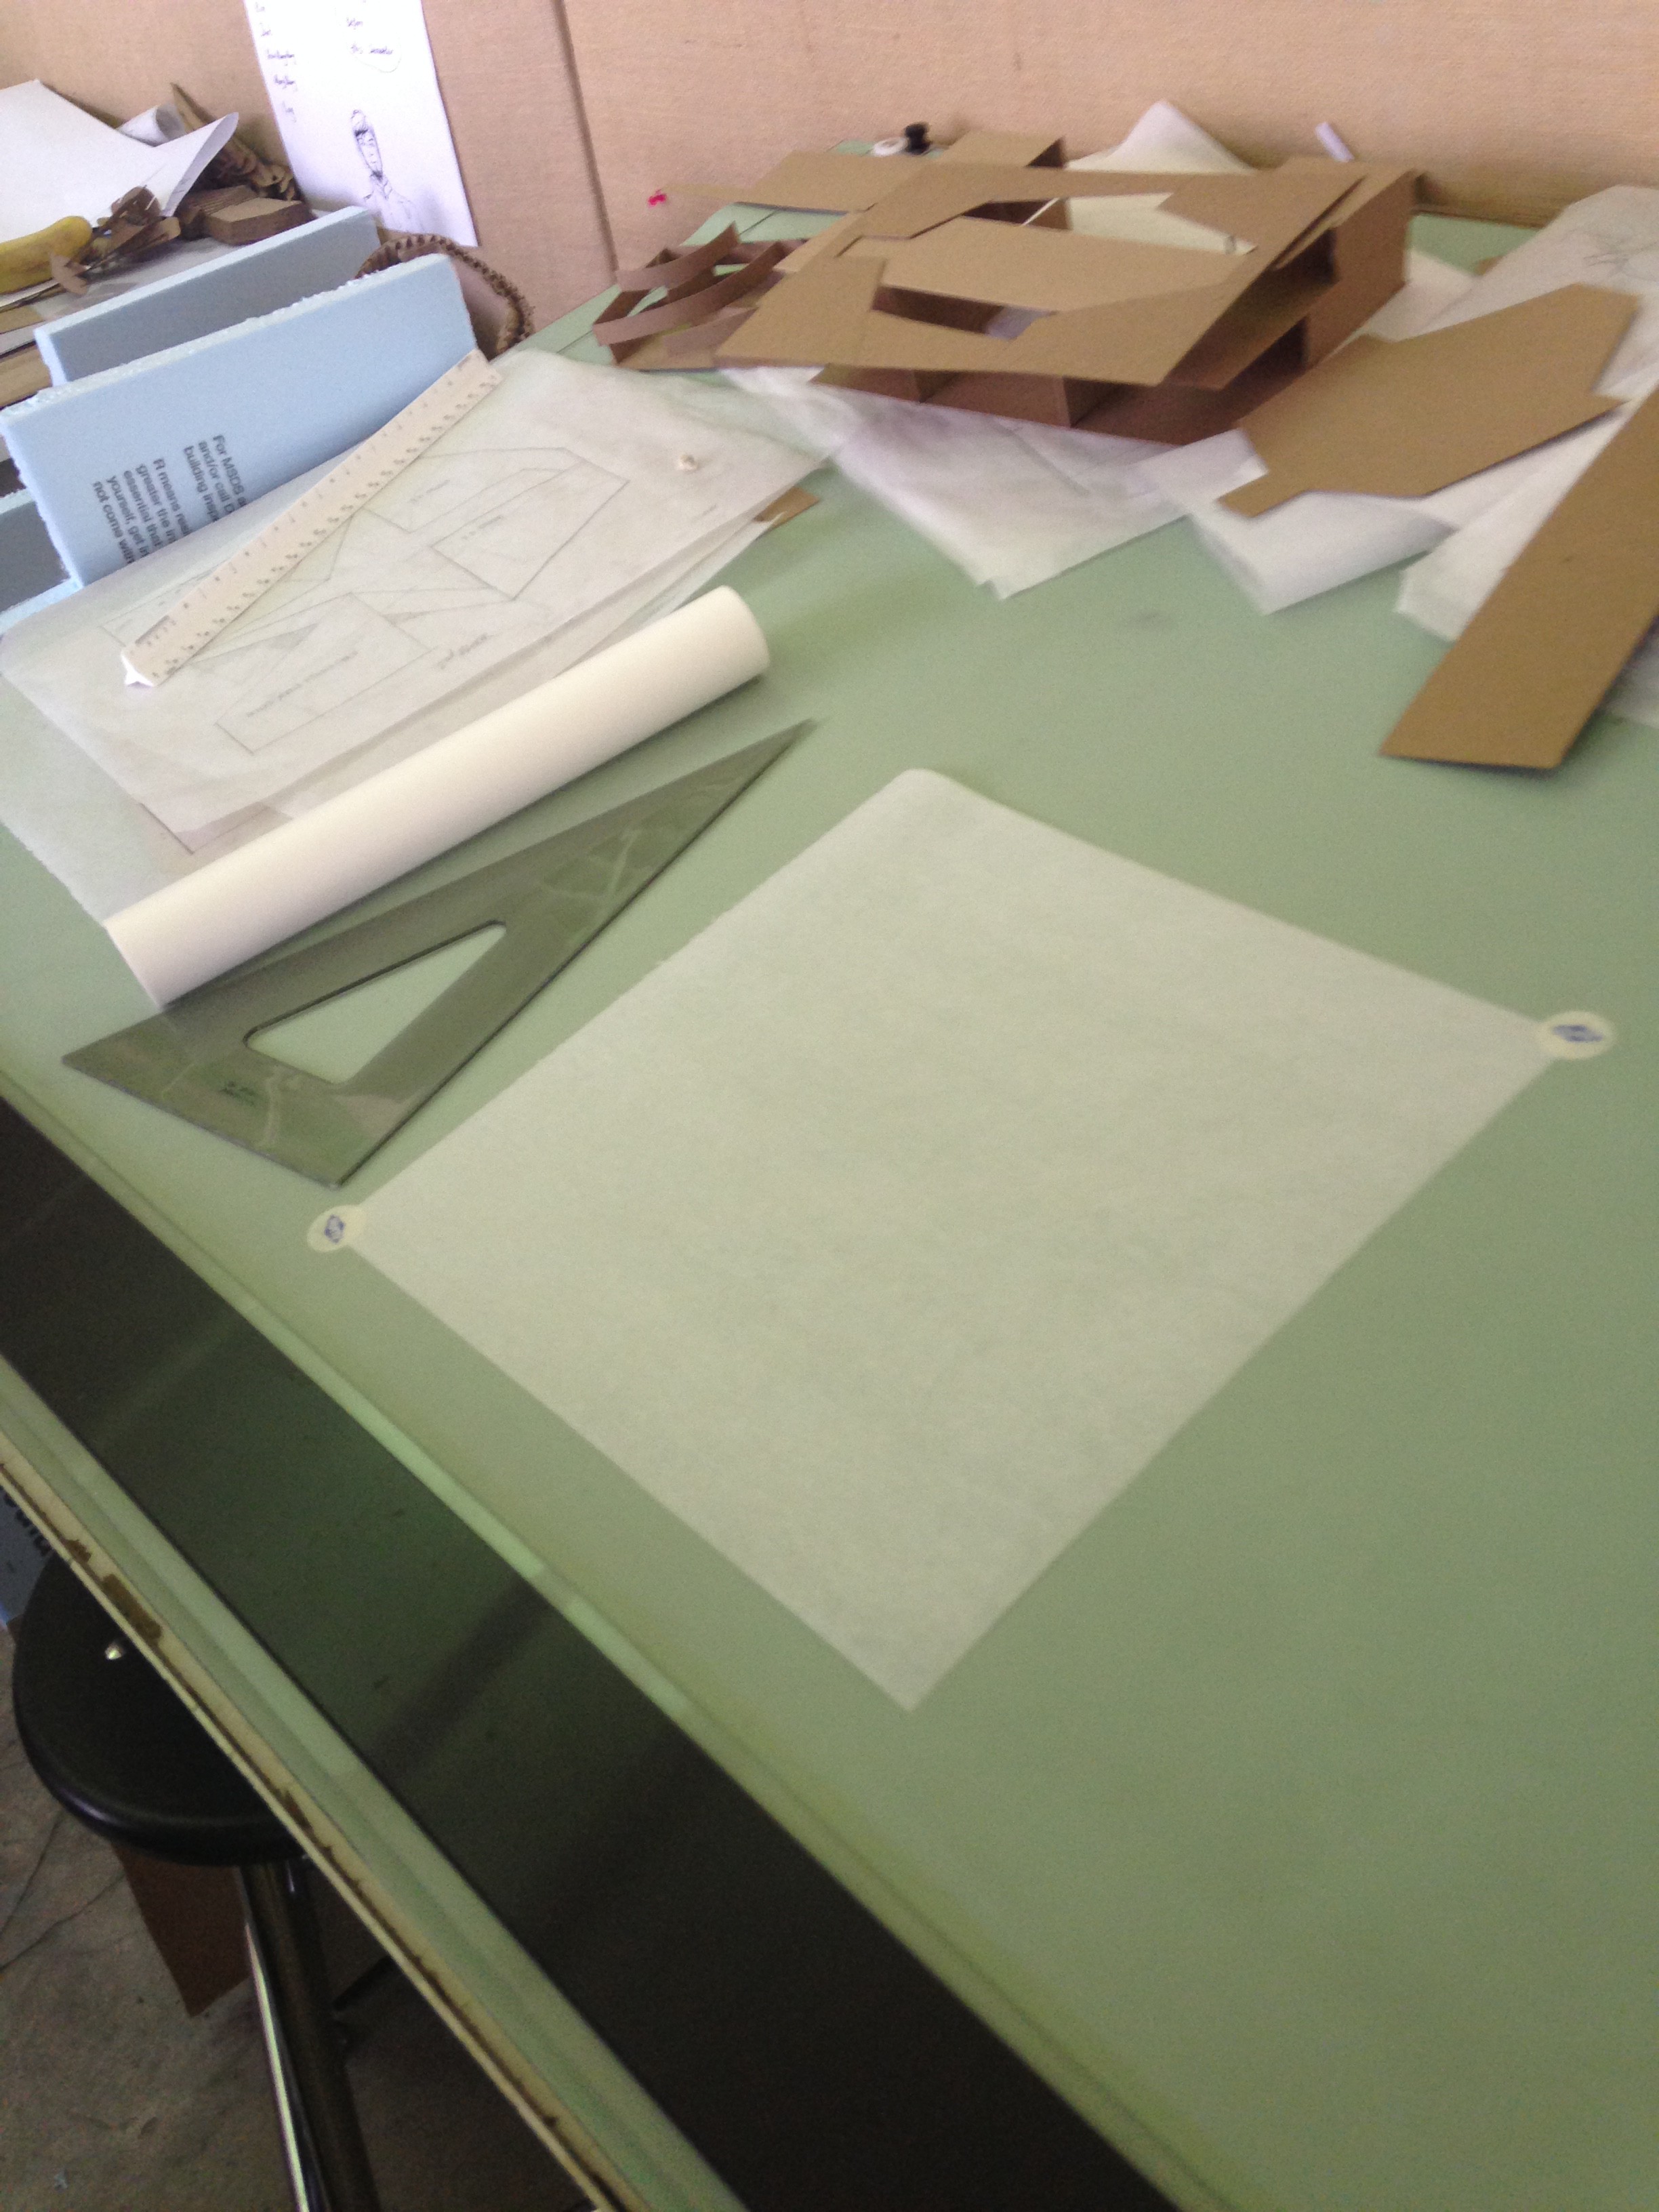
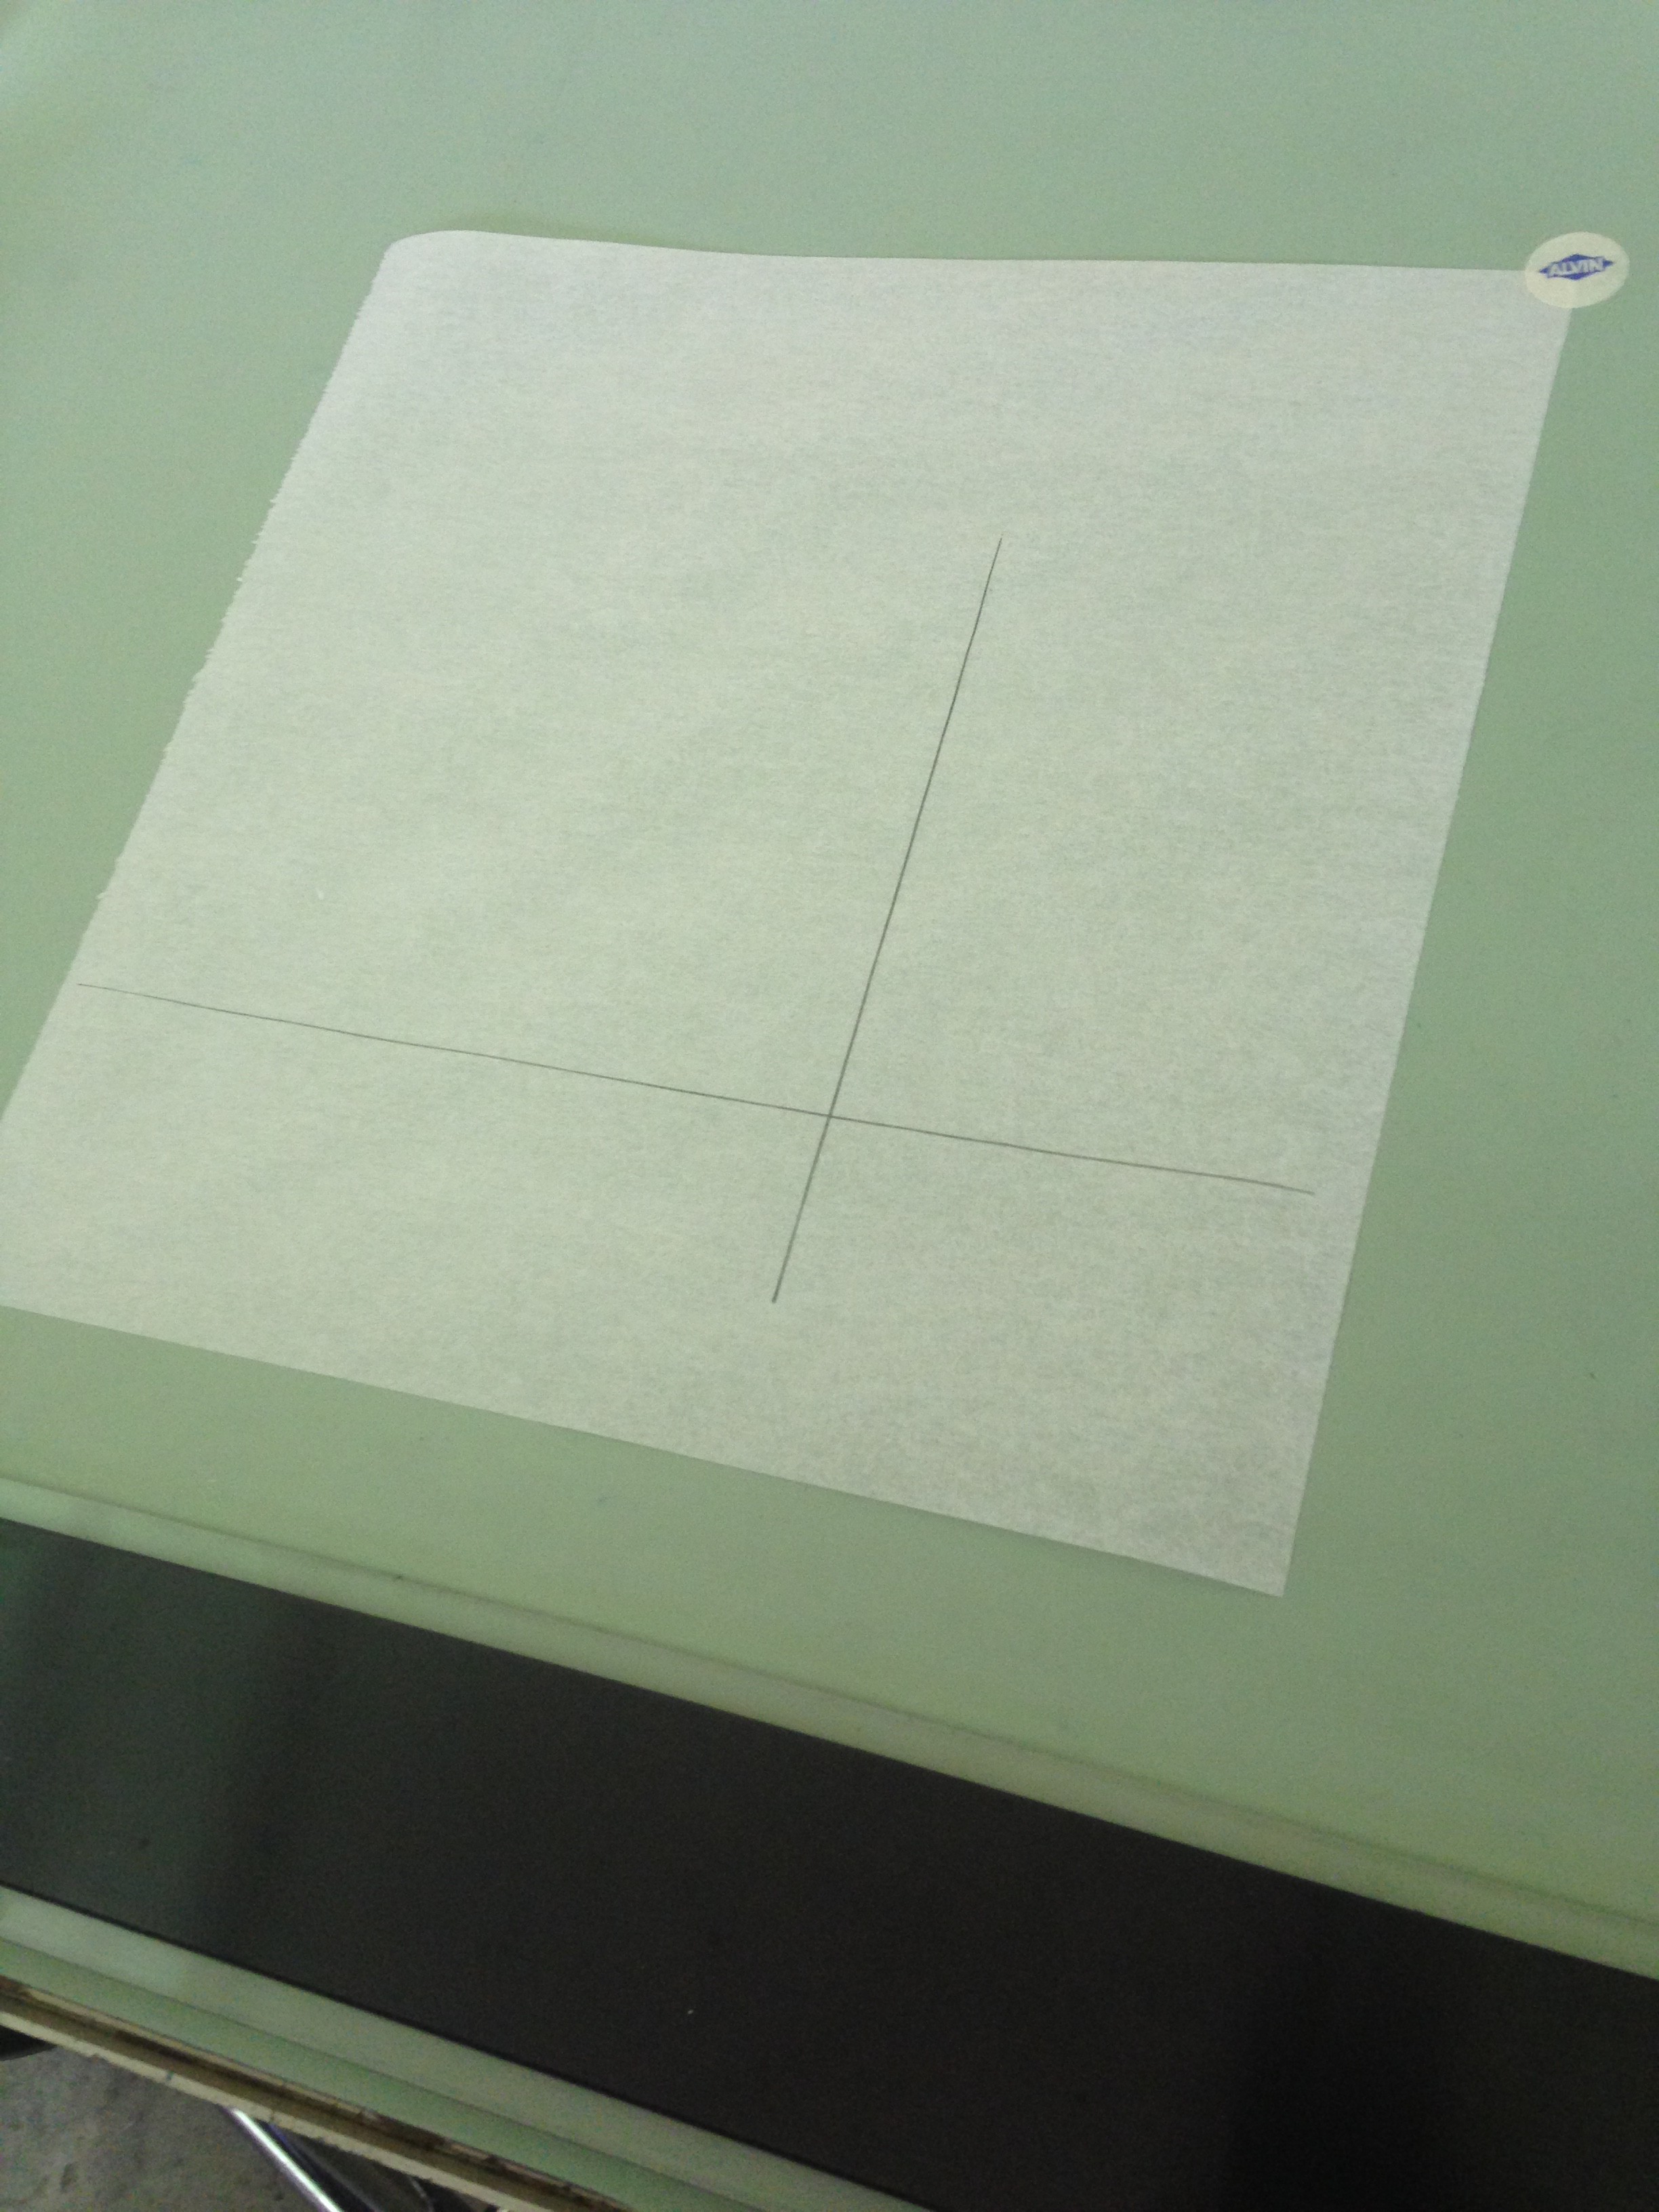
2. Lightly draw a straight horizontal line all the way across the center of the page. This line will be the horizon line.
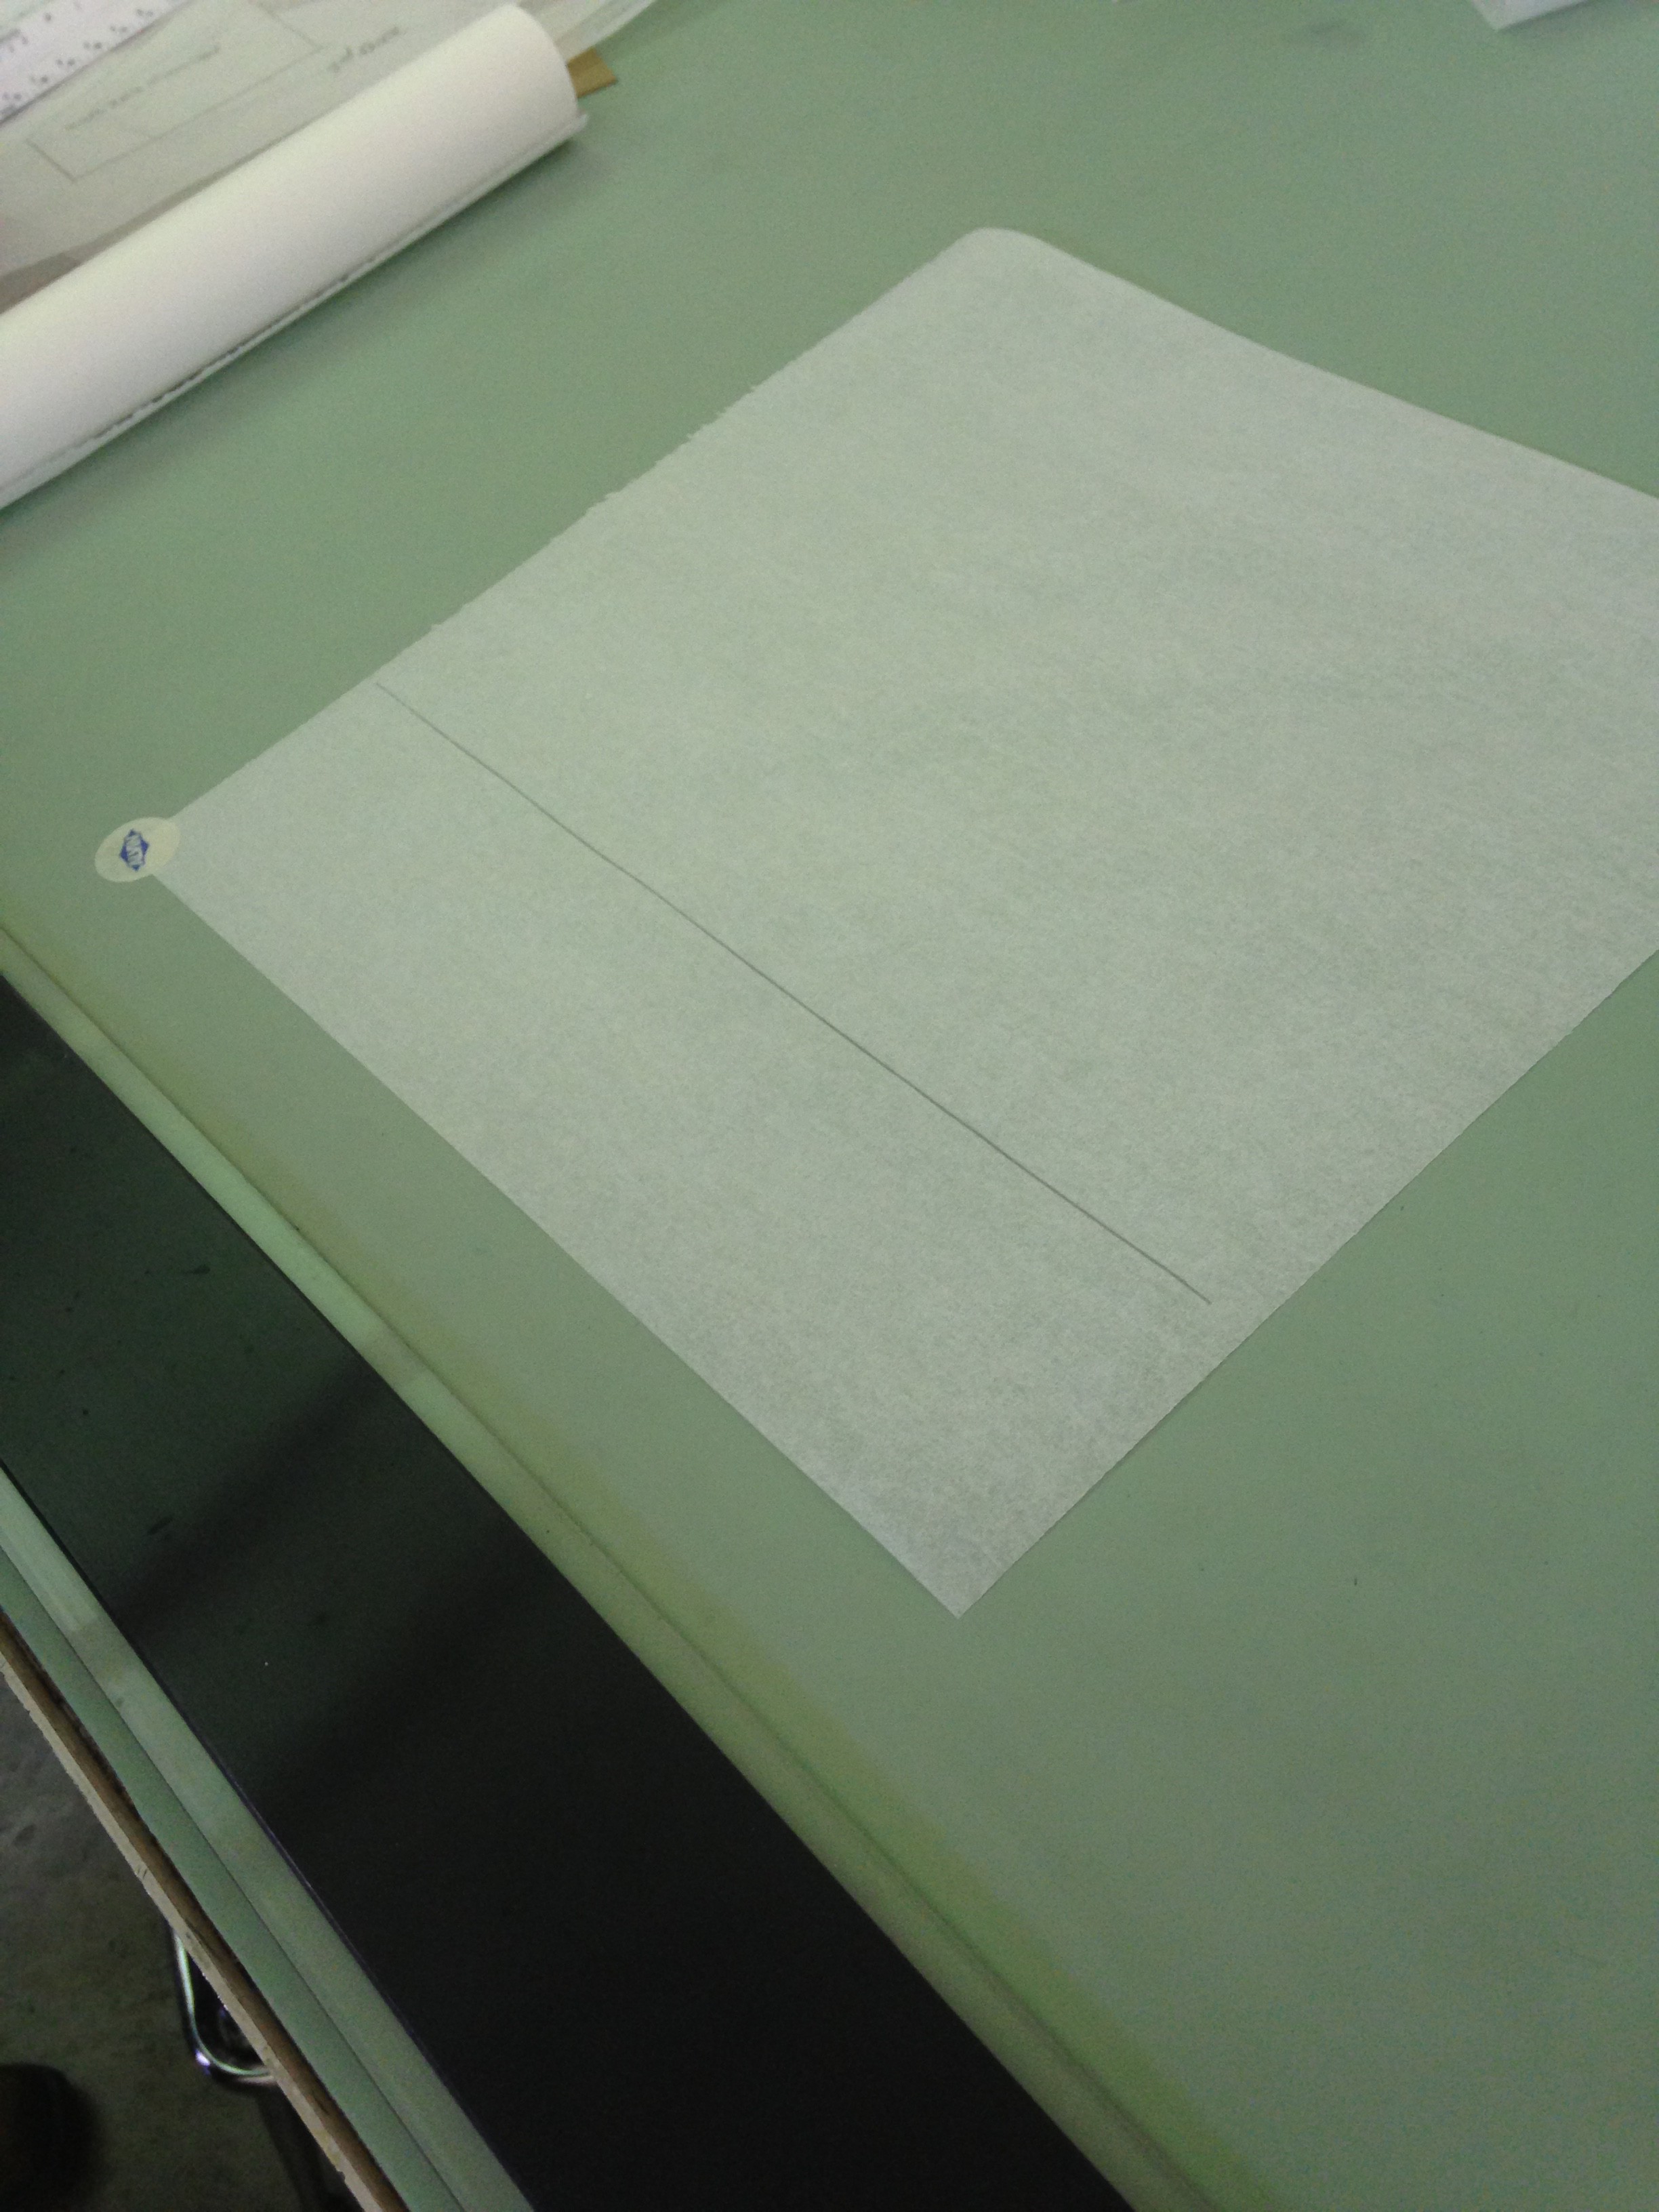
3. Lightly draw a straight vertical line that intersects the horizon line. This line can be any length, but should not reach the top or bottom edge of the paper.
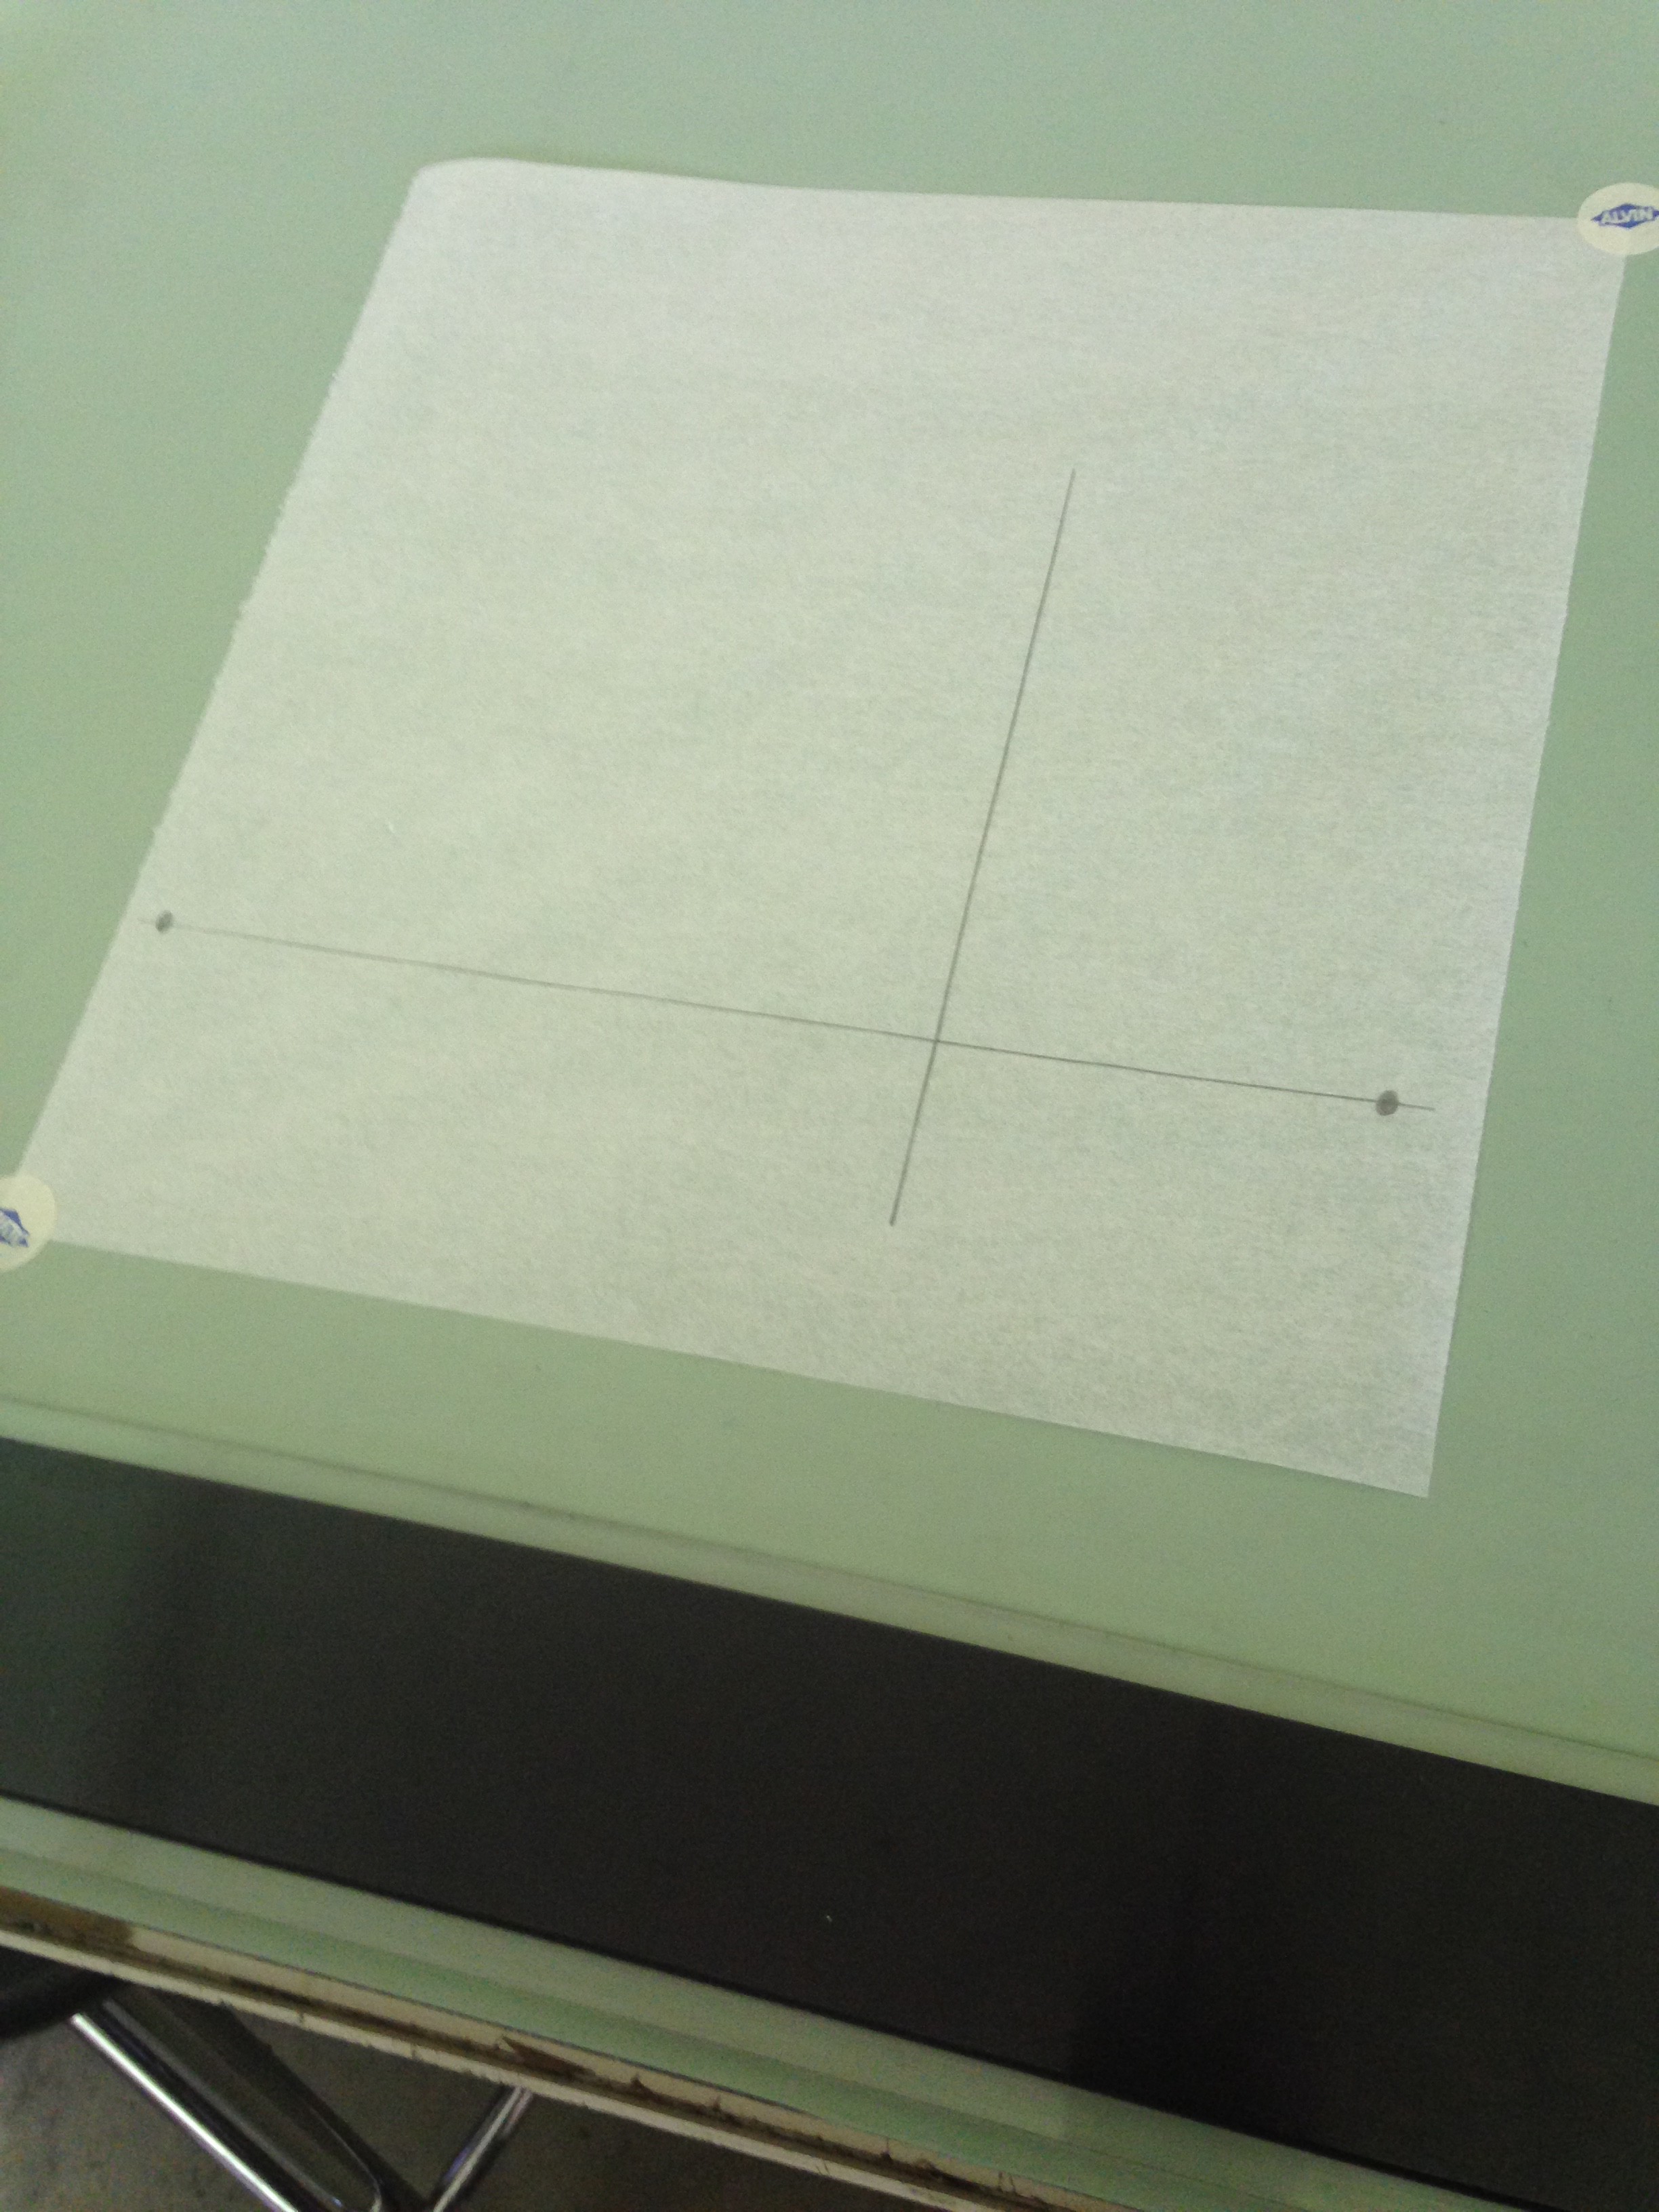
4. Mark two points on the horizontal line: one on the left and one on the right. These two points will be the two points of perspective in the drawing.
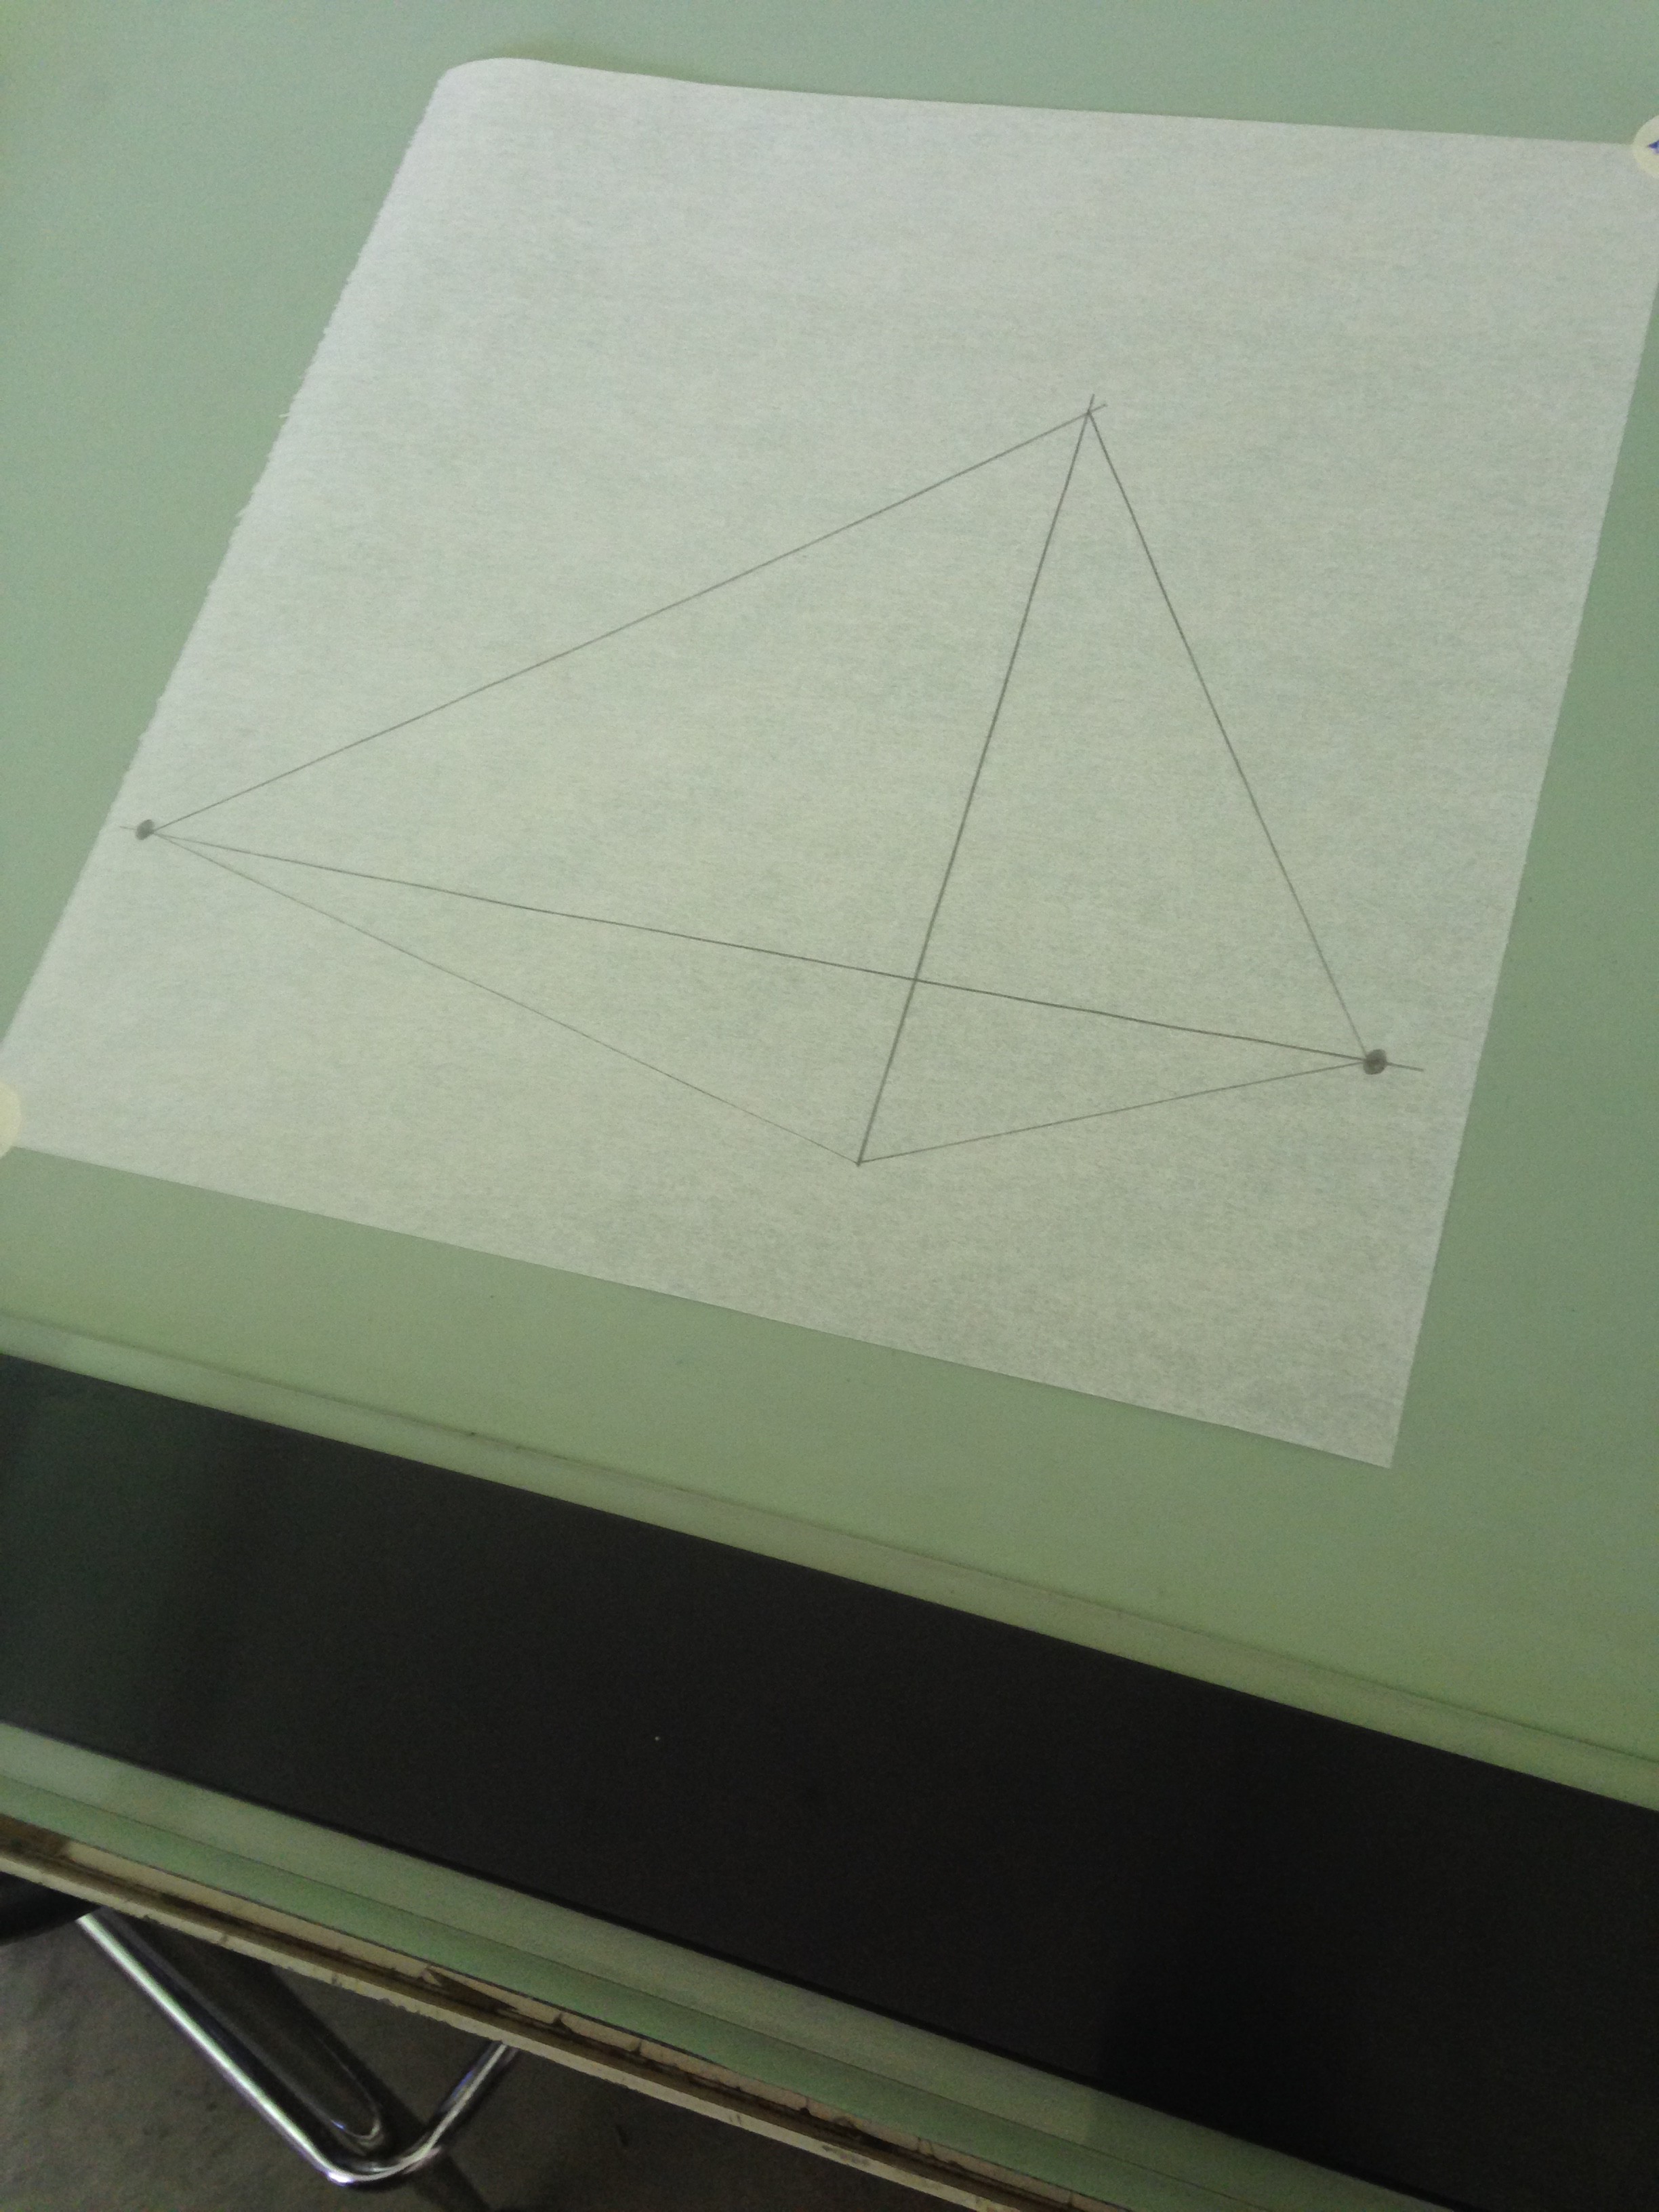
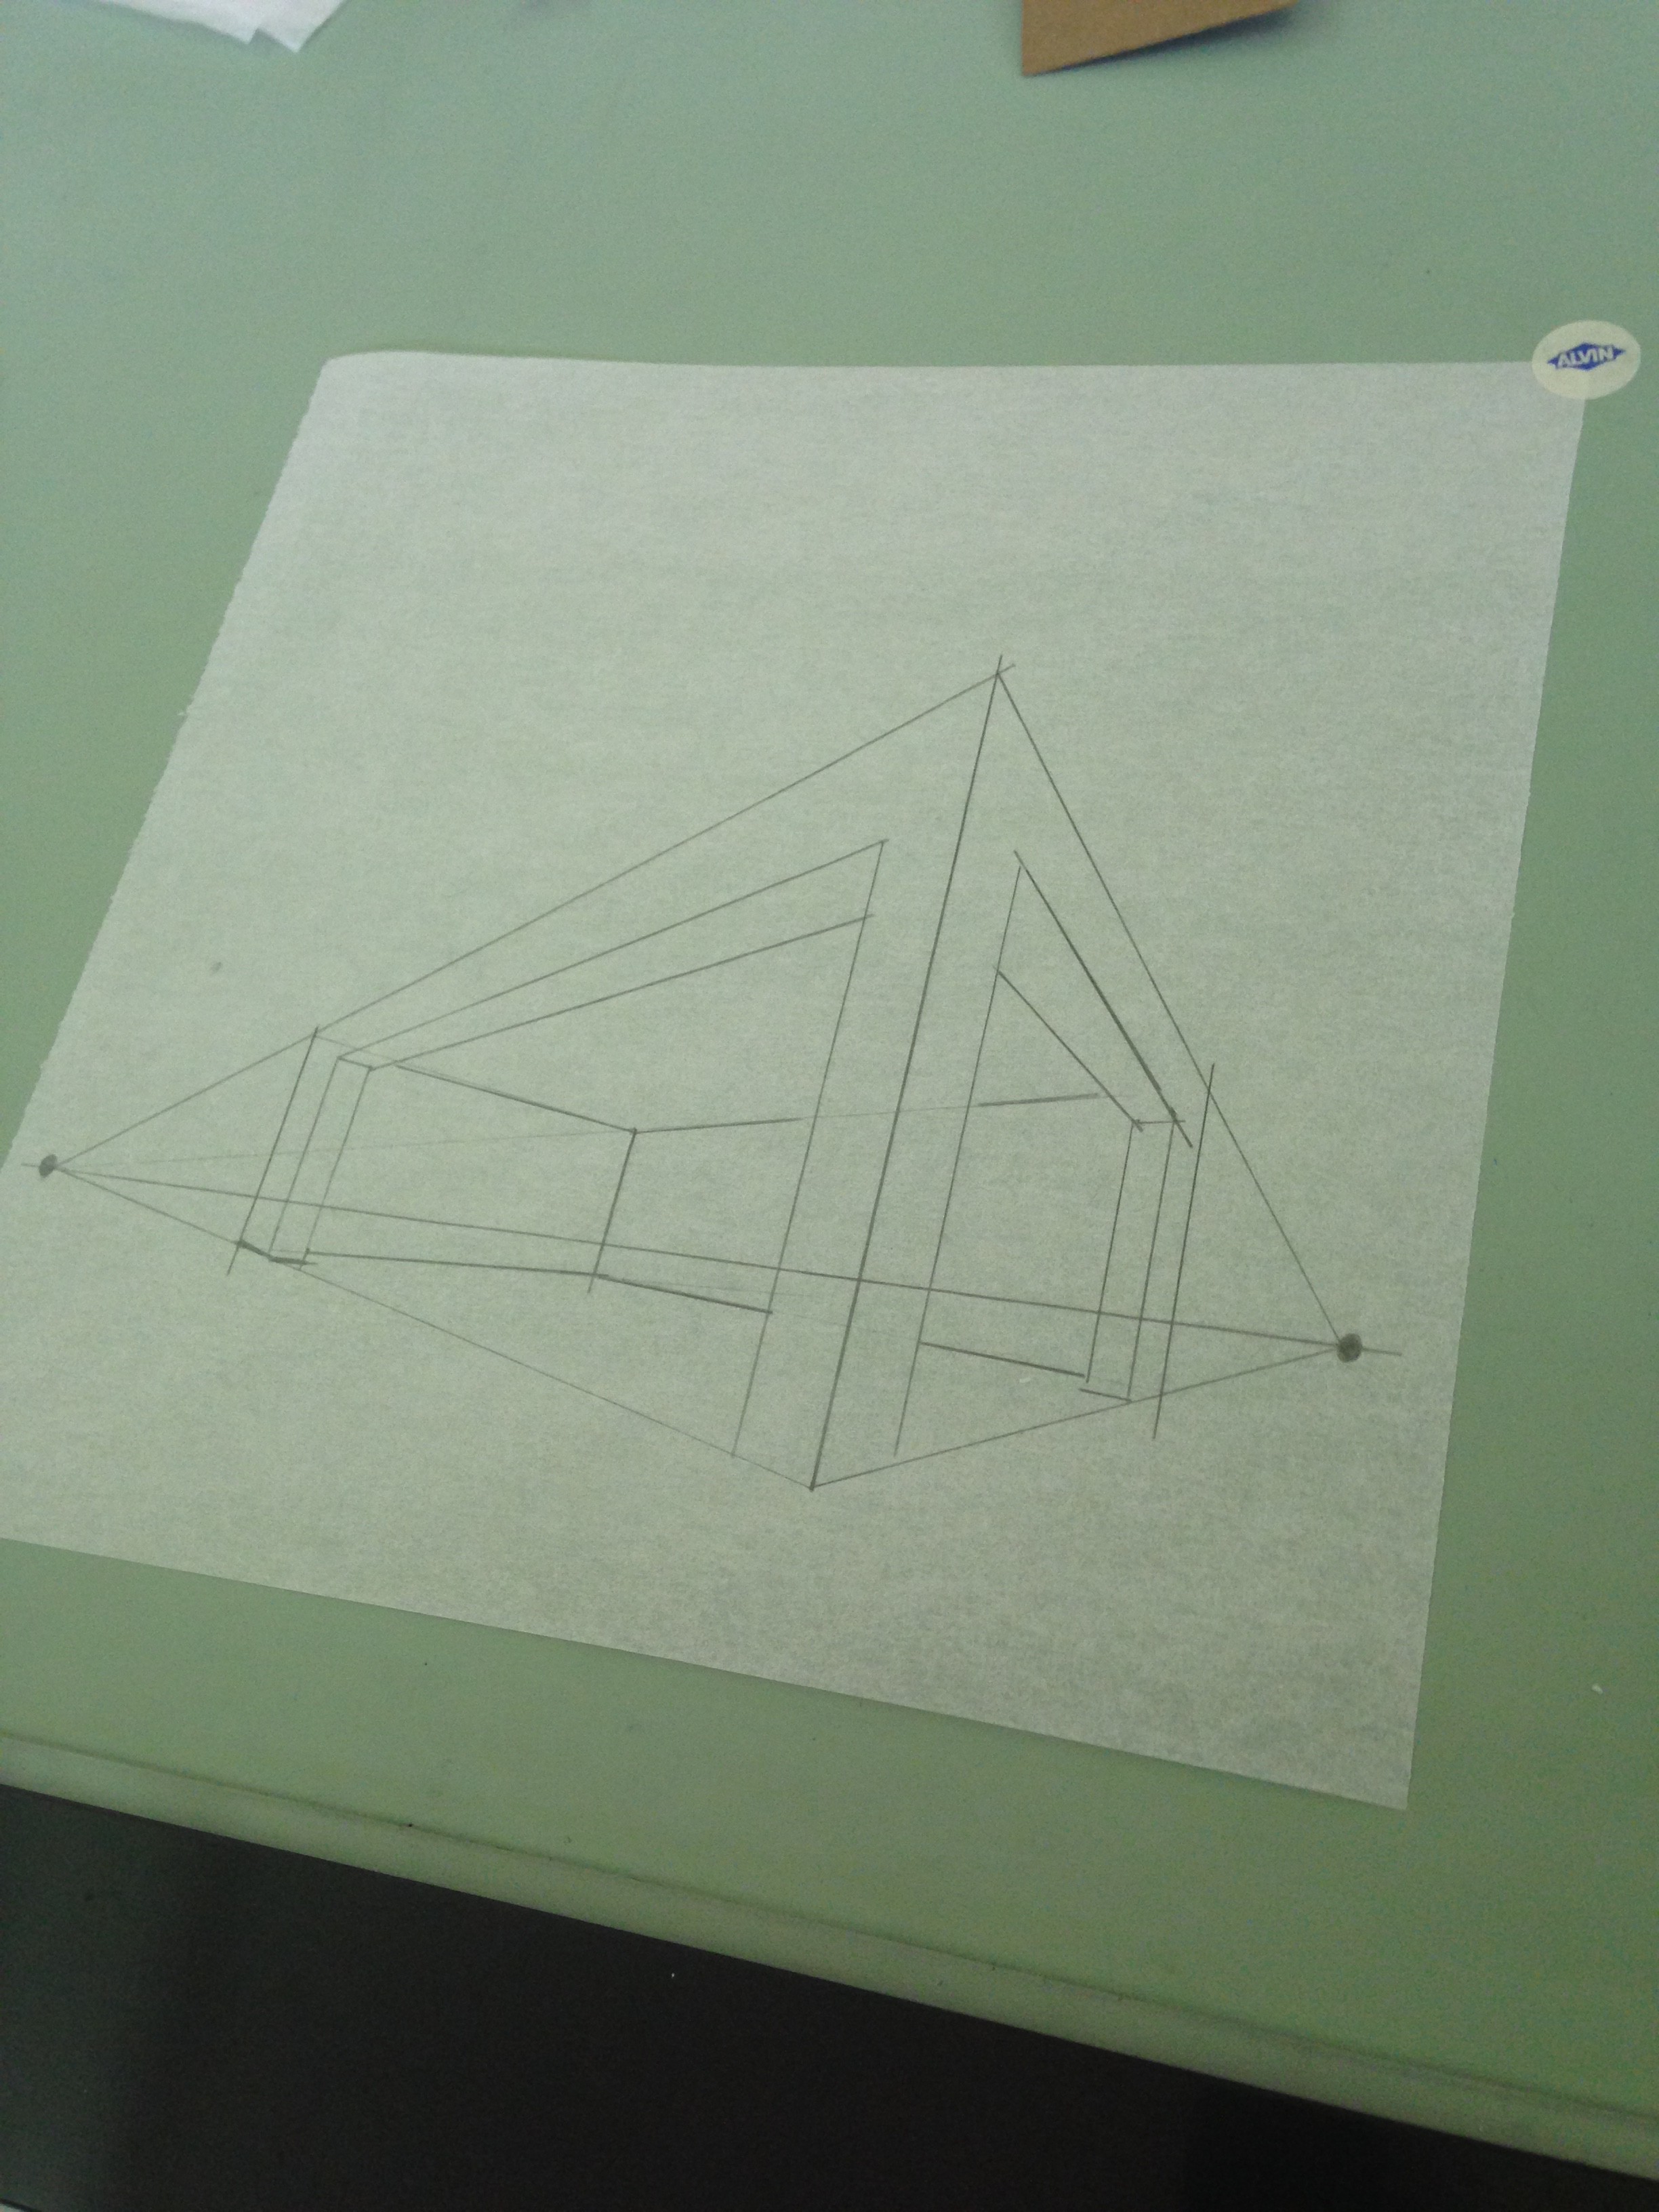
5. Starting from one of the perspective points, lightly draw a diagonal line connecting the perspective point to the top of the vertical line drawn in step 3. Lightly draw another diagonal line connecting the perspective point to the bottom of the vertical line. Repeat this step using the other perspective point.
6. Lightly draw a straight vertical line anywhere in between one of the perspective points and the vertical line drawn in step 3. Repeat this step using the other perspective point.
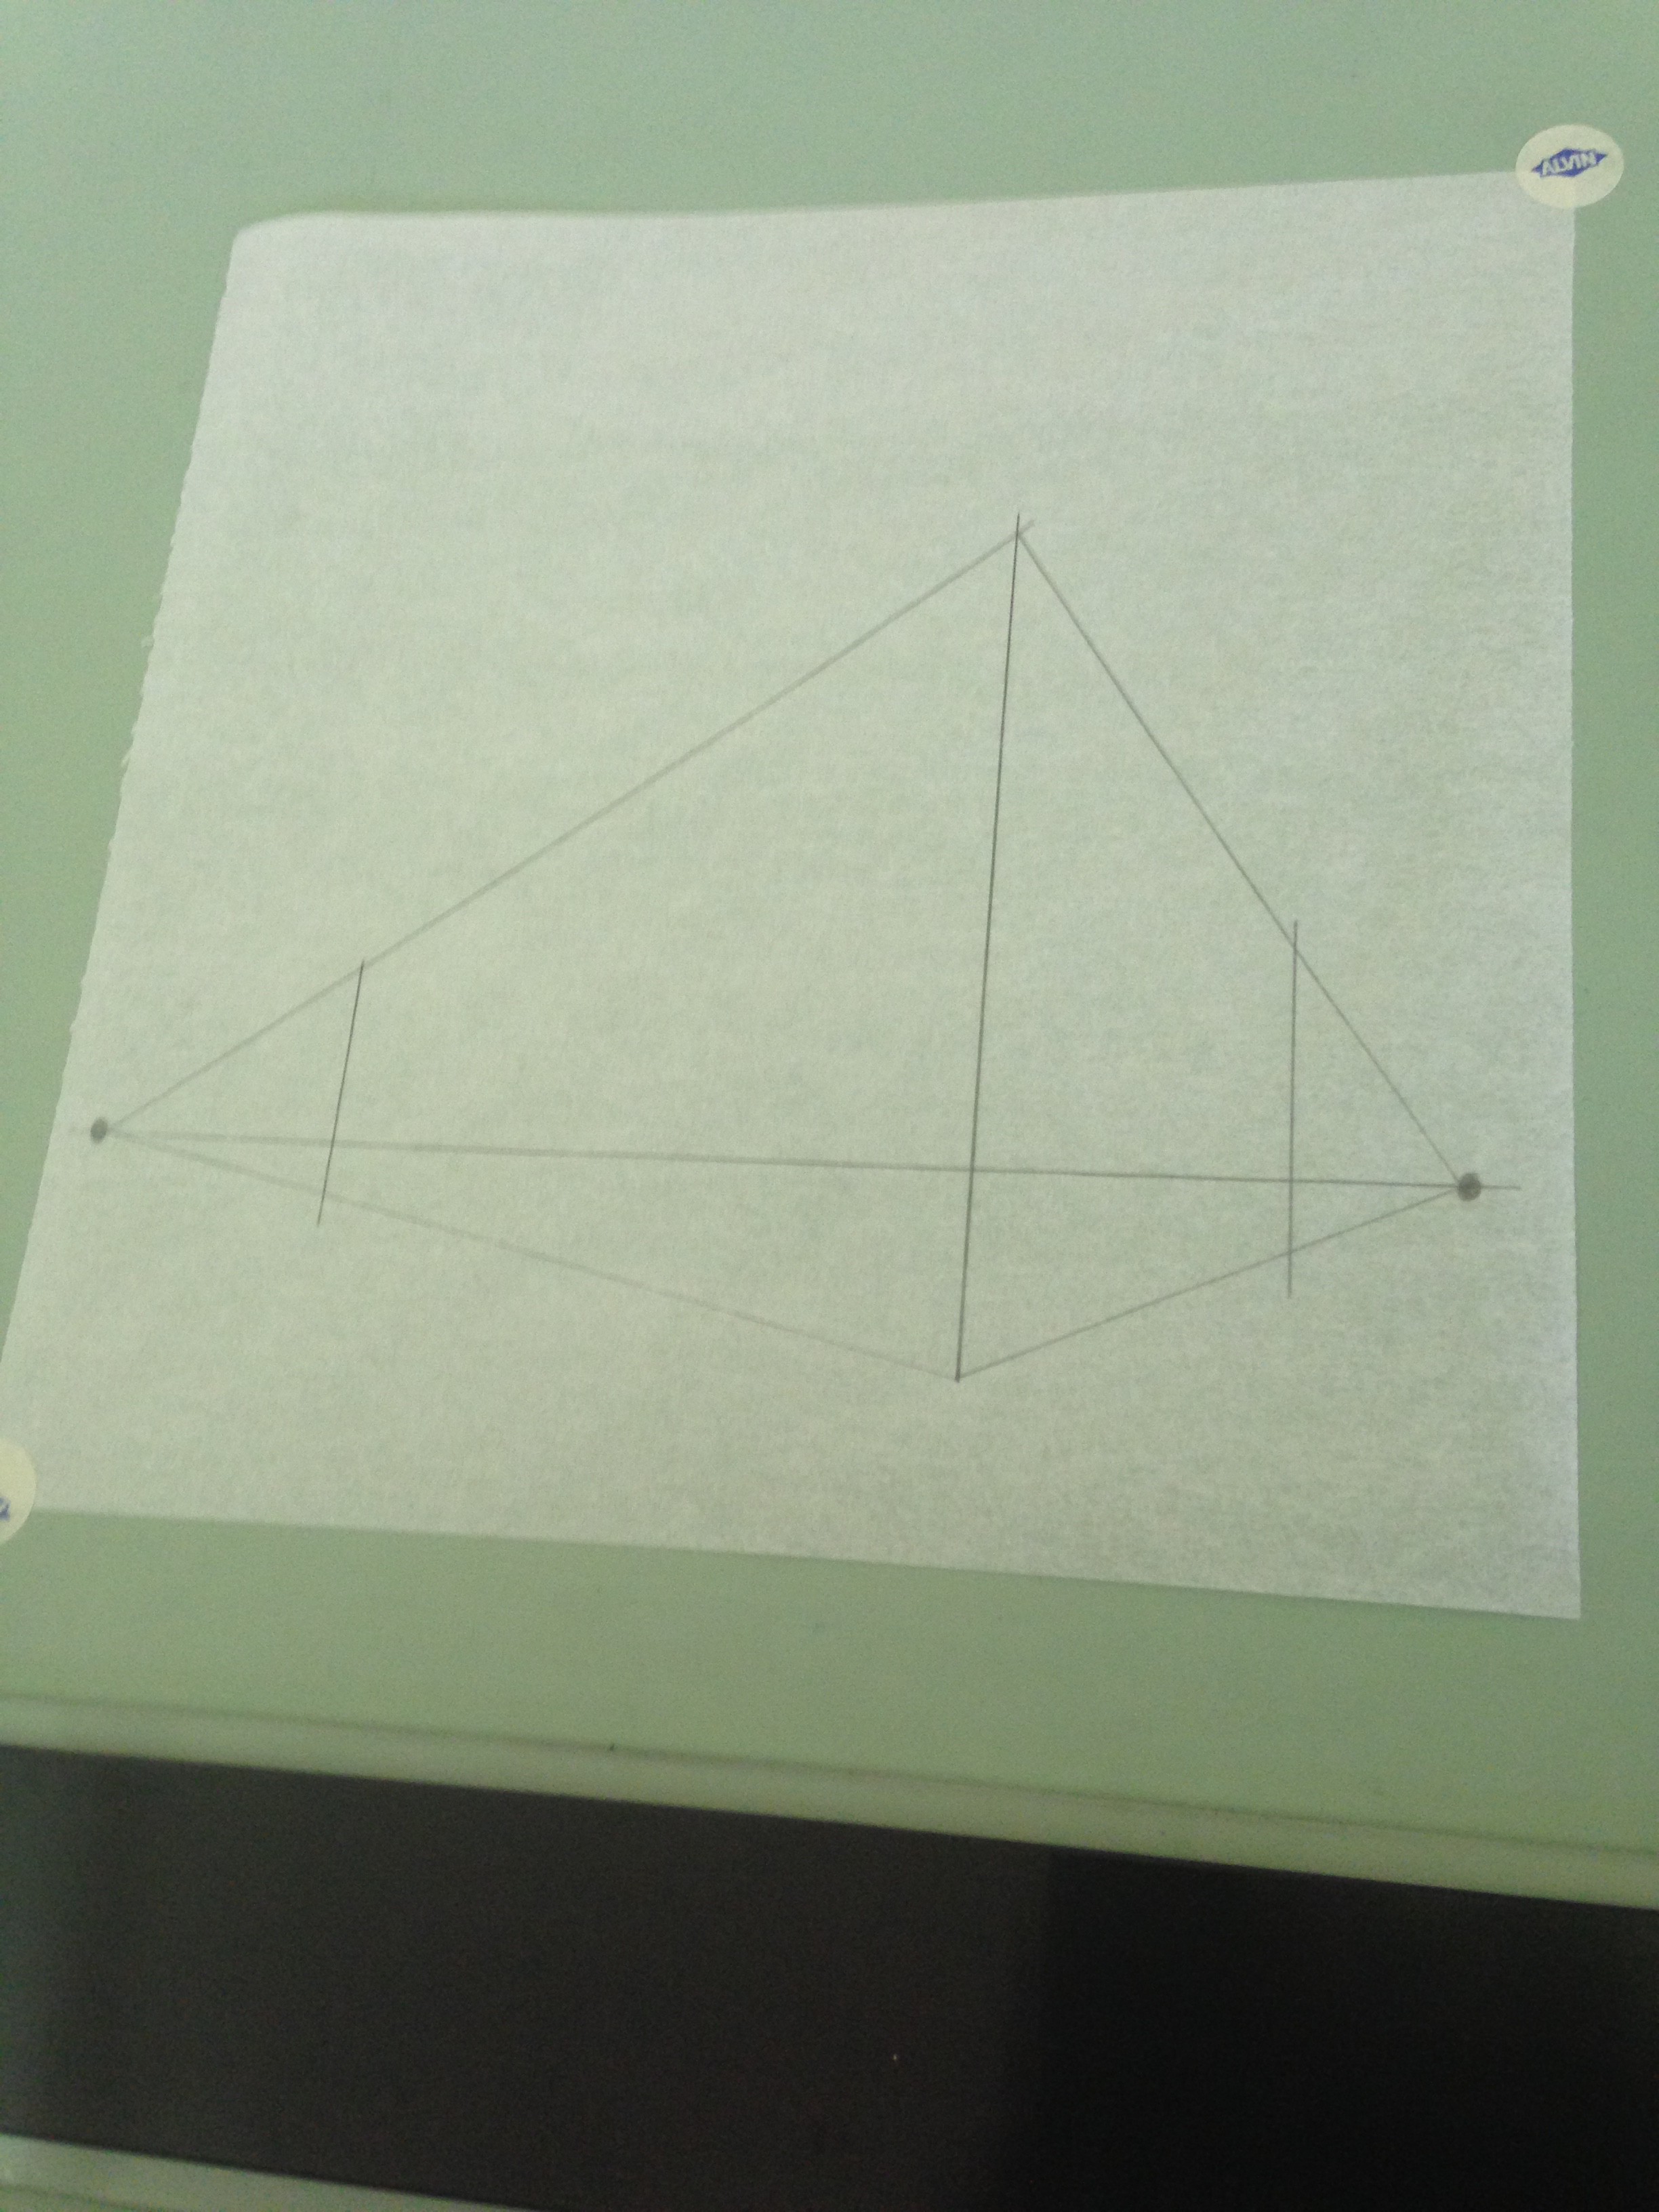
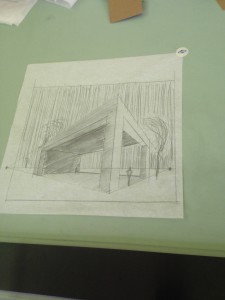
7. A cube-like structure should now be drawn in perspective. Draw openings and breaks to change the form of the “cube.” Create horizontal lines in perspective by connecting one of the perspective points to any point on the vertical line drawn in step 3. Using the diagonal lines drawn in step 5 as a boundary, create vertical lines in perspective by drawing vertical lines that can vary in length.
8. Draw one consistent tone on each visible side (left, right, top, and bottom) of the “cube” and above the horizon line to represent the sky. Either the left or right side of the “cube” can be left without a tone as long as all other sides have been shaded.