
Curling with a straightener sounds contradictory and hard to perform. Fear not.
The Scoop met with licensed cosmetologist Melissa Freeze for some insight on how to curl your hair with a flat iron.
With 25 years of experience and a current job at The Inn Salon in Willard, Freeze explains eight easy steps for pulling off this look.
So if you a have flat iron, don’t hesitate to try it out because, according to Freeze, “flat irons have become the main source of curling and straightening.”
Step 1: Get out your supplies
Items needed:
- Flat iron
- Heat protector
- Clip or hair tie
- Hair spray
When it comes to your flat iron, high heat is important to seal your hair strands. Says Freeze:
“It’s very important that you have a good quality iron so that it will not snag the hair. It needs to be able to heat up to at least 400 degrees.”
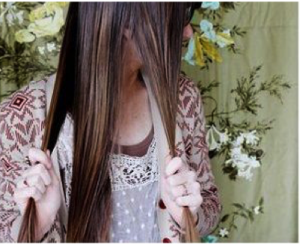
Step 2: Separate and spray hair
For beginners, she says, “it’s better to go bottom layer first.”
Separate and secure the top layers of your hair with a clip, leaving out the bottom layer to start with. To keep your hair healthy, spray the heat protector on the layer, and once it dries, you can begin the curling process.
Step 3: Divide a two-inch section and start the curl
 Take a two-inch vertical section out of your layer. Clamp the flat-iron plates where you want the curl to start. It’s easier to start at the base of the scalp, according to Freeze.
Step 4: Rotate iron in a 180-degree angle
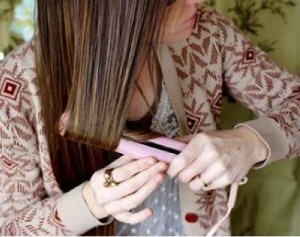 Once you’ve applied pressure with the flat-iron plates, quickly make a 180-degree rotation. “Make sure the ends of the hair stay in line with the flat iron,” she says.
Step 5: Gently pull the iron downwards
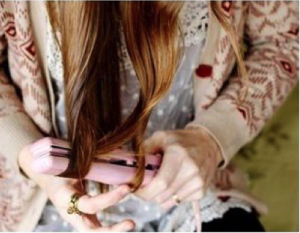 Next, gently pull the iron all the way through the length of the hair strand, until you reach the end. “The slower you pull, the tighter the curl, and moving faster will make the curl looser,” says Freeze.
Step 6: Twist or run your fingers through the curl
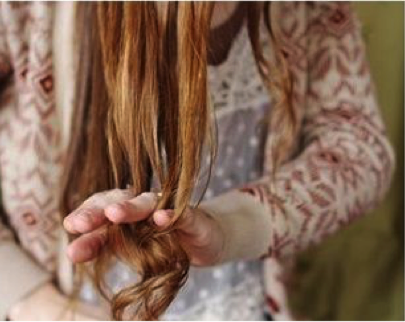 Twist the curl around your finger to keep ringlets, or run your fingers through the hair for a messier look. For a tighter style, start twisting the curl at the base of the head and “twist until you get to the end of the strand.” For a looser style, run your fingers through your hair once you are completely done with curling.
Step 7: Repeat
Repeat the previous steps (2-6) for the other layers, until all of your hair is curled.
Step 8: Hair spray, hair spray, hair spray
 To seal off this finished look, apply hair spray for a longer hold. “Spray towards the scalp and to the ends,” Freeze recommends.
It takes some practice and getting used to, but now you can create full curls without purchasing a curling iron.